Double Dragon Revive Dicas
- Master Code: Infinite HP and Always-On Finisher
- Unlocking Marian (and Making Her Shine)
- Unlocking Yagyu Ranzo
- River City Cameos and Technos Nods
- Soetsuken Lore and the Dragon Vein
- Chapter 2 Boss Corner Throw Loop
- Fight Smarter, Not Harder: Core Combat Tips
- Turn the Stage Into a Weapon
- Who to Main? Billy, Jimmy, Marian, or Ranzo
- Nail the Blue Flash: Critical Assaults 101
- S+ Rank Roadmap and 100% Completion

Master Code: Infinite HP and Always-On Finisher
BatoteirosThere’s a master code floating around that unlocks cheat-style perks—infinite HP and a permanently available finishing blow, regardless of your Dragon Orb Gauge.
- Access: the inputs aren’t documented in-game; they’re preserved by community cheat lists and trainers.
- Use case: perfect for labbing routes or messing around without pressure.
- Heads-up: cheats can break the challenge and may affect progression or disable achievements depending on platform/version. Use at your own risk.
Unlocking Marian (and Making Her Shine)
DesbloqueáveisMarian isn’t just a plot device anymore—she’s a full-fledged fighter. You’ll unlock her naturally through early story progression, then she becomes available for the campaign.
- Signature move: a charging knee that deletes gaps and punishes dodgy AI. Great for corner pressure.
- Playstyle tips: use her burst to pick off ranged pests, then pivot to priority targets.
- Why use her: she adds a fresh rhythm if the Lee brothers’ fundamentals feel too traditional.
Unlocking Yagyu Ranzo
DesbloqueáveisRanzo joins as you progress through the campaign—no obscure requirements. Once unlocked, he’s a top-tier pick for responsiveness.
- Strengths: fast strings, minimal recovery, and kunai explosions for space control and burst finishers.
- Matchup value: his speed makes learning enemy patterns less punishing while you experiment.
- Tip: weave in projectiles to corral crowds, then rush the highest-priority target.
River City Cameos and Technos Nods
Ovos de PáscoaFans of Kunio-kun will spot sly winks everywhere. The game sneaks in references to River City and Technos Japan’s shared universe.
- Look for: background sprites that feel… familiar, enemy designs with a cartoonish River City twist, and stages that echo Kunio-kun vibes.
- Animations: some moves and idles feel pulled straight from that lineage.
- Good news: you don’t need to hunt for them—they pop naturally during play. If you know, you know.
Soetsuken Lore and the Dragon Vein
Ovos de PáscoaRevive leans harder into the mythos behind the Lee brothers’ art, Soetsuken, and the Dragon Vein powering it.
- The hook: the Dragon Vein’s a natural force—protective in the right hands, dangerous in the wrong.
- Story beats: dojo scenes and backstories frame the Lee brothers as guardians, not just street heroes.
- Villain angle: the Shadow Warriors meddle with that power, tying the lore directly into boss fights and setpieces.
- Vibes check: it’s got that retro mélange of post-apocalypse grit and mystic martial arts—think classic anime inspirations.
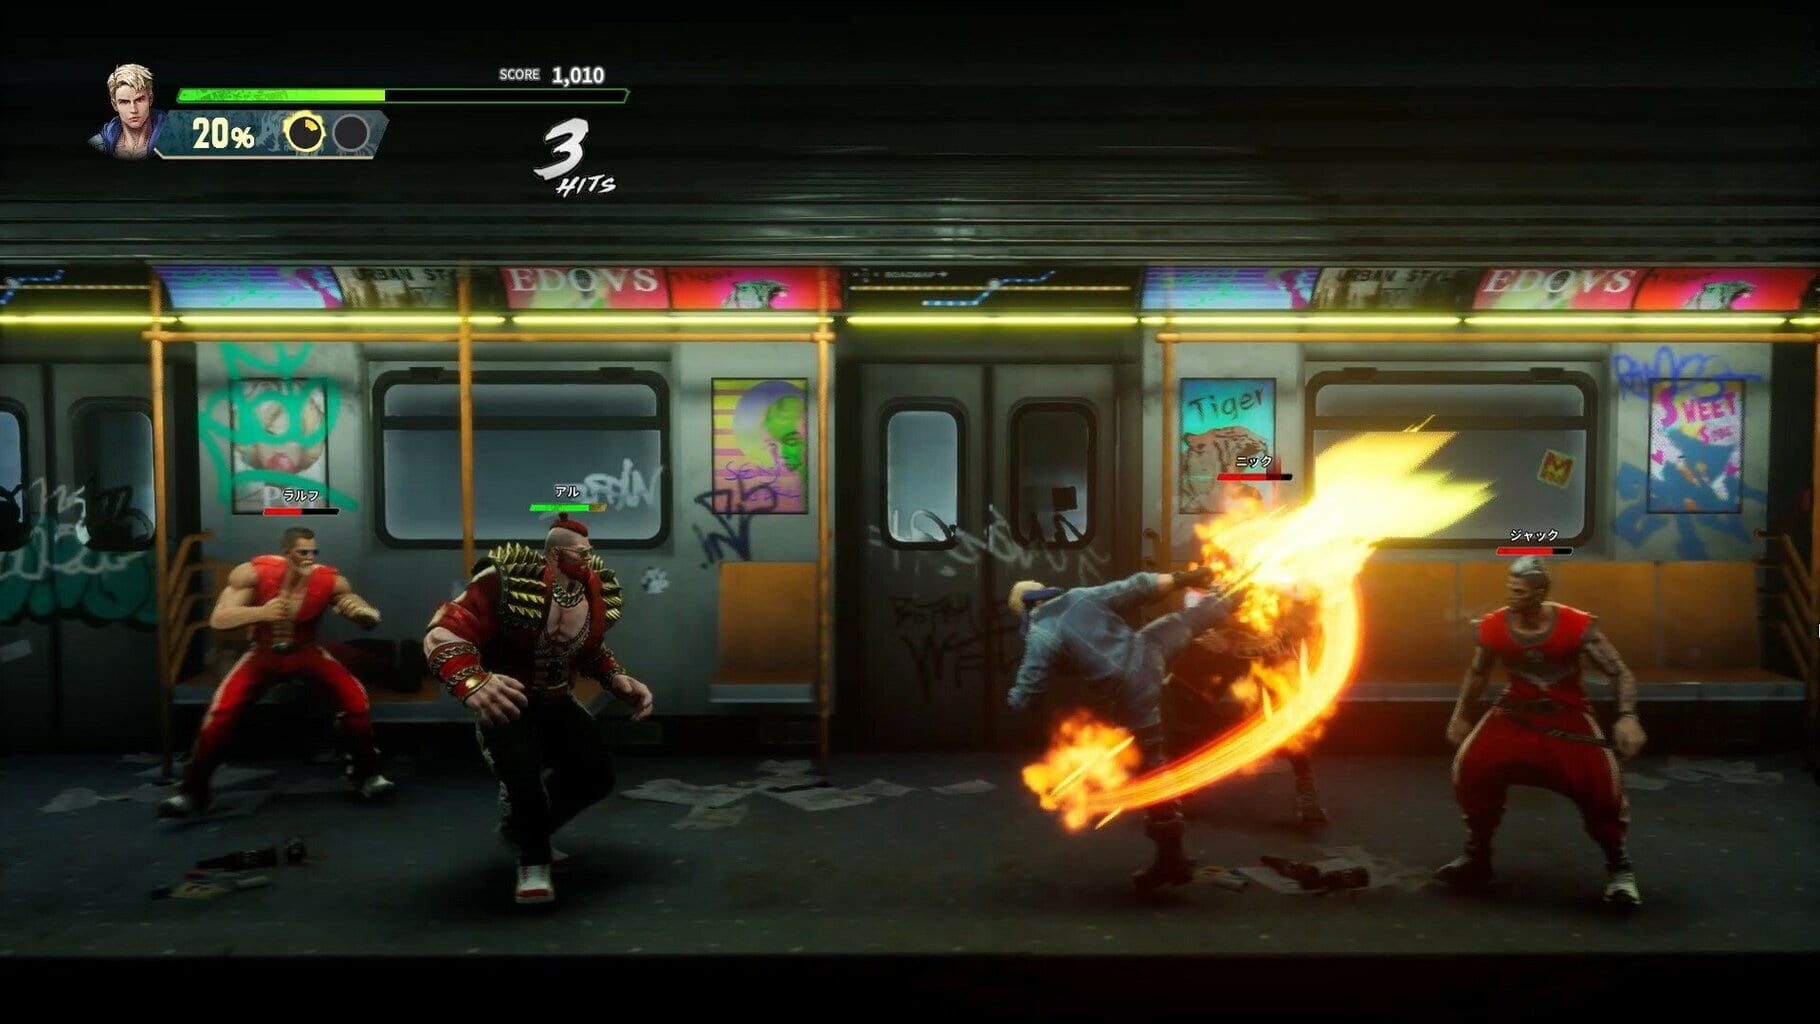
Chapter 2 Boss Corner Throw Loop
GlitchesThere’s a wild throw-loop glitch in the Chapter 2 ring fight against Joji. If you snag him near a corner and chain throws just right, he can get stuck in a never-ending animation while you pound away.
How to try it
- Get Joji into a boxing ring corner.
- Initiate a throw, then time your next input as the animation resets.
- Keep the rhythm and he’ll stay locked while the damage stacks.
Why it works
- The corner messes with Joji’s recovery, letting the throw state re-trigger instead of resetting fully.
Notes
- This was spotted on Xbox and may be patched on some versions.
- It can end the fight absurdly fast, but it’s obviously not intended.
- If it stops working, assume a patch fixed it—or your timing/positioning needs a tiny adjustment.
Fight Smarter, Not Harder: Core Combat Tips
DicasButton-mashing gets you wrecked in Double Dragon Revive. Treat each skirmish like a puzzle and play to the matchup.
- Know your targets: Wipe the biggest threat first—glass cannons, ranged pests, or shield carriers.
- Stamina is king: Don’t drain it dry. Low stamina = slow, punishable, and panicky.
- Watch the field: Keep enemies on one side of you. Reposition instead of trading hits.
- Counter kits:
- Shielded foes: grabs or heavies to break through.
- Speedsters: bait, parry/counter, then cash out.
- Ranged/mobile: close the gap fast or force them into corners.
- Build your Dragon Orb Gauge: Maintain combos, don’t get hit, use hazards, and nail Critical Assaults when that blue glow appears.
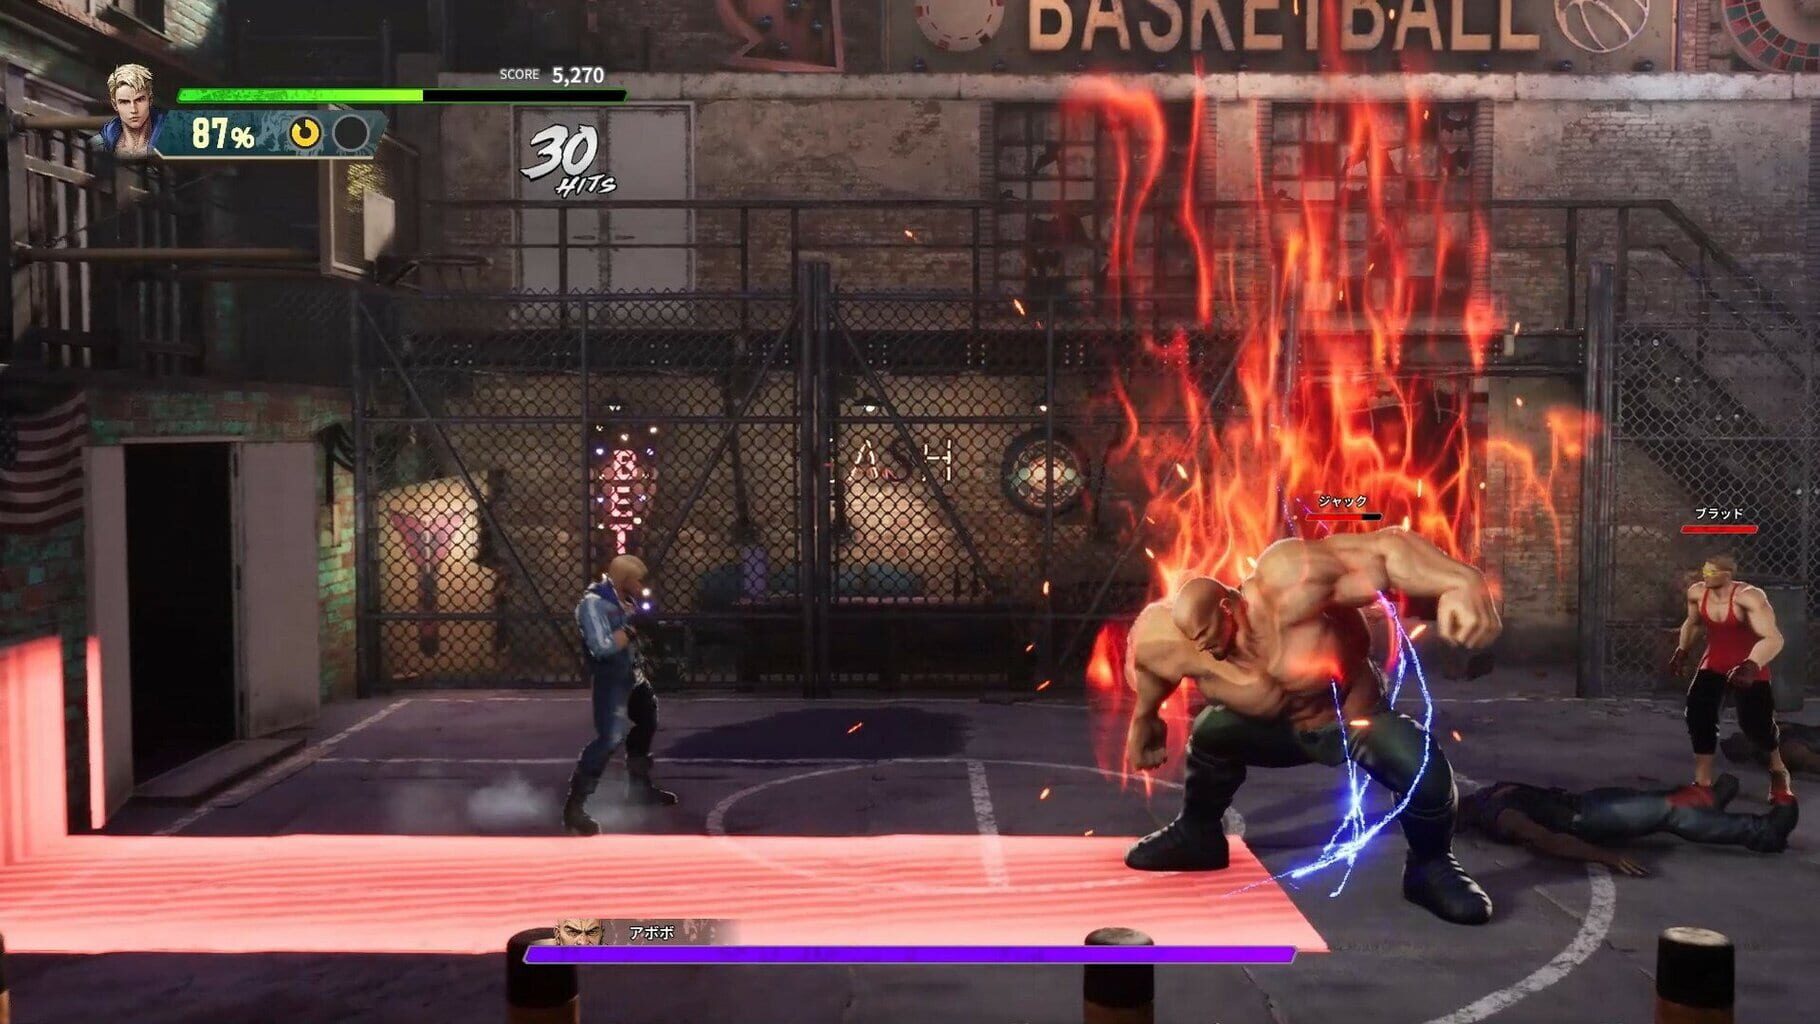
Turn the Stage Into a Weapon
DicasThe environment’s your best co-op partner. Plenty of hazards can one-shot enemies, even chunky ones.
- What to look for: dumpsters, open water, broken rails, electrified panels, pits, and throwable junk.
- How to use it: toss or launch enemies into hazards for instant kills, crowd control, and free breathing room.
- Loop potential: some spots let you chain throw after throw into the same hazard—powerful, but can trivialize fights.
- Pro tip: herd tough enemies toward danger zones, then cash in with a well-timed throw or special.
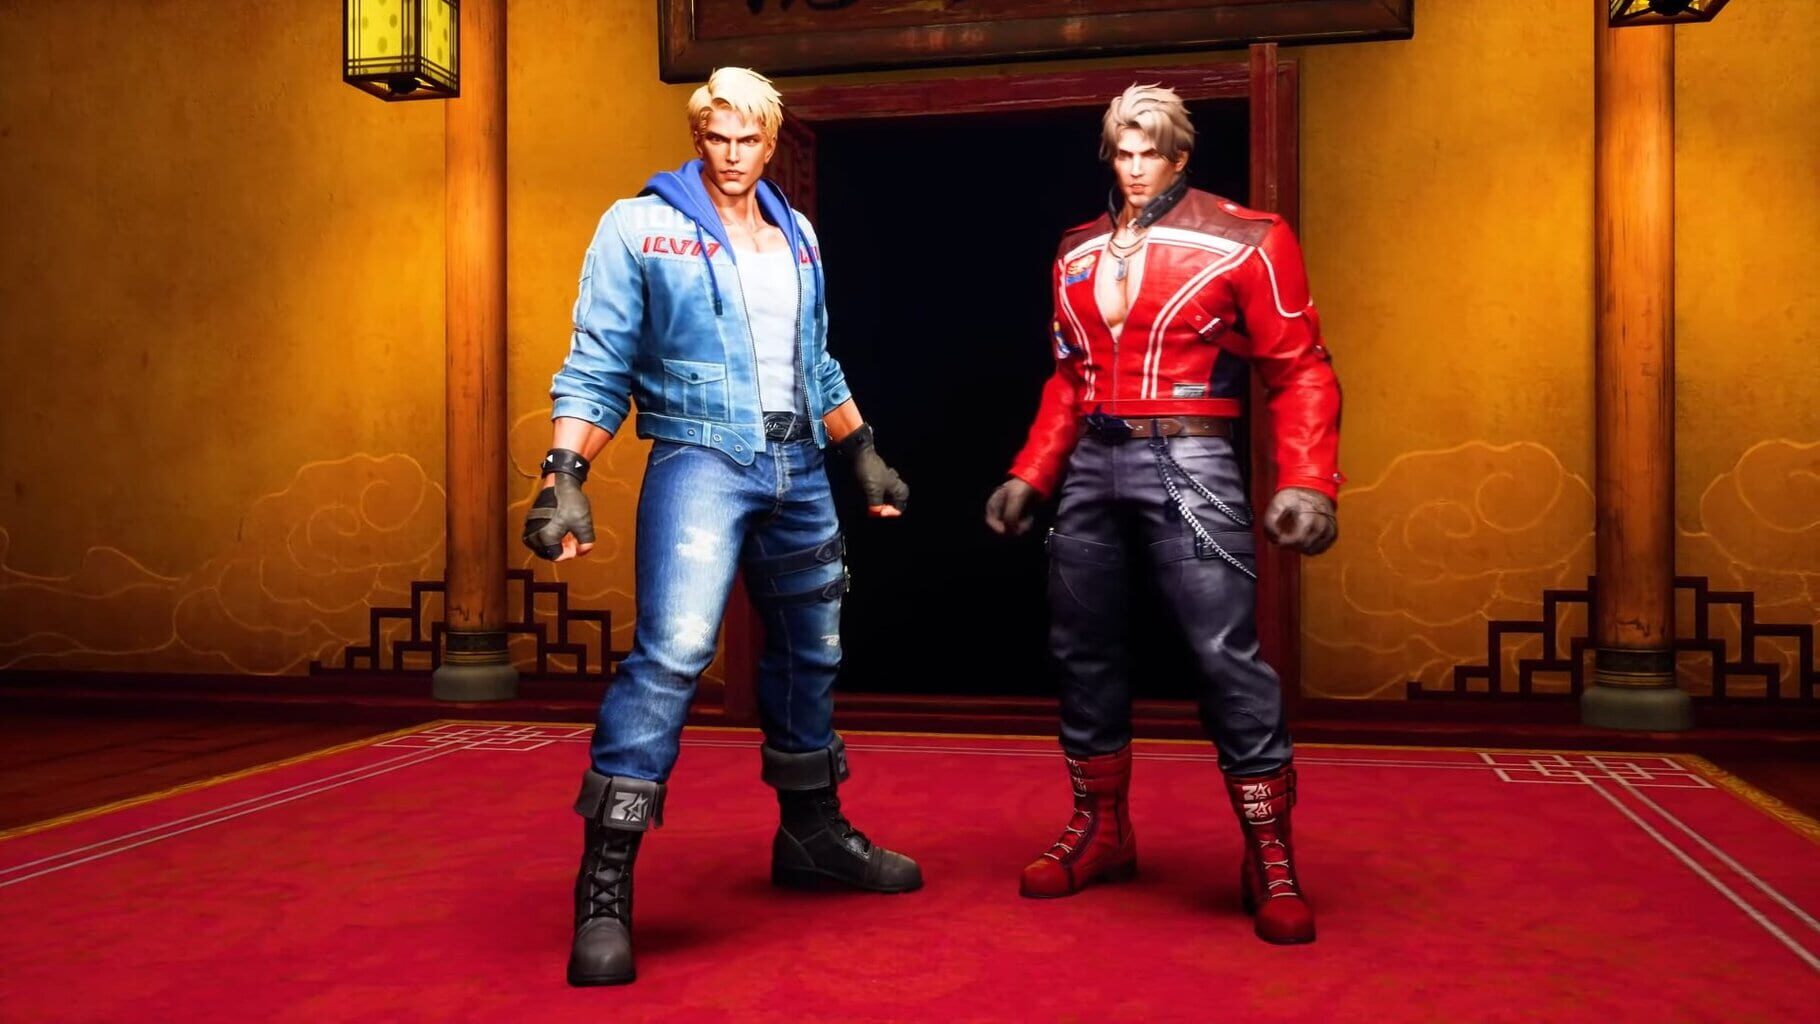
Who to Main? Billy, Jimmy, Marian, or Ranzo
DicasEach fighter changes how you approach encounters. Try them all, then lock in your comfort pick.
- Billy Lee: balanced fundamentals, easy to learn. Great baseline for pattern recognition.
- Jimmy Lee: similar toolkit with a different feel—his timing may click better for you.
- Marian: a charging knee defines her offense; explosive gap-closer that punishes whiffs and corner set-ups.
- Yagyu Ranzo: fast, super responsive, and brings explosive kunai for tactical pressure. Minimal recovery means fewer punish windows.
- Tip: If you struggle with tight windows, Ranzo’s speed forgives more; if you prefer deliberate play, Billy/Jimmy keep things readable.
Nail the Blue Flash: Critical Assaults 101
DicasCritical Assaults reward nerve and timing. When an enemy flashes blue during a big windup, you can counter instead of dodging—and you’ll juice your Dragon Orb Gauge hard.
- Timing differs by enemy: learn their tells through repetition. The window isn’t generous.
- Treat it like a parry: be calm, not mashy. If you whiff, immediately defend or reposition.
- Practice plan: pick one enemy type, learn its “blue” move, and grind success until it’s muscle memory.
- Payoff: huge gauge gain, a stun window, and momentum swing—worth the effort.
S+ Rank Roadmap and 100% Completion
GuiasChasing all 53 achievements/trophies? The chapter-perfect S+ ranks are the roadblocks. Here’s a clean plan.
- Phase 1 – Learn: beat the story on a comfy difficulty. Study spawn orders, hazards, and miniboss quirks.
- Phase 2 – Clean-up: grab misc. achievements, experiment with each character, and map hazard kills.
- Phase 3 – S+ push:
- No damage greed: protect your health; a clean run beats a fast run.
- Route your hazards: build throw routes for instant KOs and crowd control.
- Master Critical Assaults: free gauge + stuns speed fights safely.
- Stamina discipline: never gas out; reset spacing if you’re low.
- Target priority: delete ranged/shielded nuisances first.
- Loadout notes: pick the character whose timing you execute best—consistency > flash.
- Mindset: reset fast on sloppy starts; chasing perfection is a repetition game.
Screenshots
Vídeos