Star Trek: Voyager - Across the Unknown Guides
- Star Trek: Voyager - Across the Unknown cheats and smart workarounds
- All endings in Across the Unknown and how to unlock them
- How to recruit key crew members (and who you can miss)
- Best tech unlocks and how to get them (don’t miss these)
- Voyager fan service and Easter eggs you’ll actually notice
- Known issues, fixes, and crash workarounds
- Essential tips for Across the Unknown (early-game survival guide)
- Combat guide: tactical pause, energy juggling, and ability timing
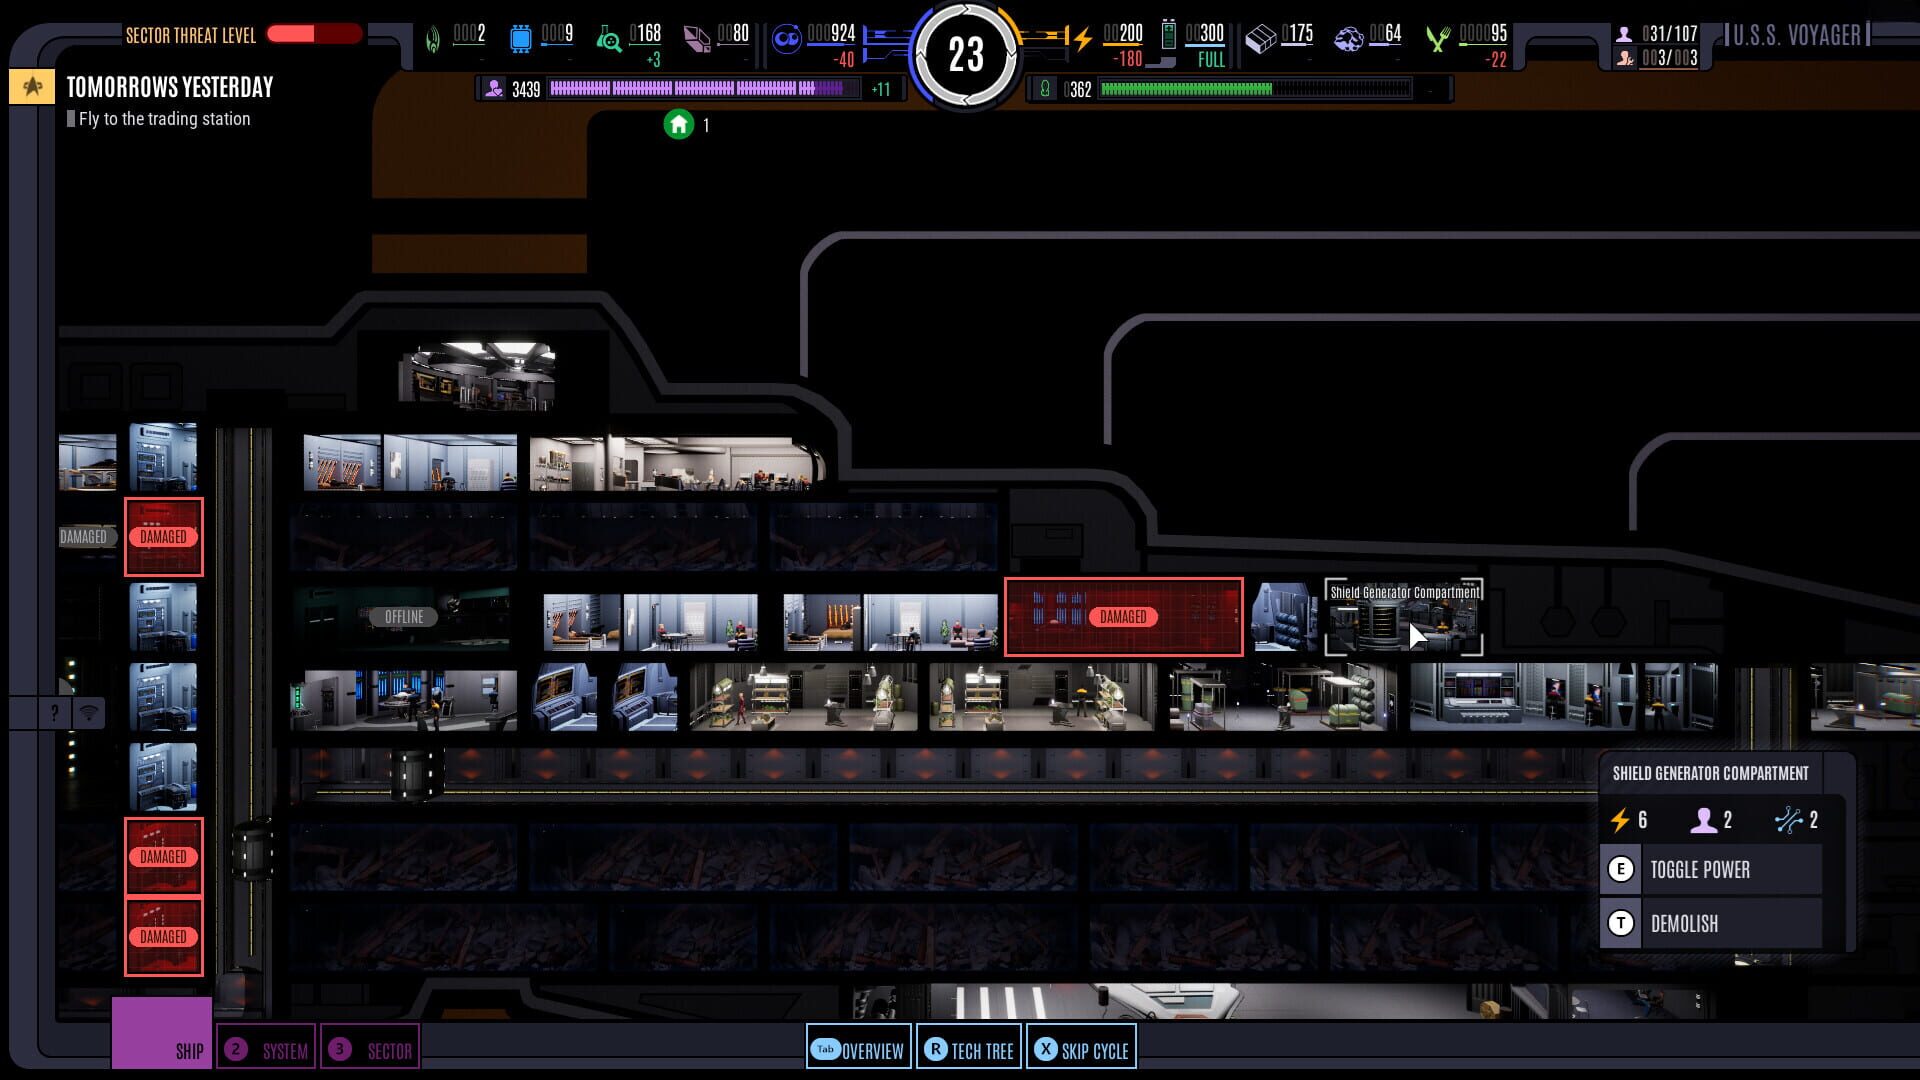
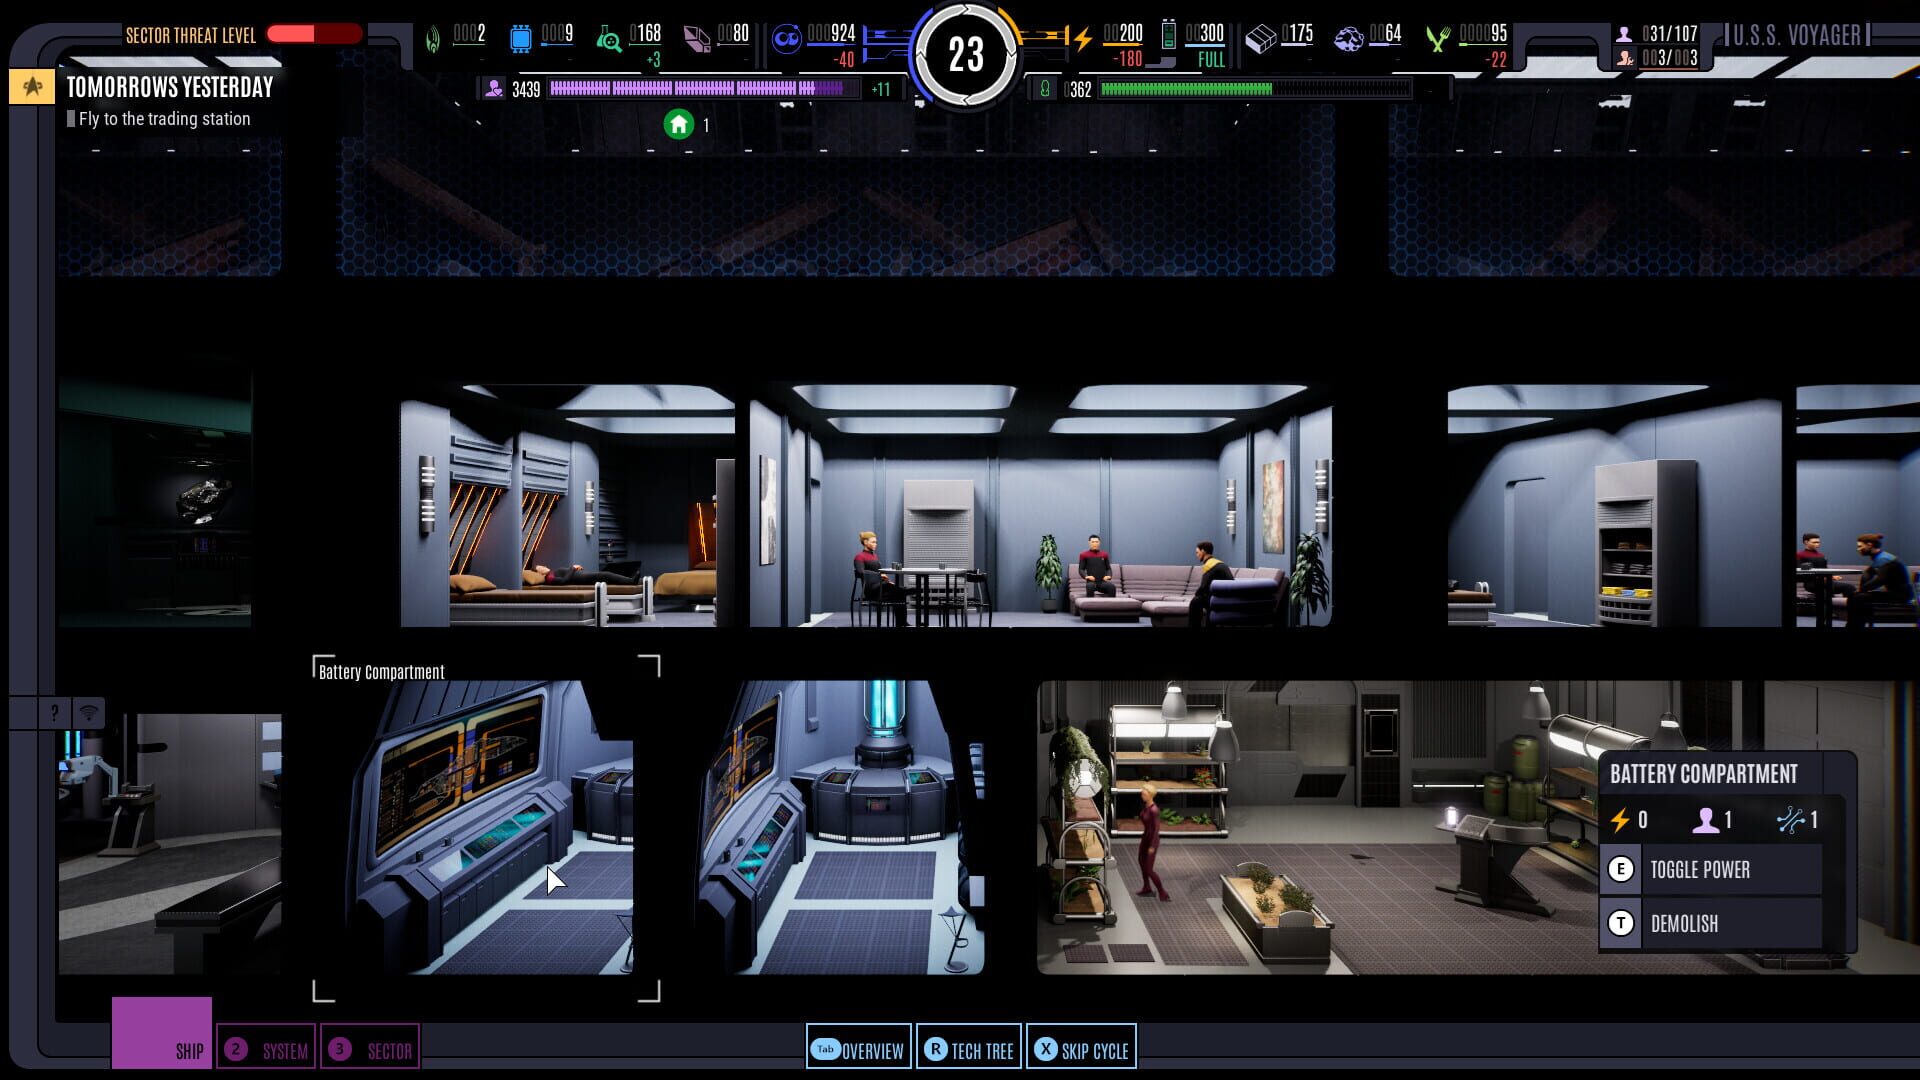
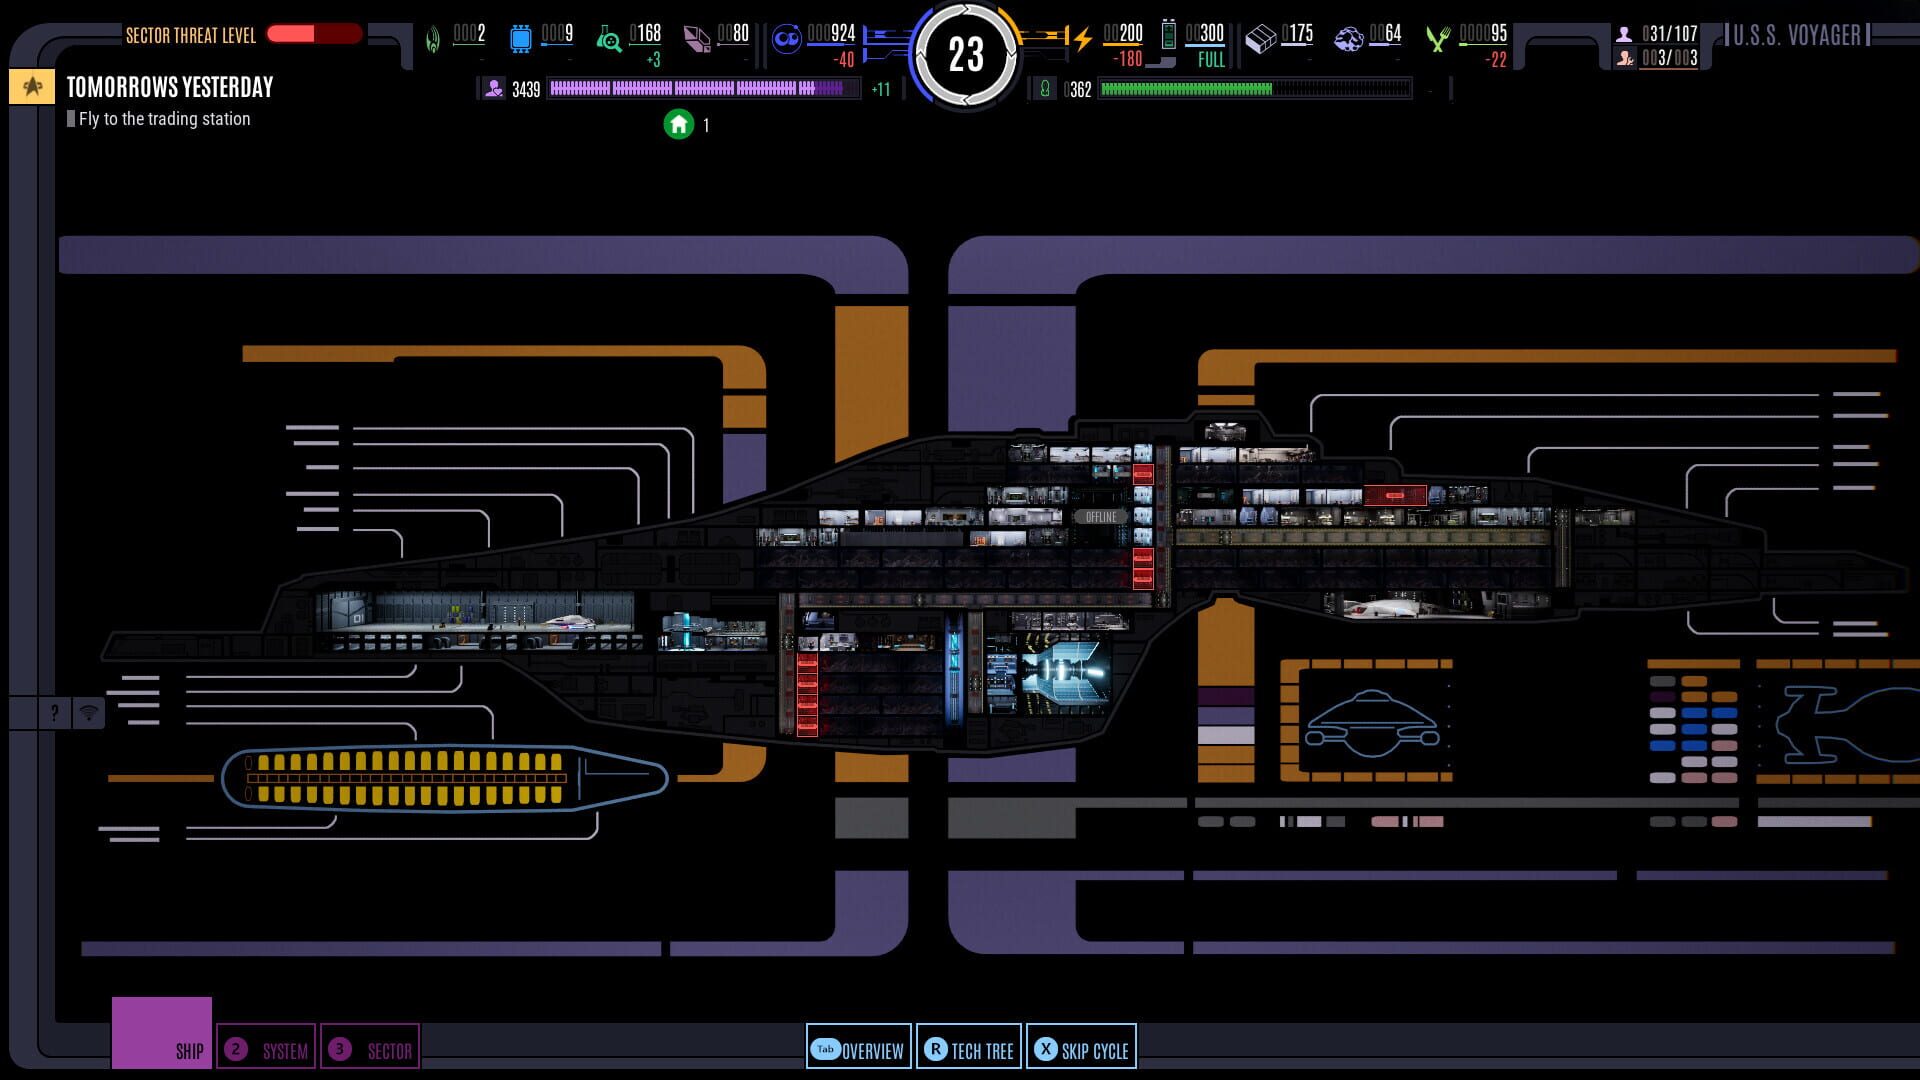
- Ship building and layout optimization (power, morale, and verticality)
- Research path guide: what to prioritize and when to stop
- Sector roadmap and points of no return (don’t get locked out)
- Achievements and trophies planner (what to expect)

Star Trek: Voyager - Across the Unknown cheats and smart workarounds
CheatsLooking for Star Trek: Voyager - Across the Unknown cheats? There aren't traditional cheat codes, but there are a few legit workarounds and time-savers players use to make tough runs easier.
- PC “save scum” backup (autosave bypass)
- Turn off Steam Cloud for the game so your local backup won't be overwritten.
- Navigate to: C:\\Users\\YOURNAME\\AppData\\Local\\STVoyager\\Saved\\SaveGames
- Copy the two .sav files to a safe folder after each autosave (major milestone or 5 POIs visited).
- If a permadeath or bad roll ruins your run, paste your backups back into SaveGames.
- Note: you’ll only return to the last autosave, not minute-by-minute progress.
- Fastest ending unlock (Sector 1)
- Want instant credits? In Caretaker, choose to use the Array instead of destroying it to trigger the “Stick to the Prime Directive” ending immediately.
- Resource “farming” windows
- Sectors 3 and 4 are the safest areas to strip-mine every point of interest for deuterium and dilithium. Creating this early stockpile makes late-game sectors far more manageable.
- Tactical pause mastery
- Not a cheat, but abusing the tactical pause gives you near turn-based control of fights. It’s the closest thing to a difficulty slider—use it to micromanage energy, ability timing, and target priority.
- Never use auto-combat
- Auto-combat wastes torpedoes and energy. Manual control plus pause wins fights you “shouldn't” win.
All endings in Across the Unknown and how to unlock them
UnlockablesHunting endings in Star Trek: Voyager - Across the Unknown? Here's how to trigger the major finales players ask about most. There are nine total endings; these are the most notable and how to get them.
- Stick to the Prime Directive (early ending)
- Sector 1: in Caretaker, choose to use the Array to return home immediately.
- Canon ending
- Requirements: keep this roster alive and recruited via their proper mission paths—Tom Paris, Harry Kim, Chakotay, Tuvok, the original B'Elanna Torres (not Human B'Elanna), The Doctor, Seven of Nine, and Icheb.
- The Starfleet Way
- Finish Sector 12 with no Borg buildings installed on Voyager.
- Home, Hub and Holdfast
- Sector 11: ally with Ralik and seize control of the Transwarp Hub.
- The Long Road Continues
- Refuse to enter the Borg nebula for sixteen more years.
- For the Greater Good
- Choose to sacrifice yourselves to destroy the Transwarp Hub in the late game.
- Other endings
- Several finales branch off your Sector 12 choices and earlier alliances. Planning from mid-game is key if you're chasing all outcomes.
How to recruit key crew members (and who you can miss)
UnlockablesIf you're searching “how to unlock Seven of Nine in Across the Unknown” or worried about missable recruits, use this quick checklist to secure the best crew.
- Seven of Nine
- Sector 6 (Scorpion): accept her help to recruit Seven and open Borg tech integrations.
- Icheb
- Sector 11: complete his side mission; having a working Shuttle Bay and finishing the objectives is required.
- Seska
- Sector 5: can be recruited, but she can permanently die if you confront her during Retake Voyager without making specific narrative choices.
- B’Elanna (Human version)
- Sector 3 chain via Sickbay management and dialogue. Note: this conflicts with the Canon ending, which needs the original B’Elanna.
- Marla Gilmore
- Sector 10 (Equinox): recruitable based on your dialogue choices—choose carefully or she'll refuse permanently.
- Telek R’Mor
- Sector 2: temporary recruit/potential ally who also unlocks an alternate Cloak upgrade route later.
- Arturis
- Sector 8: recruitable by resolving the encounter peacefully. Don't escalate to combat if you want him aboard.
Best tech unlocks and how to get them (don’t miss these)
UnlockablesThese are the most impactful techs in Star Trek: Voyager - Across the Unknown and the exact missions to secure them. Perfect if you're searching for “secret tech locations” or “how to unlock Cloak in Across the Unknown.”
- Vidiian Surgical Device (Sector 2 – Phage)
- Cuts base treatment time by 10%. Huge quality-of-life boost for injury recovery.
- Regenerative Fusion (Sector 3 – Jetrel)
- Reduces away-team fatigue impact by 20%.
- Tip: complete Jetrel before attempting Faces to keep the unlock path open.
- Cloaking Device (Sector 7 – Old Friends)
- Confront the Hirogen to obtain it; rescuing both crew from Species 8472 blocks this path.
- Lets you flee if enemy warp engines are disabled—great for bad engagements.
- Optimized Cloaking Matrix (Sector 8 – alternate path)
- Requires recruiting Telek R’Mor in Sector 2 and having the Cloaking Device from Sector 7.
- Dreadnaught AI (Sector 4 – Dreadnaught)
- +50% torpedo speed.
- Odd but true: you need a “good” outcome, not “excellent,” because the perfect path gives you an ally instead of the AI tech.
- Borg research caution
- Early Borg integrations are powerful but can trigger a forced Cube Interception event. Hold off until your hull and weapons are adequately upgraded.
Voyager fan service and Easter eggs you’ll actually notice
Easter EggsIf you're here for the deep-cuts, Across the Unknown is loaded with Voyager love. Here are the nods worth seeking out.
- Voiced sector logs
- Fully voiced logs by Tuvok and Tom Paris open each sector—a perfect tone-setter for fans.
- Episodic sector design
- Sectors adapt classic Voyager arcs: Caretaker, Phage, Jetrel, Dreadnaught, Scorpion, Equinox, and more.
- Alternate Caretaker branch
- You can do the unthinkable and use the Array in Sector 1—a fun “what if?” timeline twist.
- Cameos and callbacks
- Telek R’Mor, Arturis, and other familiar names appear with recruitable or ally roles depending on your choices.
- Captain-first combat
- The command-interface combat—issuing orders rather than piloting—feels like a deliberate ode to the show’s bridge dynamic.
Known issues, fixes, and crash workarounds
GlitchesHaving trouble with Star Trek: Voyager - Across the Unknown crashes or mission bugs? Start here.
- March 19, 2026 patch highlights
- Better startup performance and shader precaching.
- Fixed rooms with partial crew not loading correctly.
- Corrected “insufficient power” warnings when a room used exactly the remaining power.
- Friendship One (Sector 11) torpedo branch now completes properly.
- Crashes/freezes
- Some players report startup crashes or quest freezes, often when upgrading beyond current power capacity mid-mission.
- Fix checklist: update GPU drivers, install the latest DirectX and Visual C++ redistributables, and verify game files.
- Autosave limits
- The game only autosaves after major beats or every five POIs visited. If you want backups on PC, disable Steam Cloud and copy your .sav files manually (see cheats section).
- Power edge cases
- If you see odd behavior after big power changes, reassess room power draw and try reallocating energy bars before placing new upgrades.
Essential tips for Across the Unknown (early-game survival guide)
HintsNew to Star Trek: Voyager - Across the Unknown? These quick tips prevent the most common early mistakes and resource spirals.
- Repair the Mess Hall immediately
- Morale fuels everything. At 100% morale, you get faster repairs and better aim; at 0%, mutiny ends the run.
- Manage fuel like a captain
- Deuterium powers moves, rooms, and replication. Run out and your run is done.
- Dilithium is for system-to-system jumps; stock it to keep route flexibility.
- Strip-mine Sectors 3–4
- Safest time to build a resource cushion before the late-game spike (Sectors 6–12).
- Rotate away teams
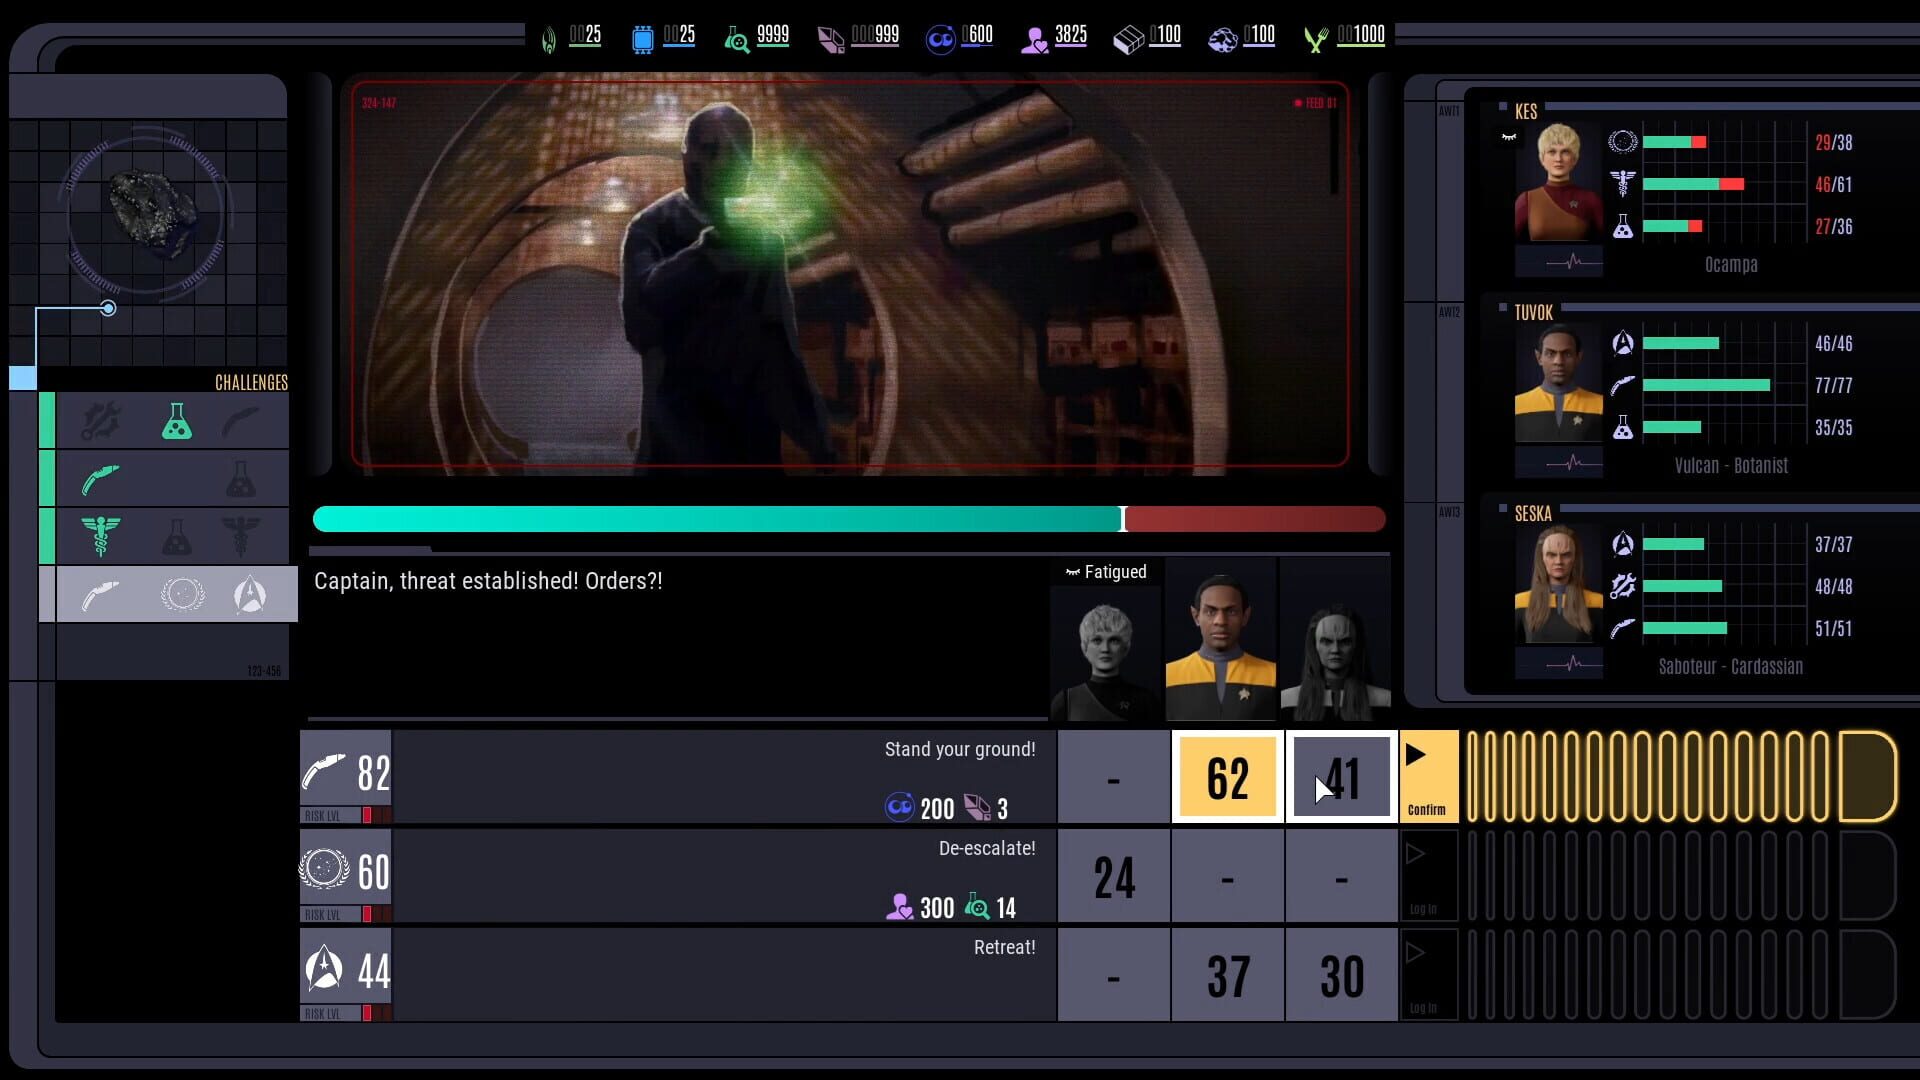
- Fatigue is hidden but very real. Alternate two squads to avoid penalties and permadeaths from overuse.
- Manual combat only
- Auto-combat wastes energy and torps. Use tactical pause, time abilities, and aim for exposed sides.
- Don’t rush Borg tech
- Equipping too much too early pings a Borg Cube you can't beat. Be patient.
- Research priorities
- Push Warp Core/engine efficiency early to reduce deuterium burn, then scale up Science Labs for faster unlocks.
Combat guide: tactical pause, energy juggling, and ability timing
GuidesWinning fights in Across the Unknown is about captain’s orders, not twitch aim. Here's how to outthink tougher enemies.
- Turn off auto-combat
- Go manual + tactical pause for precise control.
- Read the battlefield
- Enemy shields charge by side. Maneuver to hit exposed arcs and subsystems.
- Energy allocation basics
- You'll usually have 4–12 energy bars depending on Warp Core level and builds.
- Shift power between Shields (under fire), Weapons (enemy vulnerable), and Engines (positioning/line-of-sight).
- If your Warp Core takes a hit, expect to drop active systems and reallocate fast.
- Hero ability timing
- Tom Paris: evasive maneuvers to dodge key volleys.
- B’Elanna: Warp Core overcharge for a burst of power to shields or weapons.
- Chakotay: spike firing rate to finish targets.
- Tuvok: strip shields, then immediately volley torpedoes.
- Harry Kim: scan to reveal shield states and plan windows.
- Target priorities
- Drop shields on the weakest side, torp subsystems, then sustain with phasers/disruptors while cycling shields.
Ship building and layout optimization (power, morale, and verticality)
GuidesIf you're Googling “best ship layout in Across the Unknown,” use these placement rules to stretch every watt and keep morale high.
- Core placement and adjacency
- Centralize the Warp Core; cluster Engineering around power nodes for adjacency bonuses (up to ~15%).
- Build vertical “power columns” across decks so one Core feeds multiple engineering bays efficiently.
- Defenses and symmetry
- Spread shield generators to cover all quadrants.
- Keep the layout balanced—symmetry helps impulse handling and reduces exposure.
- Combat rooms
- Stacking multiple copies of a weapon type scales damage (players report notable fire-rate gains per additional copy).
- Keep firing lanes clear; don't choke weapon rooms with low-priority modules.
- Morale-aware placement
- Don't stick the Mess Hall next to the Warp Core—noise hurts morale.
- Place Holodecks/Observation Lounges on outer rings for star views and steady morale ticks.
- Sustain and support
- Multiple Science Labs accelerate research.
- Hydroponics reduce replicator drain and stabilize supplies.
- Sickbay/Bio-neural beds keep away teams turning around faster.
- Cargo Bays are non-negotiable for late-sector stockpiles.
- Structure
- Use integrity pylons to protect larger spaces and survive high-gravity maneuvers.
Research path guide: what to prioritize and when to stop
GuidesWant a clean tech curve without waking a Borg Cube too early? Focus on efficiency first, power second, and keep a balanced portfolio.
- Engineering first
- Warp Core and engine efficiency tech drastically cut deuterium burn. This buys exploration time and reduces panic repairs.
- Science scaling
- Build 2–3+ Science Labs early and invest in research speed/scanners. More labs = faster snowball.
- Combat without tunnel vision
- Don't over-specialize. Balanced Engineering/Science/Combat trees outperform pure guns in the mid-game.
- Borg category caution
- The bonuses are massive, but equipping too much too soon can trigger a Cube Interception you can't win. Wait until your hull and weapons are truly online.
- Hidden nodes
- Several powerful nodes are mission-locked (Phage, Jetrel, Old Friends, Dreadnaught, etc.). Route your sector order to secure them on time.
Sector roadmap and points of no return (don’t get locked out)
GuidesPlanning your route through the Delta Quadrant is half the battle. Here's how threat and lock-ins escalate across sectors.
- Difficulty curve
- Early sectors are calmer. Sectors 3–4 are your last, best chance to hoard resources.
- Sector 5 introduces the Borg. Sectors 6–12 are a steep climb: Borg, Hirogen, and Species 8472.
- Sector 6
- Contains multiple points of no return. Recruiting Seven commits you to Borg integrations; refusing blocks Borg armor tech.
- Sector 11 (Uprising)
- Deciding whether to back Ralik or let him be sacrificed determines certain endings (e.g., “For the Greater Good”) and tech paths.
- Sector 12 (Endgame)
- Branching scenarios may require strict prerequisites (e.g., 100 ex-Borg crew + Energy Dissipater + 35 Science tech) or a high Combat Power threshold (~400) for alternate solutions.
- General rule
- Don't push forward under-fueled or under-gunned. Hitting Sector 6 underprepared closes doors you can't easily reopen.
Achievements and trophies planner (what to expect)
GuidesChasing 100% in Across the Unknown? Here's what to know before you start.
- Platform totals
- 60 achievements on Steam/Xbox; 61 trophies on PlayStation. Estimated difficulty: 5/10. Roughly 25 hours for an experienced platinum run.
- Categories
- Sector completions, away mission outcomes, room counts, tech tiers, recruitments, and ending-specific requirements.
- Canon conflict warning
- The Canon ending requires the original B'Elanna (not Human B'Elanna). If you accidentally lock into the Human variant, you'll need a different run.
- Multiple playthroughs
- You can't grab all endings and recruitments in one save. Plan for several runs with divergent choices.
Screenshots