Ball x Pit Guides
- Smarter Cheating: The Best Trainers for Ball x Pit
- Crashes and Freezes: Known Issues and Workarounds
- Free Damage During Boss Intros
- When to Grab Fusion Reactors (So You Don’t Brick Your Build)
- Stats Decoded: What Each Attribute Actually Does
- All 42 Ball Evolutions and How to Craft Them
- Every Character, How to Unlock Them, and Why They’re Good
- All Achievements in Ball x Pit and How They Pop
- Passive Item Evolutions: What Combines Into What
- Base Building 101: Smarter Layouts, Faster Progress

Smarter Cheating: The Best Trainers for Ball x Pit
CheatsIf you want to experiment or speed through single-player runs, third‑party trainers work well with Ball x Pit. They won't mess with leaderboards, but they can change your pacing and may block some achievements—so back up your saves first.
WeMod
- User-friendly toggles for things like unlimited health, infinite resources, and XP multipliers
- Free and premium tiers; premium gets earlier trainer access and priority support
- Great if you just want quick, simple switches during a run
FearLess Cheat Engine (CE Table)
- 30+ options with granular control (last updated Oct 21, 2025)
- Highlights include:
- Multiply Exp Gain and Exp Multiplier Edit
- Multiply Move Speed
- Resource edits for gold, wheat, wood, stone
- Stat edits for Strength, Endurance, Leadership, Speed, Dexterity, Intelligence
- How to use:
- Install Cheat Engine, open the .CT file
- Click the PC icon in CE, attach to Ball x Pit’s process
- Toggle checkboxes or edit values as needed
Before you flip the switches
- Some mods can break the intended difficulty curve or cause odd interactions
- Always keep a backup of your save folder
- Test big changes on a throwaway run first
Crashes and Freezes: Known Issues and Workarounds
GlitchSome players hit freezes or full crashes after boss kills—right as the game transitions to rewards. It's inconsistent, but losing an entire run to a crash is the worst.
What's happening
- Post-boss transitions can hard-freeze or crash to desktop
- Affects multiple platforms
- Frequency varies by setup; some report it nearly every boss, others rarely
Try this first
- Drop graphics settings a notch
- Close background apps, especially overlays (Steam, Discord, GeForce Experience)
- Update GPU drivers
- Verify game files (platform tools) to fix any corrupted installs
If it still happens, it likely needs a patch. Some character/passive combos (like automated play) appear more crash-prone, so avoid them if you're mid-achievement or on a great run.
Protect your progress
- Enable cloud saves where available
- Manually back up your save folder periodically and keep versioned copies
- If you crash, restore from backup before relaunching to avoid saving corrupted data
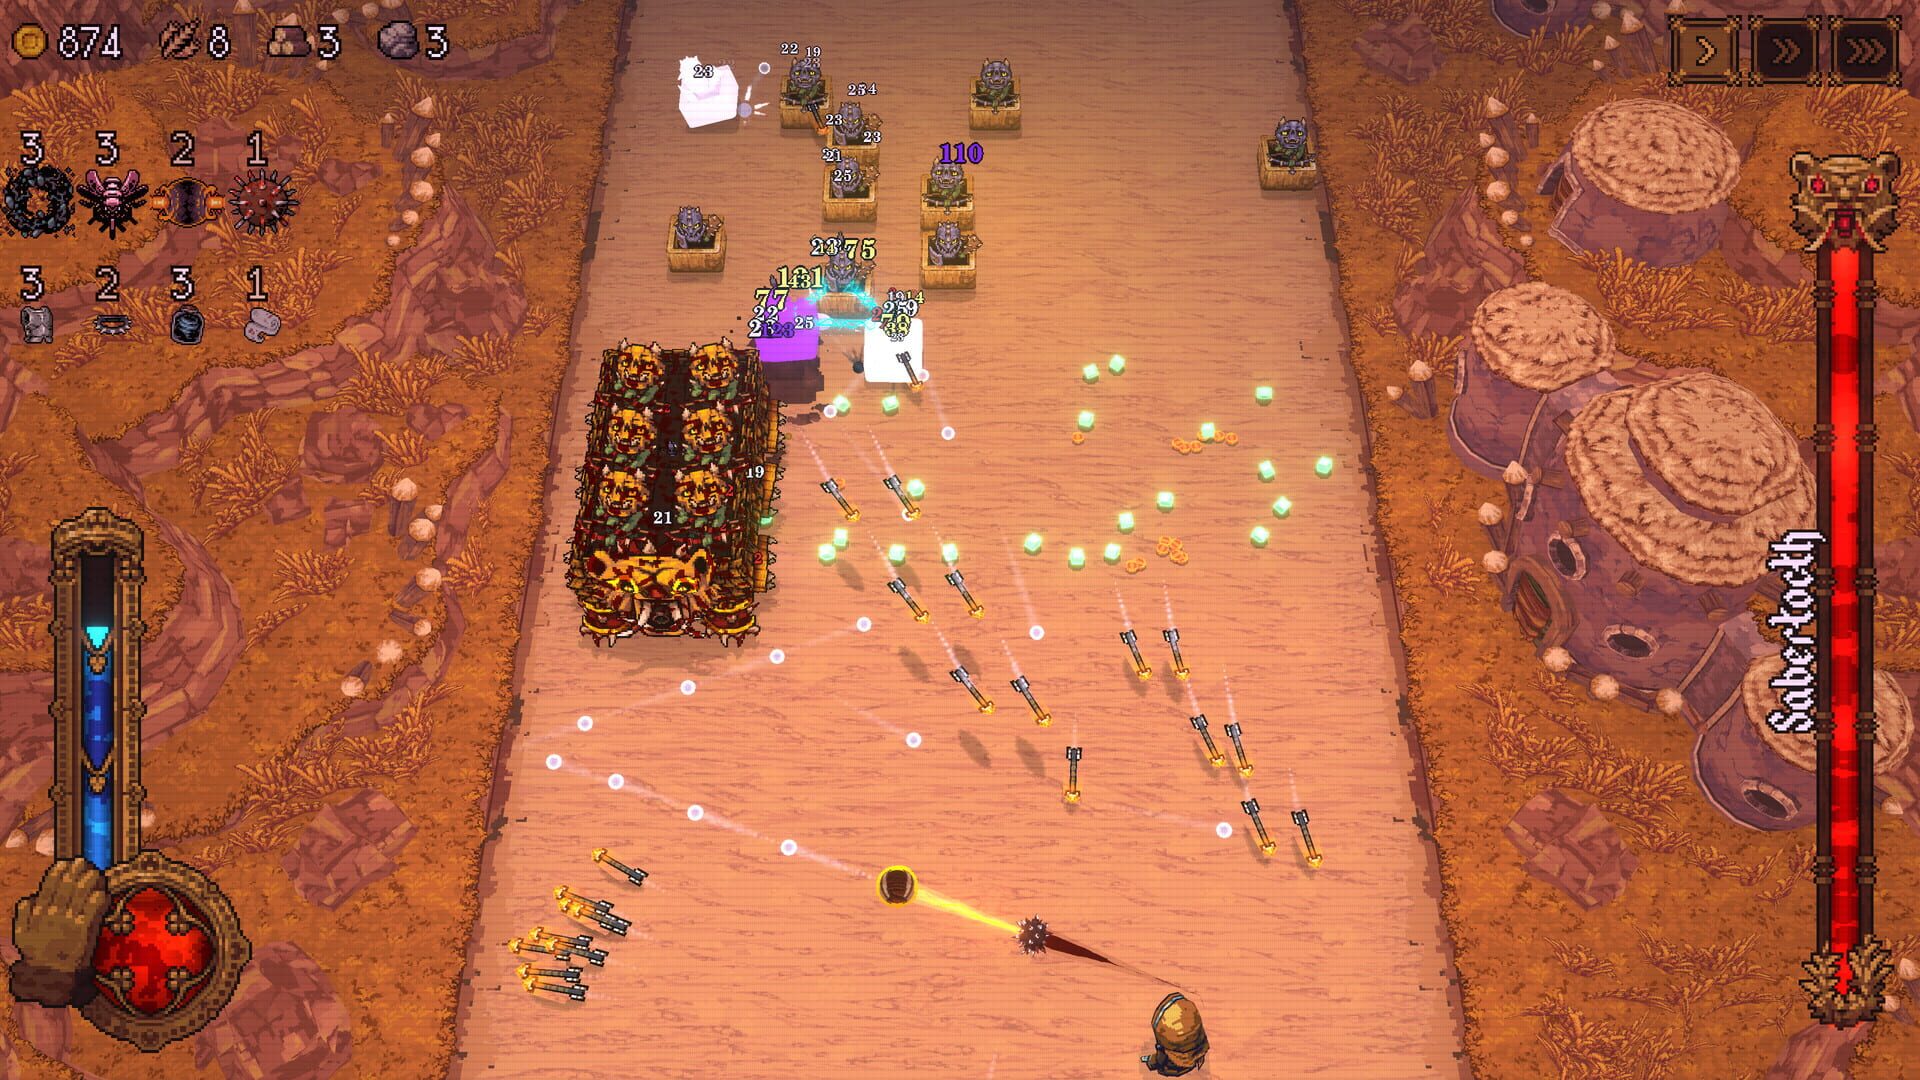
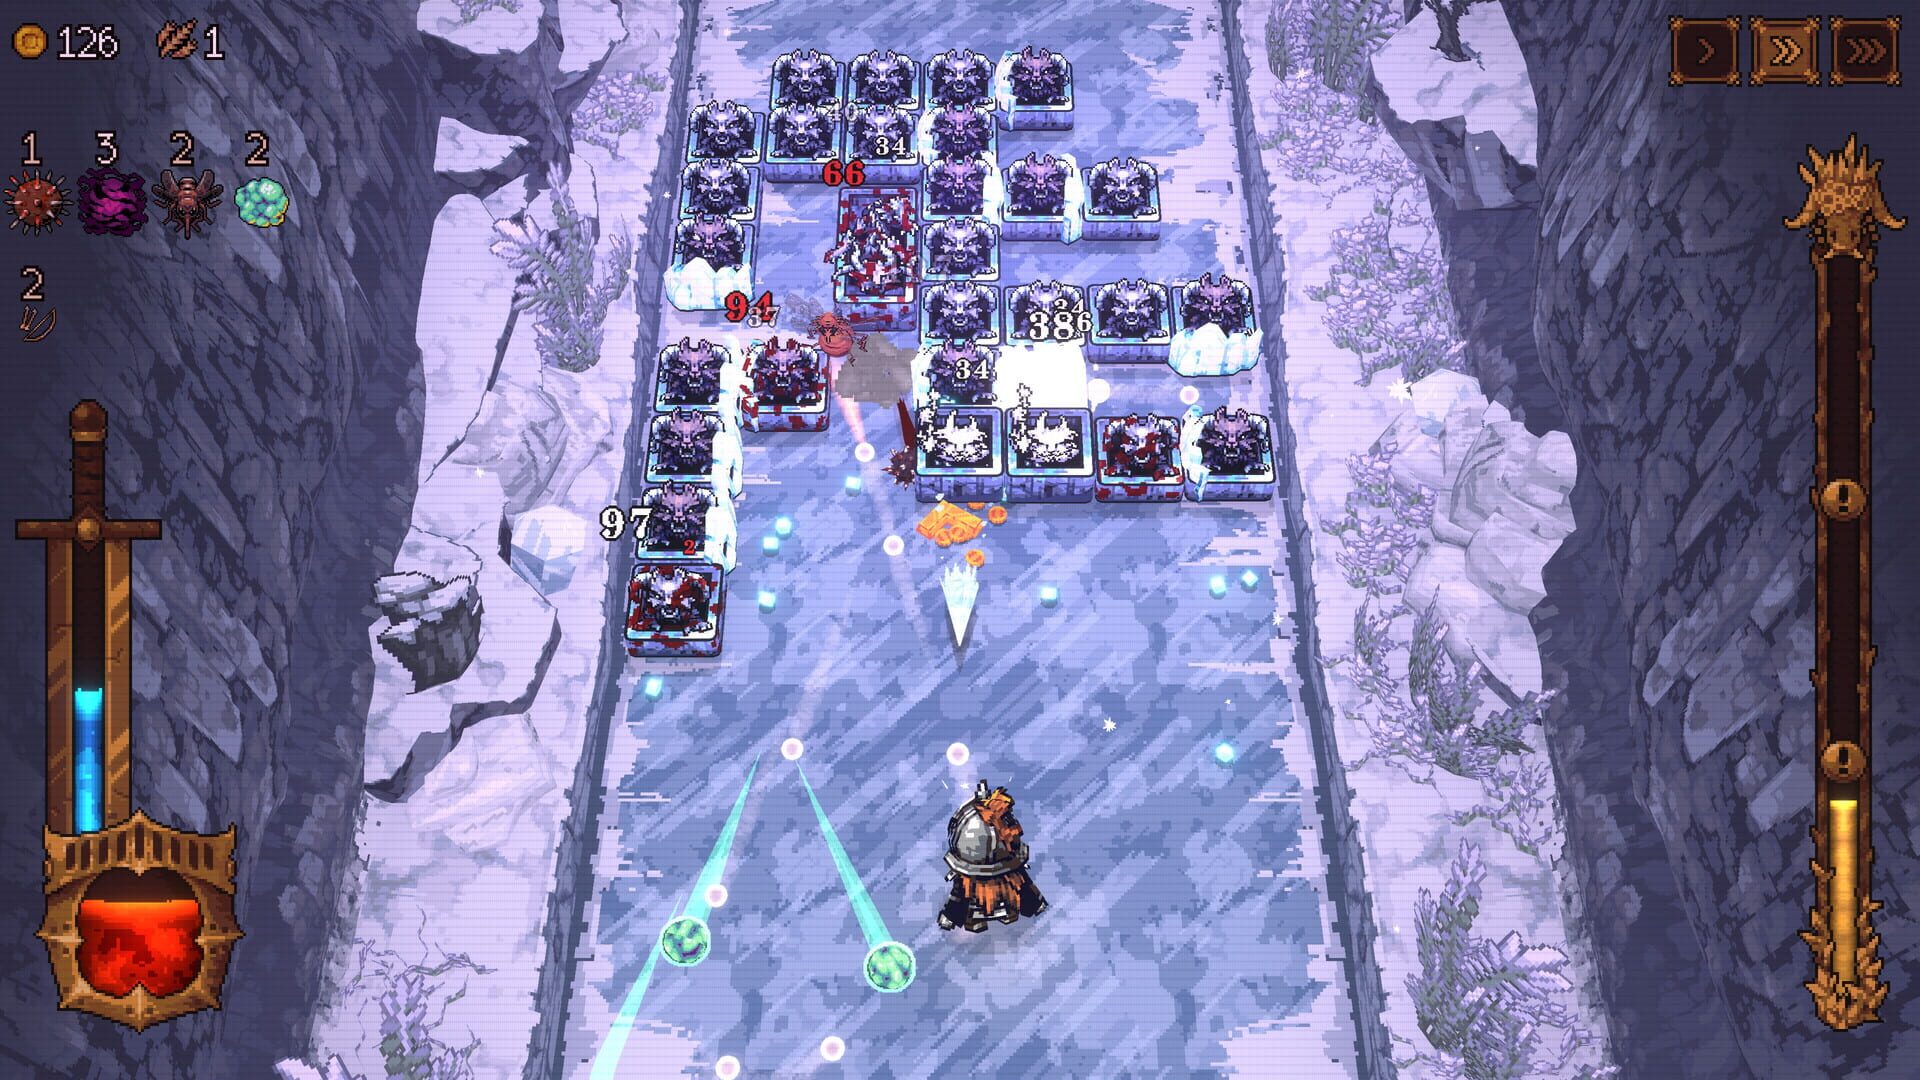
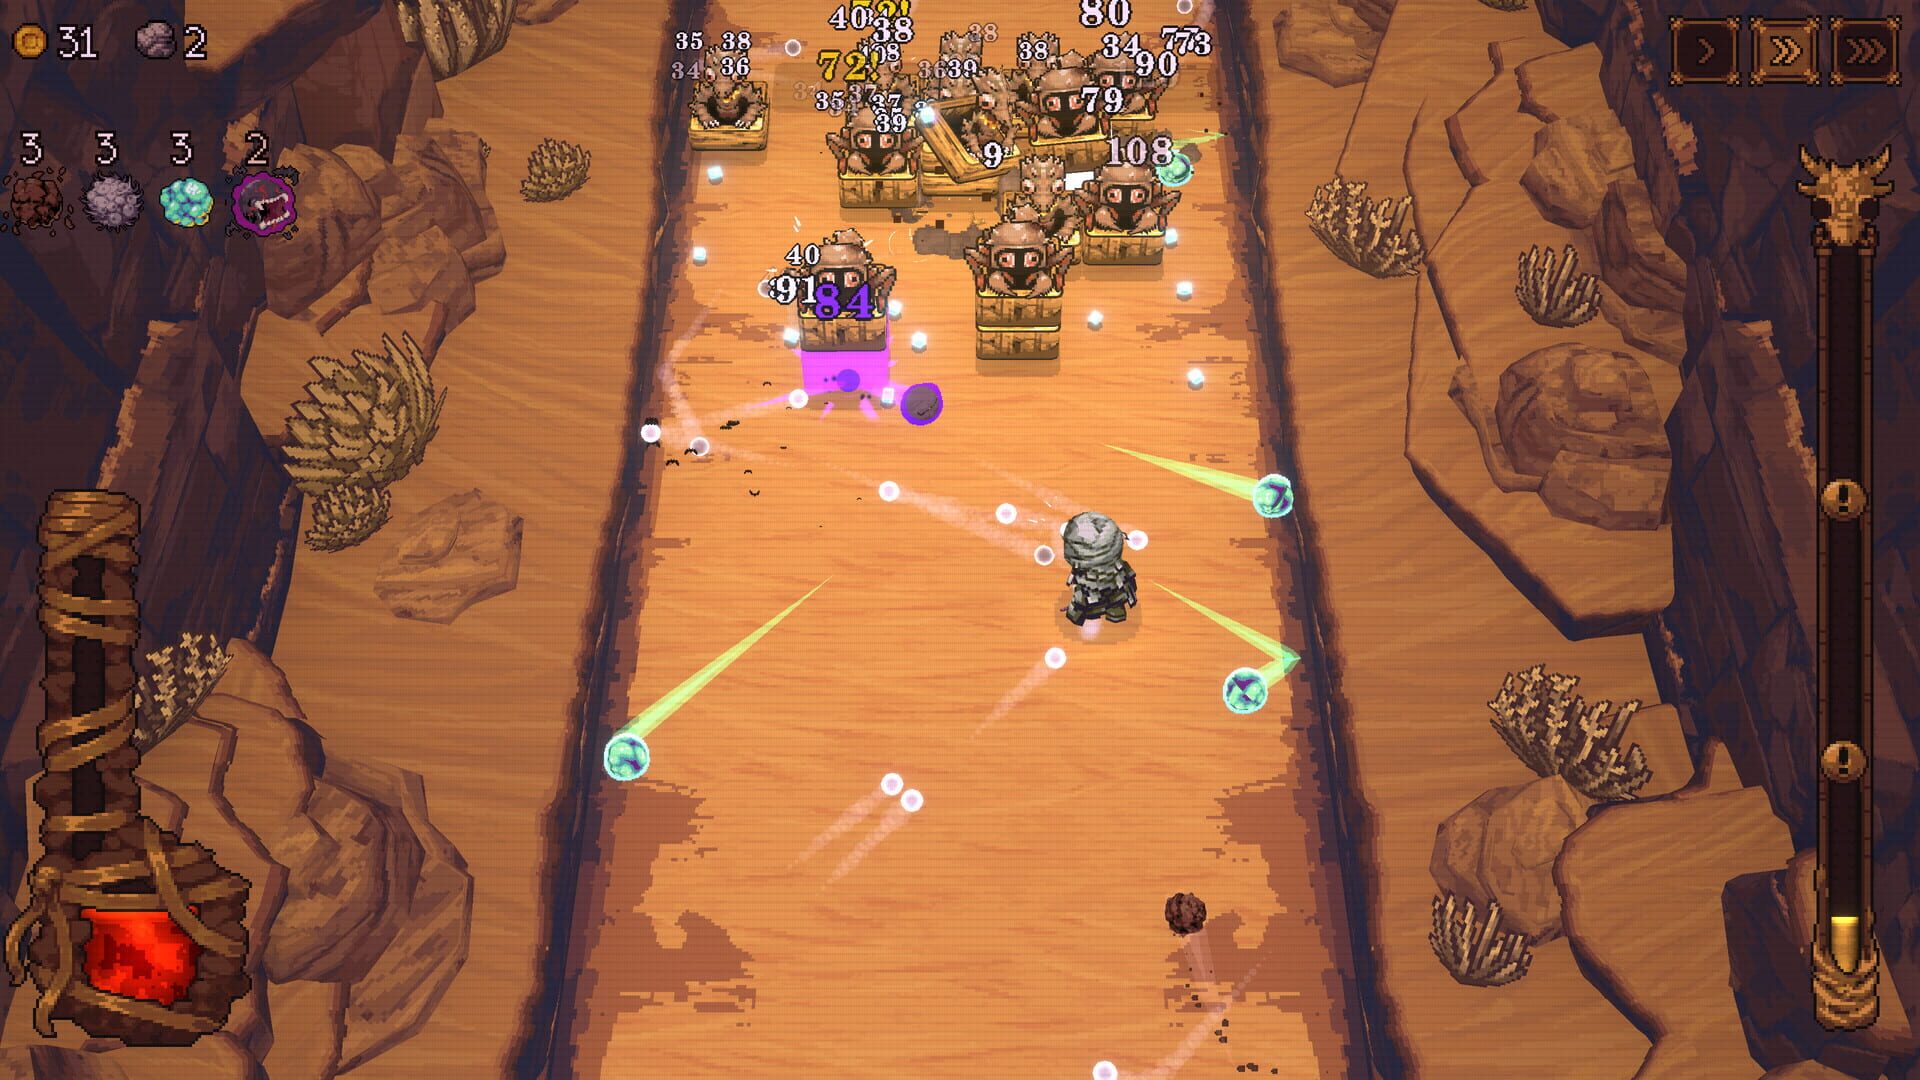
Free Damage During Boss Intros
IndicesBosses in Ball x Pit can take damage during their intro animation, and certain builds can milk that window for a chunky head start.
What you need
- Characters or balls that phase/pierce, like The Embedded or ghost-type balls
- Bonus synergy with The Shade (shots originate from the back and have a 10% base crit)
How to do it
- Position at max range before stepping into the arena.
- Start firing phasing balls the moment the boss appears.
- Aim toward the back wall to maximize bounces and pass-throughs.
- Watch the right-side boss HP bar—if it's dropping, you're cashing in.
- Be ready to dodge as soon as the intro ends.
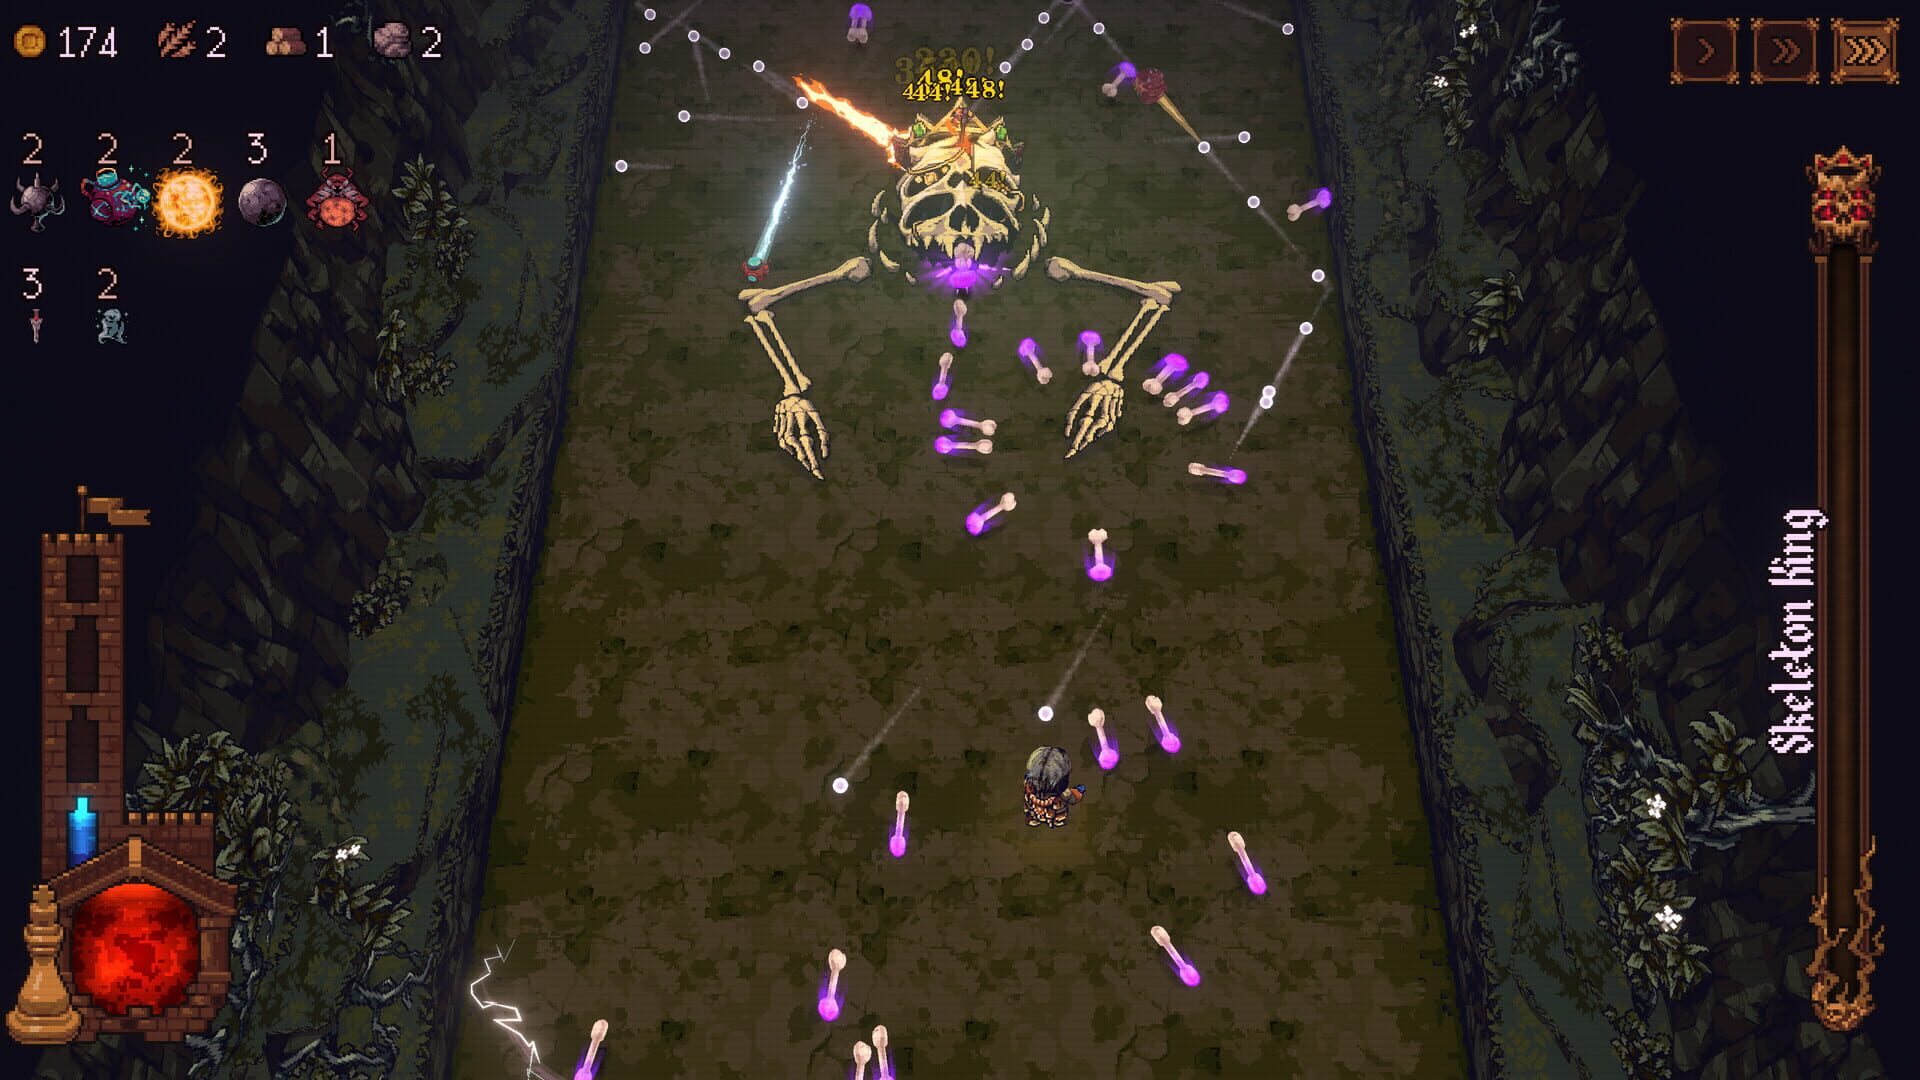
Expect to shave off 10–20% of a boss’s health on early fights (Skeleton King is a common victim). This hasn't been patched as of late 2025, so it's still a great way to smooth out tough runs.
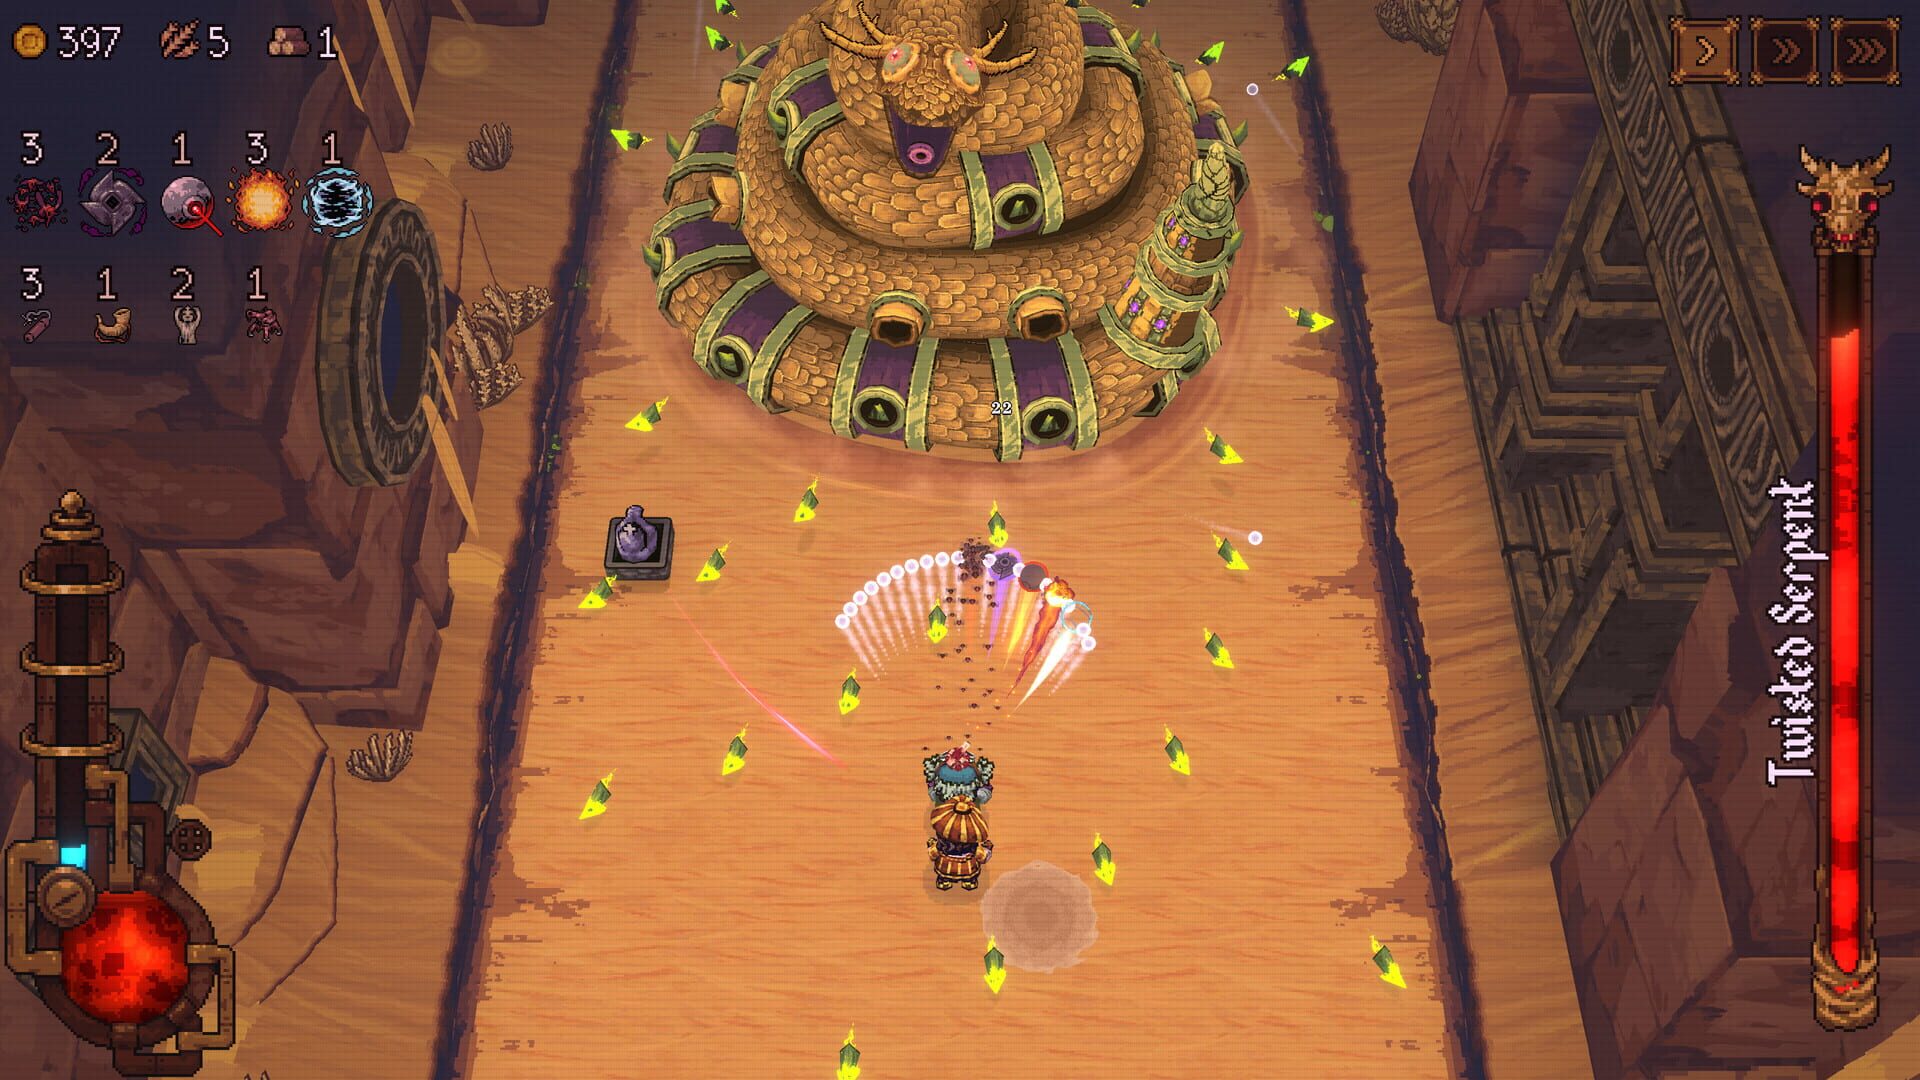
When to Grab Fusion Reactors (So You Don’t Brick Your Build)
IndicesFusion Reactors are incredible—if you time them right. The game only offers evolution when you have the exact two level 3 balls that combine into something specific. Otherwise, you'll be stuck with fusion or fission, which can scatter your upgrades.
Golden rule
- Don't pick up a Fusion Reactor until you're holding two compatible level 3 balls. If you've got a L3 and a L2, farm a bit more XP first. Reactors linger on-screen—use that time.
Boss and mini-boss planning
- Mini-bosses drop a Reactor: plan your leveling so you hit two compatible L3s right before the kill.
- The first two stage bosses each guarantee a Reactor: line your build around those beats to evolve under zero pressure.
Common mistakes
- Grabbing Reactors on sight without checking ball levels
- Fissioning while you’ve got a messy spread (like one L3 and two L2s), which can ruin future evolution paths
- Evolving too early before you know which combos you’re actually chasing
Pro tip
- Use the in‑game Encyclopedia to confirm which pairs evolve (e.g., Frozen Flame from Burn + Freeze) so you can level with intention.
Stats Decoded: What Each Attribute Actually Does
IndicesBall x Pit runs on six core stats. Understanding these makes your building upgrades and character choices way more intentional.
- Endurance: Your max HP. More Endurance = more mistakes allowed. Scales harder in later zones.
- Strength: Raw direct-hit damage for most balls. Great early when your kit is simple.
- Leadership: Max number of baby balls. Massive DPS over time unless your character disables baby balls (e.g., The Empty Nester, Makeshift Sisyphus).
- Speed: Ball velocity. Faster clears, trickier catches. Synergizes with bounce- or distance-based effects.
- Dexterity: Crit chance. Plays nicely with crit-based passives and characters like The Shade (starts at 10%).
- Intelligence: AOE and status potency. The stat for builds centered on DoTs, beams, and ground effects. It’s the only offensive stat that matters for The Makeshift Sisyphus (who deletes direct-hit damage but quadruples AOE/status).
Building strategy
- Early on, flat bonuses matter more.
- As you stack levels and structures, scaling bonuses (letter grades up to S) become huge.
- Chasing S rank in a stat takes multiple buildings and upgrades, but the payoff can be run-defining—especially for niche characters like Makeshift Sisyphus.
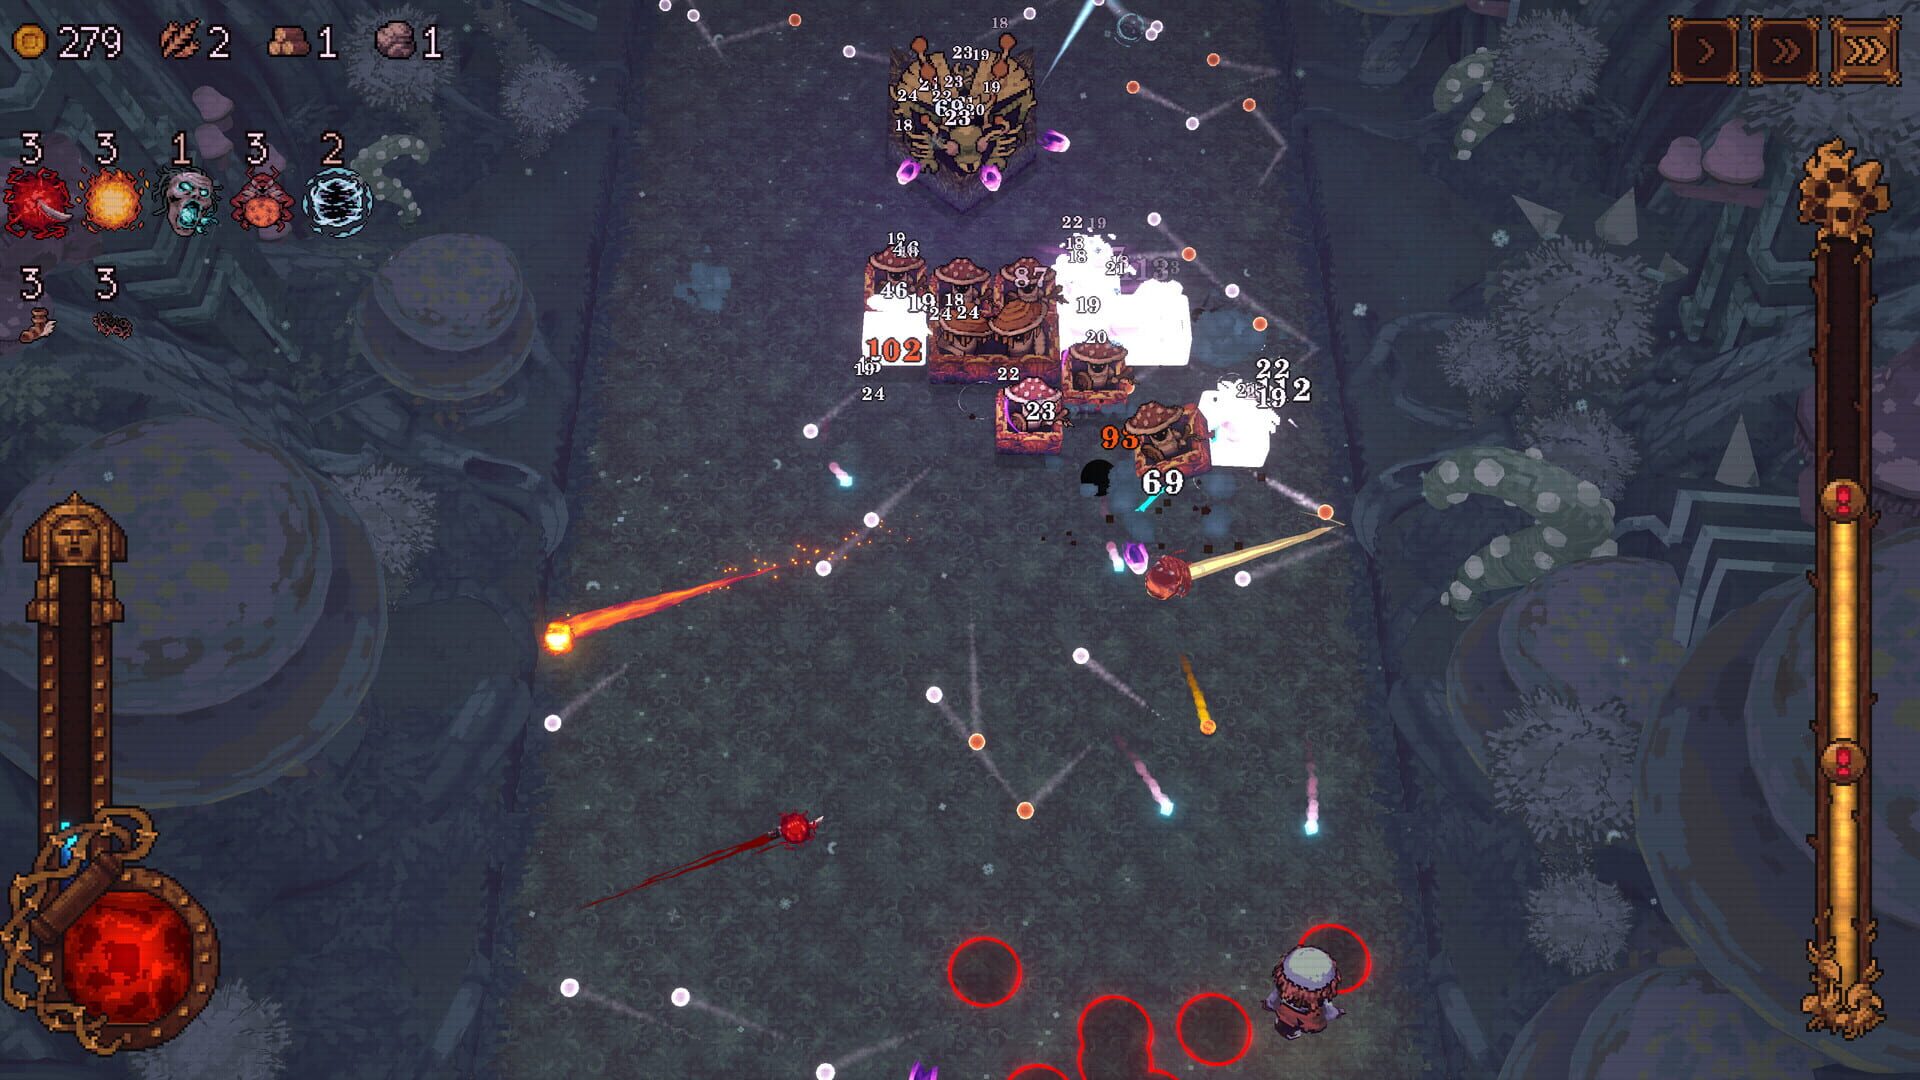
All 42 Ball Evolutions and How to Craft Them
GuidesEvolutions transform two level 3 balls into a brand-new monster with unique rules. Fusion just mixes effects—evolution creates a new ball entirely. Use a Fusion Reactor when you have the exact pair.
Core mechanics
- You only see an evolution option if your two L3 balls are a valid pair.
- The Encyclopedia (pause menu) logs discovered evolutions with silhouettes for missing ones.
Bleed Evolutions
- Vampire Lord (Bleed + Vampire/Dark): Big bleed stacking, self-heal, consumes high stacks for burst.
- Hemorrhage (Bleed + Iron): Faster bleed stacking and higher tick damage.
- Leech (Bleed + Brood Mother): Latches and drains while healing you.
- Sacrifice (Bleed + Dark): Adds heavy bleed and a curse that detonates after multiple hits.
- Berserk (Bleed + Charm): Bleed with crowd control twists.
Burn Evolutions
- Magma (Burn + Earthquake): Persistent lava pools that burn and damage over time.
- Frozen Flame (Burn + Freeze): Frostburn stacks that boost all damage taken.
- Bomb (Burn + Iron): Impact explosions plus burn spread.
- Nuclear Bomb (Bomb + Poison): Massive blasts with radiation-style DoT.
- Inferno (Burn + Wind): Applies burn in an area pulse.
- Sun (Burn + Light): Burns and blinds over time.
Freeze Evolutions
- Frozen Flame (Freeze + Burn): Same as above.
- Wraith (Freeze + Ghost): Freezes enemies you phase through.
- Glacier (Freeze + Earthquake): Frozen ground zones for control.
- Blizzard (Freeze + Lightning/Wind): Freezing AOE detonation.
- Freeze Ray (Freeze + Laser H/V): Beam with damage and freeze chance.
Laser Evolutions
- Holy Laser (Laser H + Laser V): Row and column beams—screen clearer.
- Freeze Ray (Laser + Freeze): See above.
- Laser Beam (Laser H + Light): Upgraded light-infused laser.
- Radiation Beam (Laser H + Poison/Cell): Beam that spreads poison.
Ghost Evolutions
- Wraith (Ghost + Freeze): See above.
- Phantom (Ghost + Dark): Stronger phasing with dark effects.
- Assassin (Ghost/Iron + Iron/Dark): Front pierce, backstop, big backstab bonus.
- Virus (Ghost + Poison): Disease stacks that can spread on death.
- Soul Sucker (Ghost + Vampire): Phasing plus life-steal synergy.
Vampire Evolutions
- Vampire Lord (Vampire + Bleed/Dark): See above.
- Mosquito Swarm (Vampire + Egg Sac): Spawns killers that heal on kills.
- Mosquito King (Vampire + Brood Mother): Upgraded swarm.
- Succubus (Vampire + Charm): Charm chance, bonus healing vs charmed; needed for Satan.
- Nosferatu (Vampire Lord + Spider Queen + Mosquito King): Late-game mega-evolution.
Brood Mother Evolutions
- Spider Queen (Brood Mother + Egg Sac): Spawns egg sacs on hits.
- Mosquito King (Brood Mother + Vampire): See above.
- Leech (Brood Mother + Bleed): See above.
- Maggot (Brood Mother + Cell): Spawns maggots that attach.
Earthquake Evolutions
- Magma (Earthquake + Burn): See above.
- Swamp (Earthquake + Poison): Slowing tar zones with poison stacks.
- Glacier (Earthquake + Freeze): See above.
- Sandstorm (Earthquake + Wind): Wide AOE coverage plus ground damage.
- Overgrowth (Earthquake + Cell): Expanding organic slow/damage zones.
Lightning Evolutions
- Blizzard (Lightning + Freeze): See above.
- Lightning Rod (Lightning + Iron): Implants rods that call periodic strikes.
- Storm (Lightning + Wind): Nearby lightning bolts for big AOE damage.
- Flash (Lightning + Light): Speedy strikes with light properties.
Egg Sac Evolutions
- Spider Queen (Egg Sac + Brood Mother): See above.
- Mosquito Swarm (Egg Sac + Vampire): See above.
- Shotgun (Egg Sac + Iron): Burst spread on pop.
- Voluptuous Egg Sac (Egg Sac + Cell): Splits into multiple sacs on hit.
Dark Evolutions
- Assassin (Dark + Iron): See Ghost tree.
- Sacrifice (Dark + Bleed): See Bleed tree.
- Phantom (Dark + Ghost): See Ghost tree.
- Incubus (Dark + Charm): Needed for Satan.
- Satan (Incubus + Succubus): Late-game powerhouse.
- Vampire Lord (Dark + Vampire): See Bleed tree.
- Noxious (Dark + Wind/Poison + Wind): Poisonous AOE amped by darkness.
Wind Evolutions
- Blizzard (Wind + Freeze): See Freeze tree.
- Inferno (Wind + Burn): See Burn tree.
- Storm (Wind + Lightning): See Lightning tree.
- Sandstorm (Wind + Earthquake): See Earthquake tree.
- Noxious (Wind + Poison/Dark): See Dark tree.
Light Evolutions
- Sun (Light + Burn): See Burn tree.
- Flash (Light + Lightning): See Lightning tree.
- Laser Beam (Light + Laser H): See Laser tree.
- Flicker (Light + Dark): Alternates light/dark properties.
- Lovestruck (Light + Charm): Light-based charm bonuses.
Poison Evolutions
- Nuclear Bomb (Poison + Bomb): See Burn tree.
- Virus (Poison + Ghost/Cell): See Ghost/Cell trees.
- Swamp (Poison + Earthquake): See Earthquake tree.
- Radiation Beam (Poison + Laser H): See Laser tree.
- Noxious (Poison + Wind): See Wind/Dark.
Cell Evolutions
- Voluptuous Egg Sac (Cell + Egg Sac): See Egg Sac tree.
- Maggot (Cell + Brood Mother): See Brood Mother.
- Overgrowth (Cell + Earthquake): See Earthquake.
- Radiation Beam (Cell + Laser H): See Laser.
- Virus (Cell + Poison): See Poison.
Charm Evolutions
- Succubus (Charm + Vampire): See Vampire.
- Incubus (Charm + Dark): See Dark.
- Berserk (Charm + Bleed): See Bleed.
- Lovestruck (Charm + Light): See Light.
Iron Evolutions
- Bomb (Iron + Burn): See Burn.
- Lightning Rod (Iron + Lightning): See Lightning.
- Assassin (Iron + Ghost/Dark): See Ghost/Dark.
- Hemorrhage (Iron + Bleed): See Bleed.
- Shotgun (Iron + Egg Sac): See Egg Sac.
Special multi-part evolutions
- Nosferatu = Vampire Lord + Spider Queen + Mosquito King
- Satan = Incubus + Succubus
- Black Hole = Dark + Sun (after you’ve made Sun)
Plan evolutions around guaranteed Fusion Reactors from the first two bosses in each stage to build reliably toward your endgame combo.
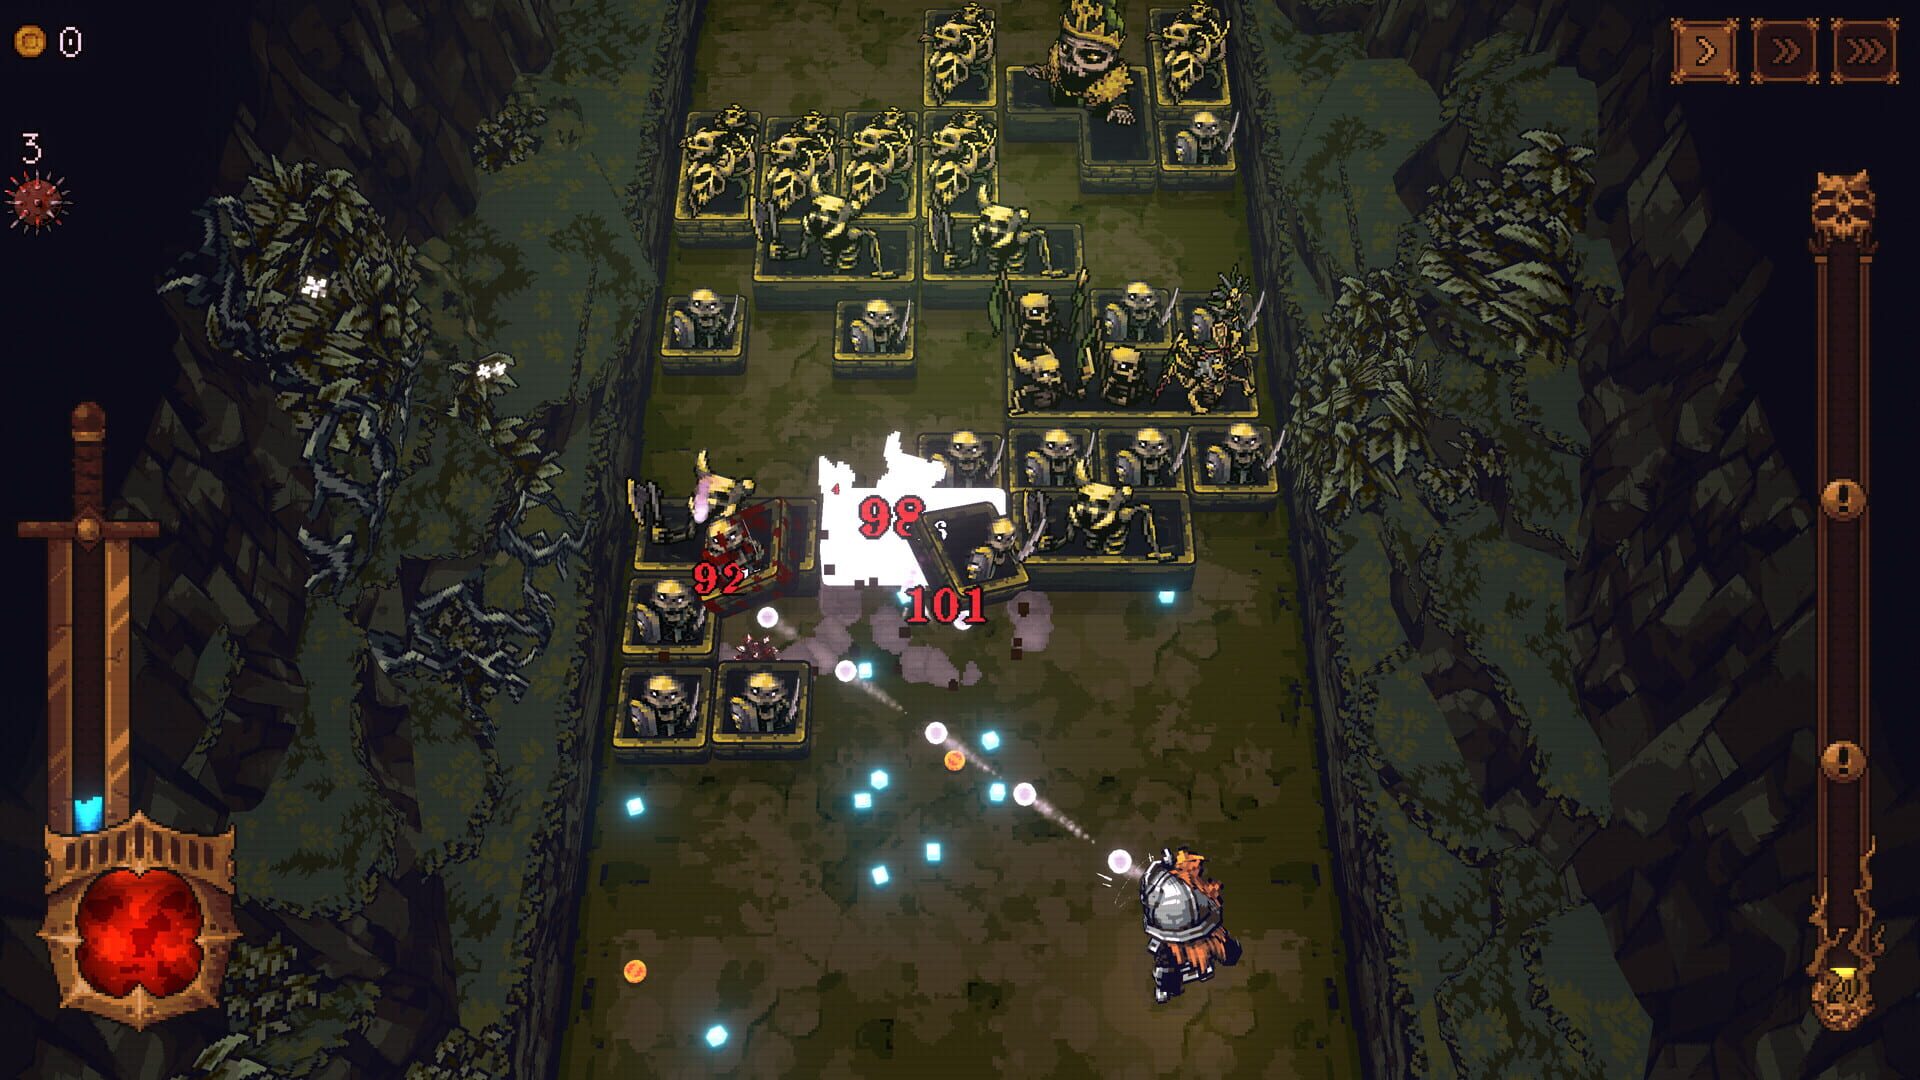
Every Character, How to Unlock Them, and Why They’re Good
GuidesBall x Pit has 16 characters that change how the game plays. Build their houses to unlock them, then level them to juice your whole roster via base bonuses.
Early staples
- The Warrior: Vanilla kit, starts with Bleed. Great for fundamentals.
- The Achy Finger: Unlocked via Sheriff’s Office. Scattered aim, double fire rate, moves at full speed while shooting. Starts with Burn. Early-game MVP for farming.
Mid-game unlocks
- The Repentant: Damage ramps with bounces; back-wall returns pierce through enemies.
- The Embedded: Shots pierce until a wall—amazing crowd shred, slower returns.
- The Cogitator: Auto-picks upgrades. Chill runs, solid farming.
- The Cohabitants: Fires a mirrored shot that does half damage. Twice the coverage.
- The Shade: Shoots from the back; base 10% crit. Safer angles, crit builds love it.
- The Empty Nester: No baby balls. Fires multiple instances of your special ball. Leadership becomes dead weight, but single-target melts.
- The Shieldbearer: Reflects balls with a shield; each shield bounce doubles damage. Skill ceiling is high.
- The Spendthrift: Dumps all balls at once in a spread. Huge burst, then downtime.
- The Flagellant: Balls bounce off the bottom instead of being caught. Constant uptime, absurd damage once you adjust your angles.
- The Physicist: Gravity pulls shots backward. Weird at first; shines with back-wall tech.
- The Juggler: Lobs to target spots; balls start bouncing on landing. Pinpoint AOE placement monster.
Late-game weirdos
- The Makeshift Sisyphus: Direct hits do nothing; AOE/status deal 4x. No baby balls. Stack Intelligence and watch screens evaporate.
- The Radical: Fully automated movement, attacks, and upgrades. Fine farmer; struggles with hazards and edge-case boss logic.
- The Matchmaker: Blueprint that lets you bring two characters into one run. Enables cracked combos (e.g., early Burn + Freeze into Frozen Flame).
Notes and synergies
- Piercing/ghost kits can pre-damage bosses during intro animations.
- Characters without baby balls should avoid Leadership scaling and baby-ball passives.
- The Flagellant creates a natural “kill line” along the bottom—kite enemies into it.
- Achievement hunters: each stage needs wins with 10 different characters for “Conquered” cheevos, so diversify your roster.
All Achievements in Ball x Pit and How They Pop
GuidesThere are 63 achievements worth 1,000G across platforms. Expect about 30–35 hours if you play efficiently.
Stage clears (15G each)
- Finish each stage once:
- BONExYARD, SNOWYxSHORES, LIMINALxDESERT, GORYxGRASSLANDS, FUNGALxFOREST, SMOLDERINGxDEPTHS, HEAVENLYxGATES, VASTxVOID
Conquered series (15G each)
- Beat each stage with 10 different characters:
- All eight stages have a “Conquered” version—this is the grindy set. Unlocking and leveling multiple characters pays off here.
Game completion (70G)
- Ballbylon Has Risen: Clear the final stage (VASTxVOID) with 8 different characters to unlock the ending and NG+.
Town building (15G each)
- Build milestone structures (e.g., Worker’s Guild, Evolution Chamber, Relic Collector, Bag Maker, Carpenter)
- Reach +5 in any single attribute from a building
- Hit S Rank scaling in any attribute
- Build 15 housing structures
- Construct a Trophy and a Monument (monuments are infinitely upgradable)
- Land Grabber: Expand your base 5 times
Resource grinds (15G each)
- Legion Slayer: 100,000 total kills
- Cumulative harvests: 1,000 wheat, 1,000 wood, 1,000 stone, 5,000 gold
- Single-session harvests: 100 wheat, 100 wood, 100 stone, 1,000 gold
- City Planner: Collect 50 blueprints
Encyclopedia (15G)
- Scholar: Fill every entry. You’ll need all 42 ball evolutions, passive evolutions, and mechanics logged.
Tips
- Automated harvest (Worker’s Guild) makes single-session goals easier.
- Don't hit Retry after a run—you'll lose the resources you just earned.
- Some achievements may be sensitive to character combos; if one doesn't pop, try rediscovering with a different setup.
Passive Item Evolutions: What Combines Into What
GuidesPassive items can evolve too. Combine two level 3 passives at a Fusion Reactor to create a stronger version. Not every passive evolves, and sometimes keeping two separate items is better than fusing them into one.
Non-evolving passives
- Archer's Effigy, Artificial Heart, Baby Rattle, Bandage Roll, Bottled Tornado, Breastplate, Crown of Thorns, Cursed Elixir, Deadeye's Amulet, Diamond Hilted Dagger, Dynamite, Emerald Hilted Dagger, Ethereal Cloak, Everflowing Goblet, Eye of the Beholder, Fleet Feet, Frozen Spike, Gemspring, Ghostly Corset, Ghostly Shield, Golden Bull, Hand Fan, Hand Mirror, Healer's Effigy, Hourglass, Kiss of Death, Lover's Quiver, Magic Staff, Magnet, Midnight Oil, Pressure Valve, Protective Charm, Radiant Feather, Reacher's Spear, Rubber Headband, Ruby Hilted Dagger, Sapphire Hilted Dagger, Shortbow, Silver Blindfold, Silver Bullet, Slingshot, Spiked Collar, Stone Effigy, Traitor's Cowl, Turret, Upturned Hatchet, Vampiric Sword, Voodoo Doll, Wagon Wheel, War Horn, Wretched Onion
Evolved passives
- Cornucopia = Baby Rattle + War Horn
- Gracious Impaler = Reacher's Spear + Deadeye's Amulet
- Odiferous Shell = Breastplate + Wretched Onion
- Phantom Regalia = Ethereal Cloak + Ghostly Corset
- Soul Reaver = Everflowing Goblet + Vampiric Sword
- Tormentor's Mask = Crown of Thorns + Spiked Collar
- Wings of the Anointed = Fleet Feet + Radiant Feather
- Deadeye’s Cross = Diamond + Emerald + Ruby + Sapphire Hilted Daggers (four-part fusion)
Discovery tips
- Some passives don't appear until certain balls/mechanics are unlocked, so progress the ball tree first if you're missing components.
- Evolving can free up passive slots, but sometimes two separate items provide more total value than the combined result—builds vary, so test both paths.
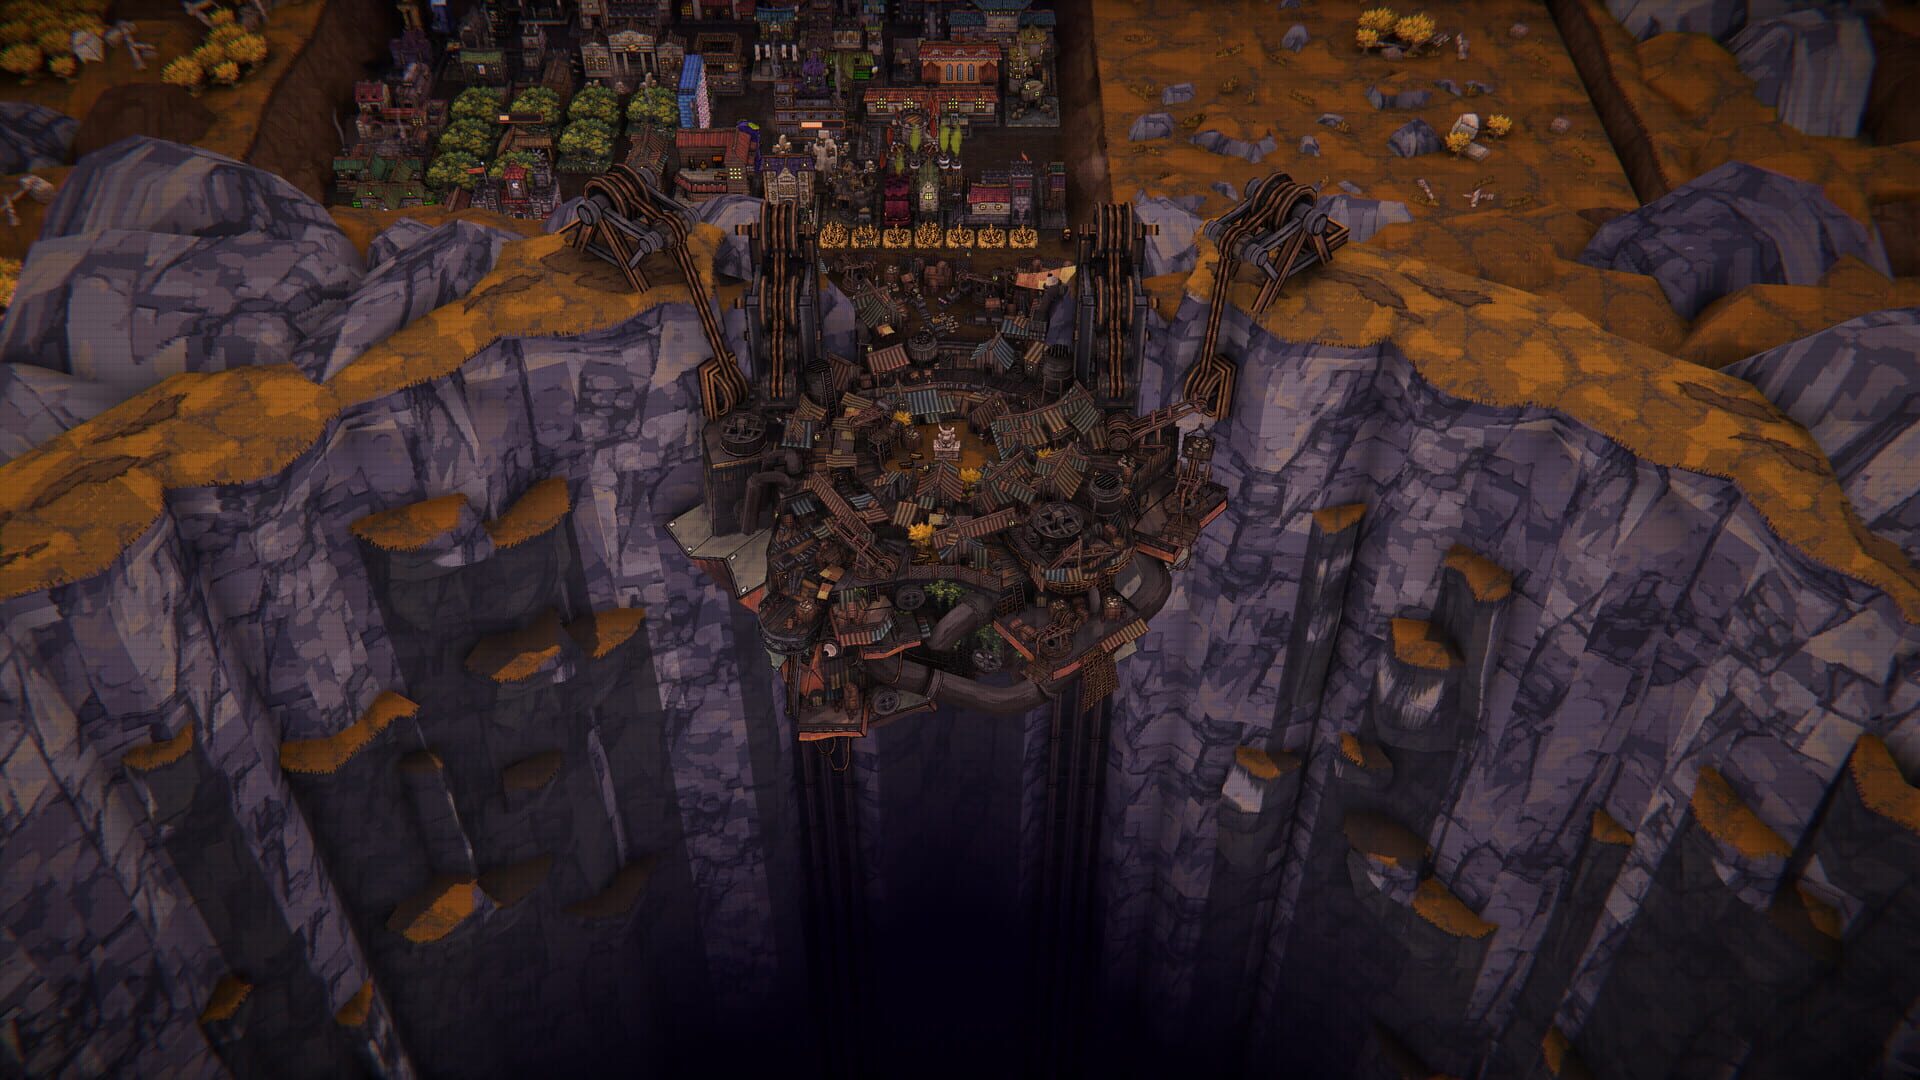
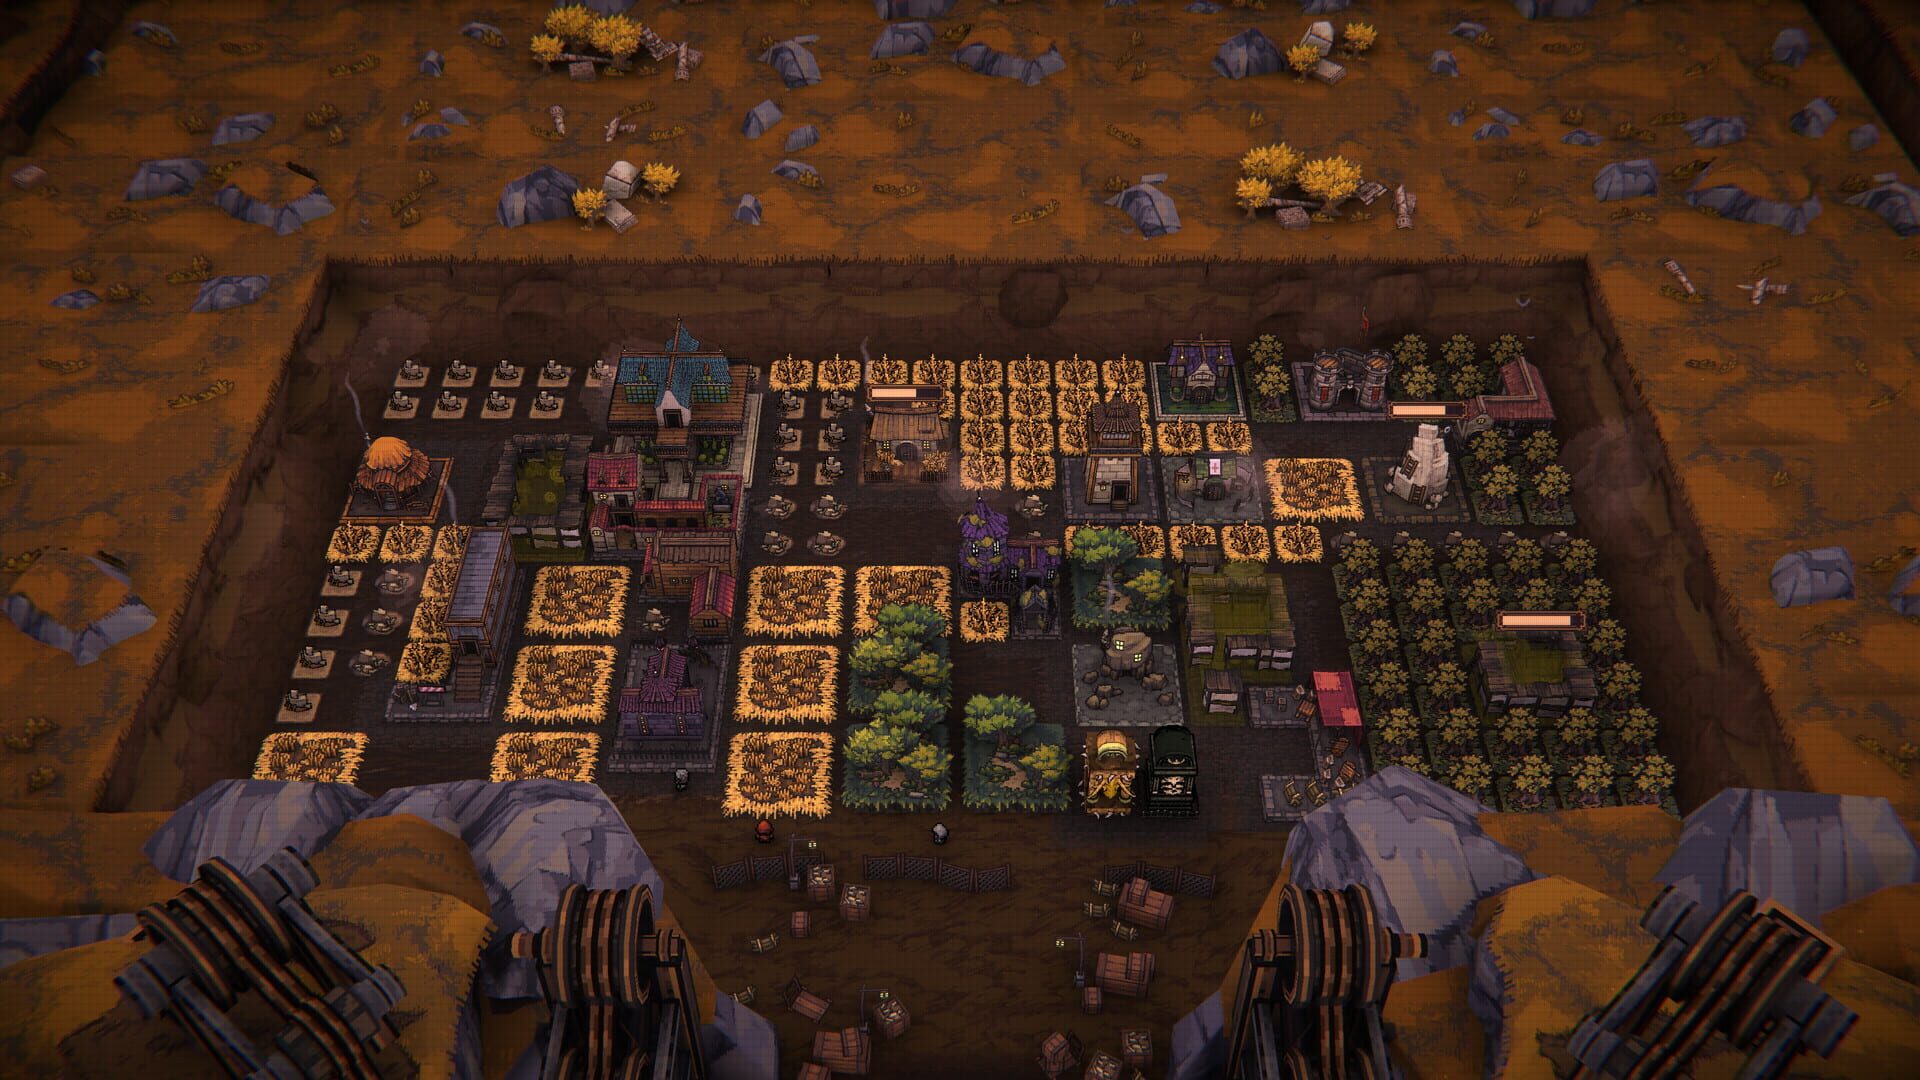
Base Building 101: Smarter Layouts, Faster Progress
GuidesYour base is the meta-progression backbone. Build smart, harvest often, and your runs snowball.
The four core resources
- Gold: Earned in runs; also used for rerolls.
- Wheat, Wood, Stone: Generated by fields, forests, and quarries you place and harvest between runs.
Blueprints
- Drop from stage clears and bosses. Some are finicky; if you're missing one late, try different characters or routes and keep clearing.
Placement matters
- Construction and harvest both use bounce physics. Centralize resource buildings in clusters; ring them with houses/stat buildings so harvesters can chain bounces without getting stuck.
- You can move buildings for free—iterate on layouts.
Early priorities
- Character houses (unlock more playstyles; grab The Achy Finger early for easy farming)
- Resource generators (fields/forests/quarries) to scale construction
- Worker’s Guild (lets you send characters on multiple harvest runs)
- Stat-scaling buildings (early flat boosts help; scaling becomes king later)
Advanced unlocks
- Evolution Chamber and Relic Collector for deeper run systems
- Monuments for infinite stat scaling
- Matchmaker to bring two characters into a single run
Harvest best practices
- Build lots of resource nodes and upgrade them
- Cluster resources tightly
- Rotate multiple characters for harvests
- Space out sessions so resources regenerate
Upgrades and land
- Upgrading buildings unlocks achievements (+5 in a stat, S Rank scaling) and huge power spikes.
- Expand land to avoid cramped layouts and future-proof your design.
Heads-up
- If you hit Retry after a run, you lose the gold/resources you just earned. Always return to town first.
Captures d'écran

Vidéos