Poppy Playtime: Chapter 4 - Safe Haven Glitches
- Omni-Hand Upgrade: The Executive Key to Everything
- Find Limón Early and Score the “Rescue Mission” Trophy
- Huggy Wuggy Lived—Bandaged, Broken, and Back
- Pianosaurus Was Teased Before It Got… Well, Pianosawed
- Barry the Conductor Cameo (And He Still Pulls His Weight)
- Riley’s Journal Tells the Saddest Story in the Toy Graveyard
- Artist Notes Hidden Around Safe Haven
- Yarnaby Death Loop Soft Lock
- Swing Bars Don’t Let You Climb (When You Really Need To)
- Plug Cords Get Stuck in the Floor and Fight You
- Baba Chops Arena Trap After the Fight
- Doey AI Loses You… Then Bursts From Below
- Subtitle Colors Are All Over the Place
- Gas Pipes Show the Wrong Color
- All Prison and Lab Codes You Need (No Guesswork)
- Doey Boss Fight: Freeze, Drag, Saw, Repeat
- How to Outsmart Yarnaby (Stealth First, Speed Second)

Omni-Hand Upgrade: The Executive Key to Everything
UnlockablesBeat The Doctor in his HQ to claim the Omni-Hand, a master-control upgrade used by Playtime Co. brass. It’s your universal key for late-game progression.
- What it does: Overrides security, manipulates machinery, and unlocks sealed paths.
- Where it matters: Critical through the Foundation section and beyond.
- It’s both a power spike and a story beat—expect doors (literal and metaphorical) to open.
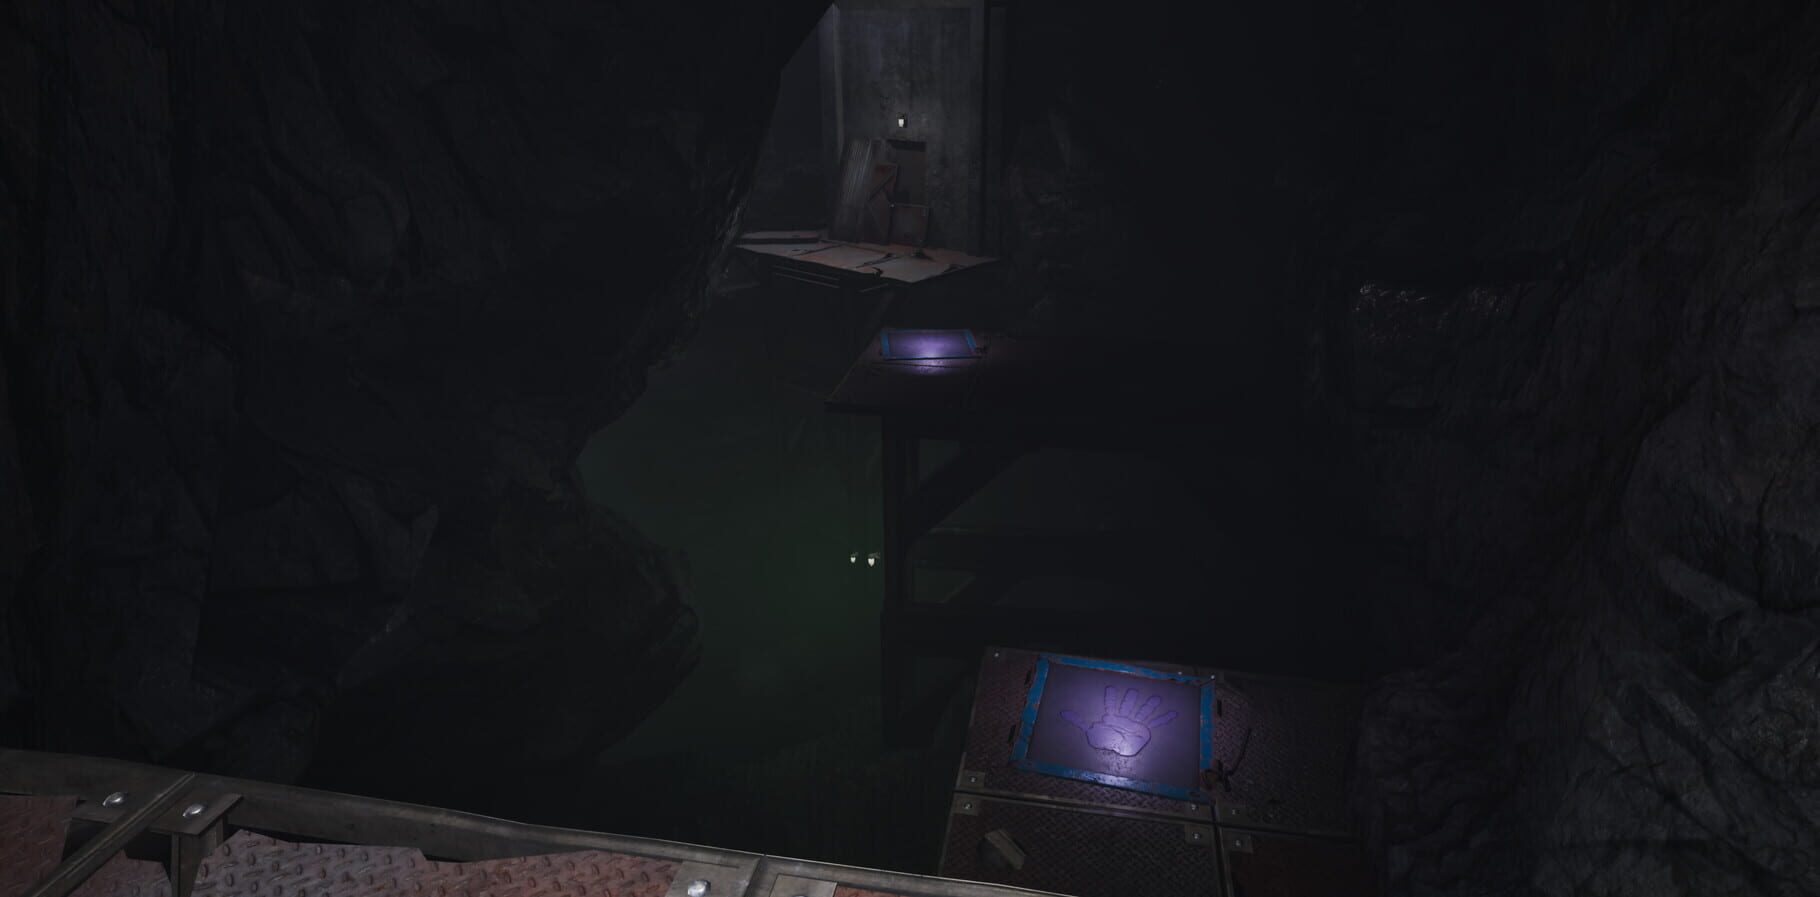
Find Limón Early and Score the “Rescue Mission” Trophy
Easter EggsLimón (yes, the lemon) is back, and Chapter 4 hides him right after the train puzzle. He’s more than a gag—he’s tied to a trophy if you handle him correctly.
How to grab Limón:
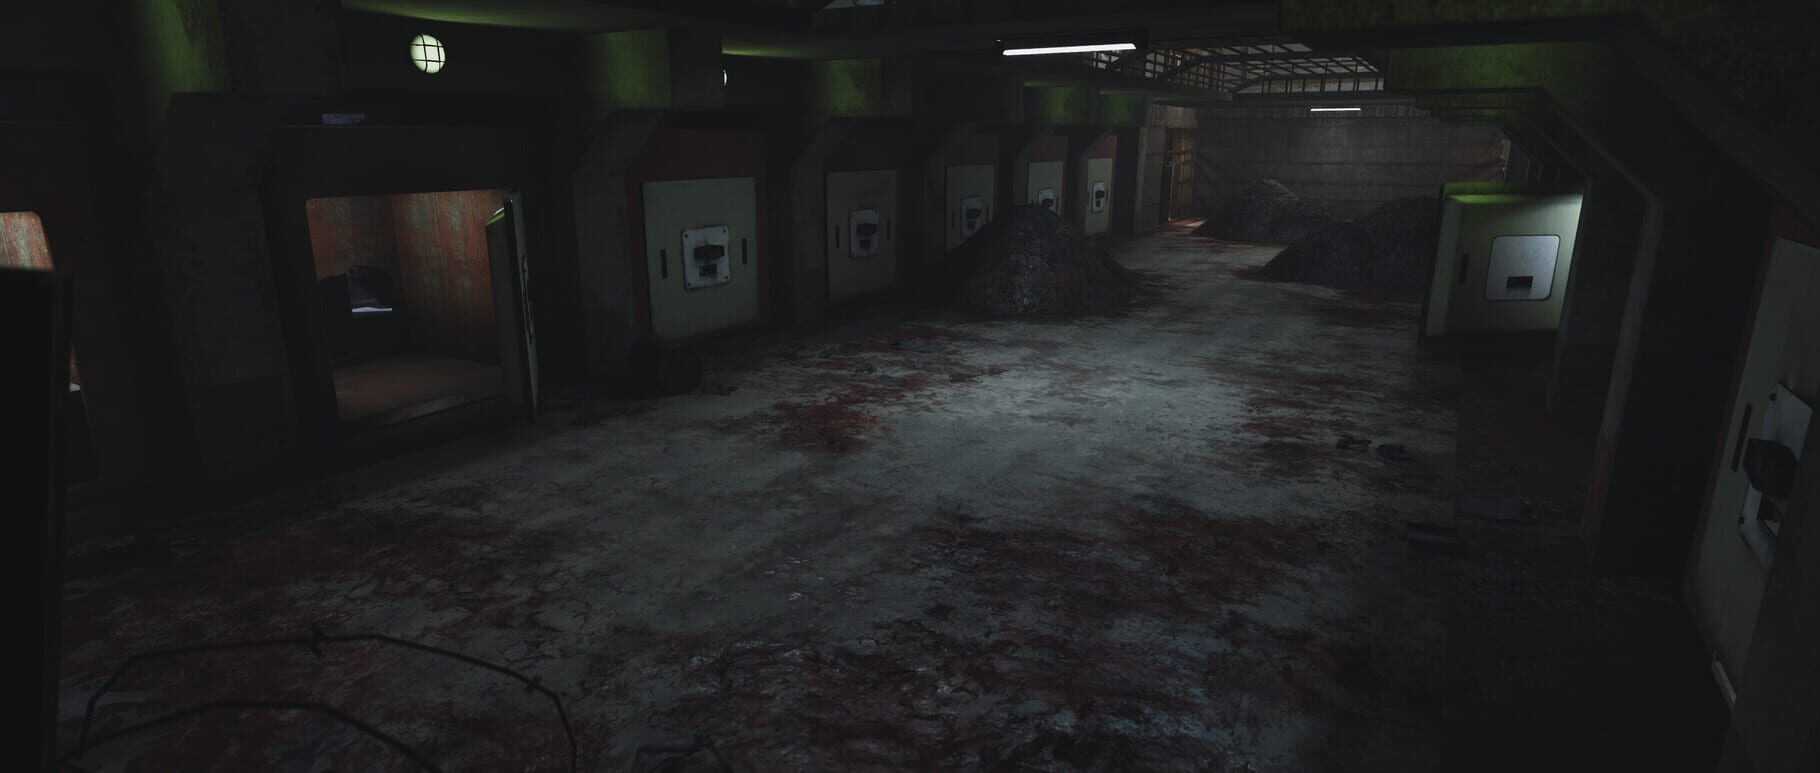
- After the train puzzle, head into the Prison Cell Blocks.
- Drop through a hole in a cell floor to the lower level.
- Find the cell with a boarded hole in the back wall. Yank the board with your GrabPack and crouch through.
- Walk to the far end of the corridor, then turn around and look back. Limón is on a girder above the entry. Pull him down with your GrabPack.
- Drop him to hear him say his name (adorable), or carry him along.
Trophy warning:
- For the “Rescue Mission” trophy, you must start a fresh save before picking up Limón. Otherwise, he can vanish and won’t respawn until you restart.
- Carry Limón all the way to Safe Haven and set him in the yellow plant pot in the generator room to pop the trophy.
Huggy Wuggy Lived—Bandaged, Broken, and Back
Easter EggsIf you were on “Huggy survived” copium since Chapter 1, you win. Chapter 4 confirms he’s alive—patched up, wrapped in bandages, and stitched like a Frankenstein plush. Environmental clues and his new look pay off years of fan theories without a single line of dialogue.
Pianosaurus Was Teased Before It Got… Well, Pianosawed
Easter EggsMob seeded Pianosaurus in holiday art long before Chapter 4 dropped—Doey jamming on the keys was the hint. In-game you spot a cutout before the real, grim reveal. It’s a clever setup that flips from whimsical to horrifying in seconds.
Barry the Conductor Cameo (And He Still Pulls His Weight)
Easter EggsBarry returns during the rail puzzles, and yes, you’re yanking him across tracks again. It’s a fun callback that mixes nostalgia with actual puzzle utility. Old friend, same job.
Riley’s Journal Tells the Saddest Story in the Toy Graveyard
Easter EggsYou’ll find journal entries from an orphan named Riley scattered through the Toy Graveyard. They chart her adoption, the awful experiments, and her transformation into a plush while her body remains. Her final note mentions stealing a train key and hiding it—and herself. Later, you’ll find what’s left of her. It’s brutal lore that makes the factory’s horrors feel painfully real.
Peek into the infirmary and other tucked-away rooms in Safe Haven and you’ll spot tiny dev messages and sketchy artwork. They feel like personal signatures from the environment artists—some playful, some a bit morbid. Little human touches in a very inhuman place.
Yarnaby Death Loop Soft Lock
GlitchesDying in the first Yarnaby chase can respawn you at the end of the intro cutscene without control—Yarnaby catches you immediately, causing an endless death loop. It can also recur after the zip line when entering the mining area.
Workaround: Rewatch the full cutscene. Checkpoint restarts won’t fix it.
Swing Bars Don’t Let You Climb (When You Really Need To)
GlitchesMost swing bars won’t let you pull up while you’re swinging, which is a nightmare during the Doey fight and post-Secondary Labs. Sometimes they block vertical progress entirely.
Workaround: Avoid relying on swing bars for height. Look for alternate routes and GrabPack anchors to climb instead.
Plug Cords Get Stuck in the Floor and Fight You
GlitchesPower plugs can yank out of your hand and clip into the floor—often after long pulls or sharp turns—forcing a full reload. They also resist being moved unless you do it just so.
- Workaround:
- Move slowly and avoid tight corners while carrying plugs.
- Use the grab → retract → walk a few steps → retract again rhythm to extend cords cleanly.
- If a plug clips into geometry, reload your save.
Baba Chops Arena Trap After the Fight
GlitchesIf you use the swing bar over the Baba Chops pit after beating him, the game may trigger the fight again—but the elevator stays up. No exit, soft lock.
Workaround: Don’t use that swing bar post-fight. If you’re trapped, reload a save from before the encounter or restart the chapter.
Doey AI Loses You… Then Bursts From Below
GlitchesDoey can “forget” where you are during chases, then lock onto your position and launch from underground right beneath you for an instant kill. He also wedges under swing bars if he’s too close during a swing, hard-locking the fight.
Workaround:
- Maintain max distance during non-freeze phases.
- Don’t swing if he’s directly below you.
- If he gets stuck or you soft lock, restart from the checkpoint.
Subtitle Colors Are All Over the Place
GlitchesName colors in subtitles are inconsistent, especially for secondary characters and even Hoppy’s VHS appearance. Some toys have unique colors; others don’t. It’s purely cosmetic but distracting.
Workaround: None needed. It doesn’t affect gameplay.
Gas Pipes Show the Wrong Color
GlitchesAfter rerouting the gas toward Safe Haven, at least two pipes display red smoke where green should be. It’s a visual mismatch with the game’s color-coding.
Workaround: None required. Progress isn’t affected; it’s just a visual bug.
All Prison and Lab Codes You Need (No Guesswork)
GuidesSkip the overthinking and punch these in. If you want the “why,” I’ve got quick hints, too.
- 3255 — Prison terminal after the hangman riddle. Hint: the whiteboard hangman spells CELL; match letters to the number board.
- 3642 — Red gas chamber control room. Hint: the calendar note says check the CAGE; map letters to dates to numbers.
- 3021 — Prison Yard big door. Hint: match tower colors to numbers using the whiteboard key; use the final digit on each tower.
- 35198 — Secondary Labs “anatomy” puzzle. Hint: follow the loudest voice to 5 toys, take the last digit of their numbers, then order them by the missing limb per the anatomy chart.
Doey Boss Fight: Freeze, Drag, Saw, Repeat
GuidesDoey’s final form hits hard, but the loop is simple and deadly if you execute.
- Freeze: Use liquid nitrogen canisters to ice him when he closes in.
- Position: Lure the frozen Doey to a saw blade.
- Slice: Activate the saw to chunk his health.
- Repeat 3 times to finish the job.
Survival tips:
- Never stand still for more than a second or two. He’s faster than he looks.
- Use swing bars to gain elevation and space, but don’t stop on them.
- If he freezes near a corner/structure, he may wedge—use that to reposition for the next cycle.
How to Outsmart Yarnaby (Stealth First, Speed Second)
GuidesYarnaby punishes noise and hesitation. Treat it like a stealth section—until it isn’t.
- Stealth phase: Sliding into hiding spots is loud and will usually trigger Yarnaby. Weirdly, GrabPack actions (switches, pickups, power panels) don’t alert it—use that quirk to your advantage.
- Chase phase: Prioritize swing bars for fast vertical gaps. Avoid crawl spaces unless you have no choice, and keep moving the second you exit one.
- General rule: Don’t stop. Your goal is always the next safe room or locked door—no combat, no stalling.
Screenshots