Moonshades Guides
- Cheat Codes
- Grind some dungeons… but do not die.
- Move up as soon as you can
- Make use of the save and autosave feature
- Make use of the loot function
- Hidden Switches & Pressure Plates: Where to Look and What They Unlock
- Secret Doors: Spotting Hidden Passages Without Detect
- Enchanted Labyrinth: Read the Walls, Beat the Maze
- Tombs of the Cruel Wolf: Early-Game Power Trip
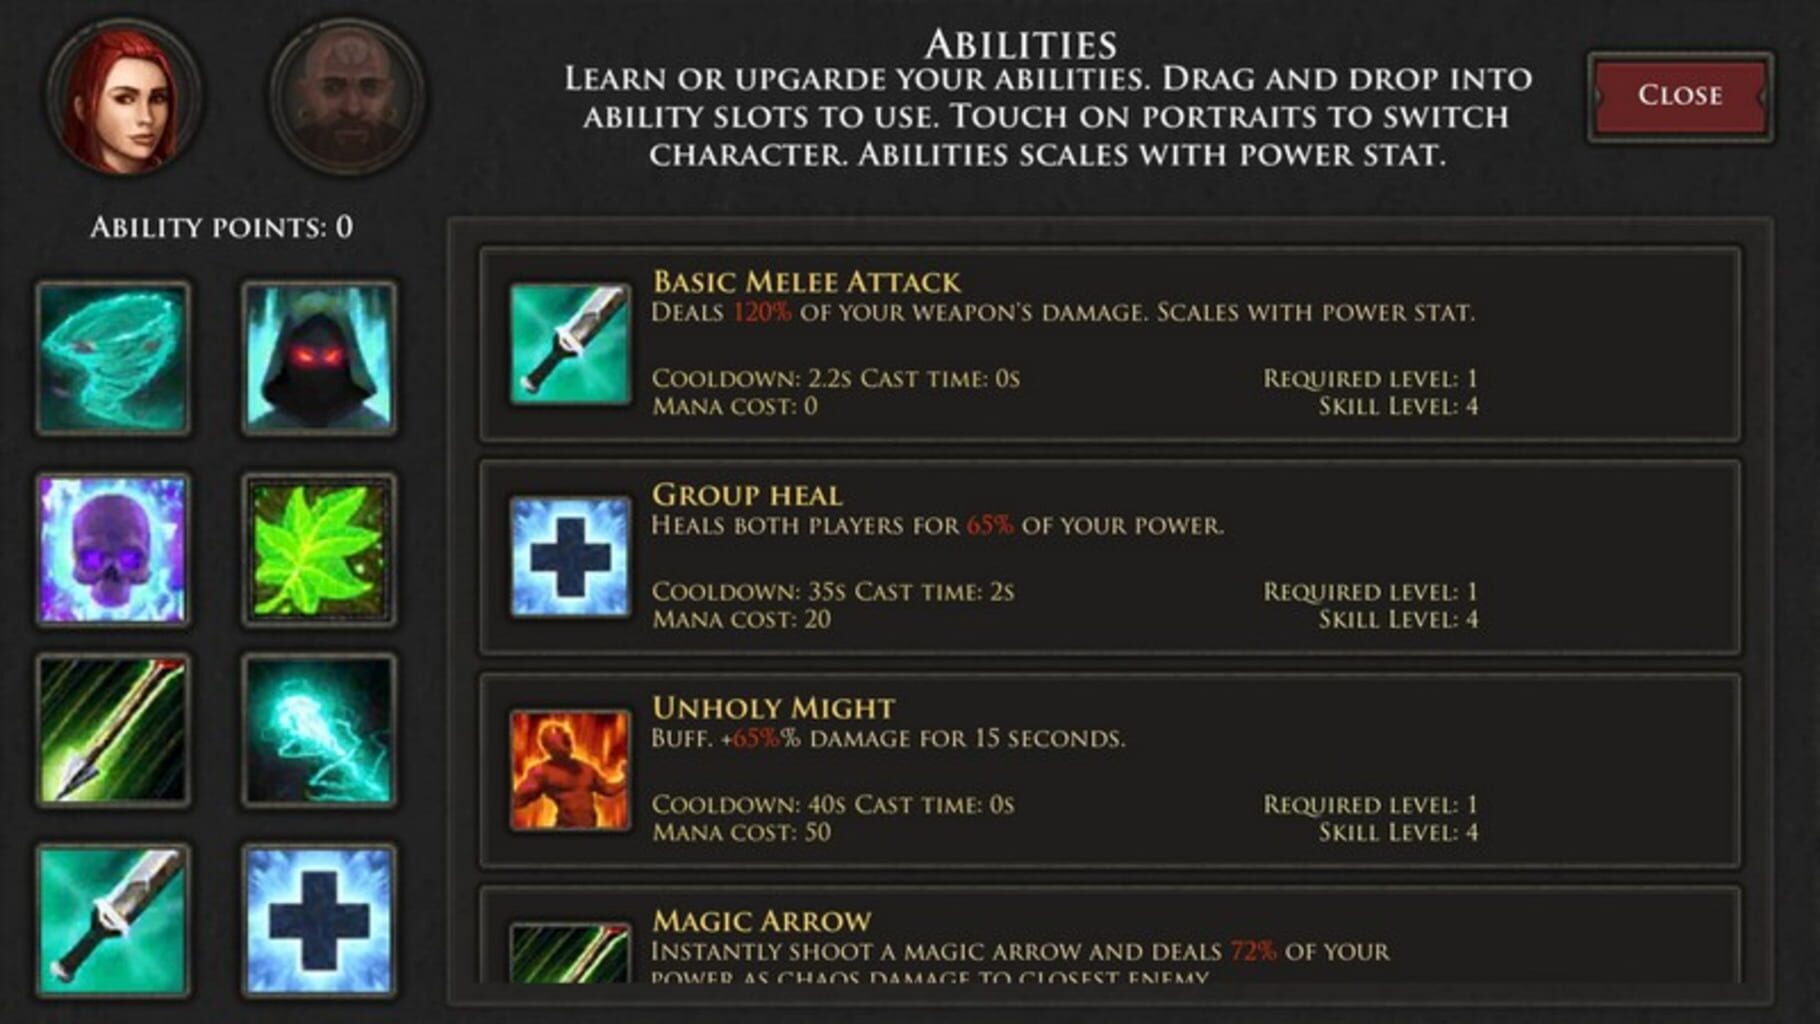
- Best Abilities and Builds: Rear Wind vs. Brutal Strike
- Voiceless Dungeon: Conquer the Compass and Traps
- Relic Crafting 101: How to Turn Legendaries into Monsters
- Magic Forge Hacks: Recipes, Salvage, and Save-Scum Wins
- Movement Matters: Positioning Tricks That Keep You Alive
- Achievement Hunter’s Roadmap: Efficient Farming and Milestones
- Storage Tactics: Keep What Matters, Ditch the Clutter
- Salvaging Like a Pro: Get Your Materials Back

Cheat Codes
CheatsMany mobile RPG games do not offer cheats, even with downloaded programs. Thankfully Baldricksoft has some mercy on us, Moonshades have some cheat codes on offer, here follows a list of cheat codes to use:
- jdBn1V9K4d
- anWsBcaBah
- SB2i9mrbhF
- OEFD5e2cPC
- j387YSO1Fi
- ieOHyFHqzO
- j8O4KuHNPI
- SLveFRcYw
- SIxpKAOB9i
- i9x4Utq2S9
- 0TnHheMD3s
- cidrwvkkbm
- ULA6LXOcPN
- 2JJT4dtKX2
- LBGTfS - gems
- 2bLS1k - rune
- 58yX6p - magic forge pack
- oU9BGc - eternal hourglass
- 2wXq1w - keys
- 3slyGy - legendary weapon
- q7do9H - equipment
- 0BqVSS - abilities
- 4i0vQB - unlock door
- tG7jBz - restore HP, mana
- DigCX1 - great gift code pack 2020
Grind some dungeons… but do not die.
HintsMoonshades is one of those dungeon crawlers that end up being very beneficial to you if you play them as often as possible. Playing Moonshades every day will award you with much needed experience and rewards, but beware. Grinding for levels and experience will end up being very lucrative, but watch out, dying will cause you to lose half of your gold and half the experience of your current level. So make sure that you spend some time grinding some dungeons, but be sure not to die.
Move up as soon as you can
HintsGrinding through low level dungeons can be very lucrative as you start out the game, but will eventually lead to you continually earning low level items and small amounts of experience. So once you are capable of it, move on up to the slightly higher level dungeons to start earning Epic and Legendary rewards with the added benefit of more gold. Make sure to not move up too soon, otherwise you will end up losing all of your hard earned loot.
Make use of the save and autosave feature
HintsEvery time you start a new side level or regular level, the game autosaves, so if you die in the level, you can reload and start the level over again. One of the best ways to not cripple your run by making the wrong decision, save before you make a big choice. This will allow you to reload the game if you think that you have made the wrong choice.
Make use of the loot function
HintsEven though moving on up to the higher levels quickly is one of the best ways to loot higher leveled items and gain more experience, the lower levels still offer unique loot that you will not receive at higher levels. The lower levels will offer items such as Magic Dust, Chitin, books, ingots, and runes, so make sure to keep going through lower levels every now and then to keep gaining unique items.
- Wall switches: Disguised as decor—torch holders, off-color stones, tiny protrusions. They usually give a click or grind when triggered.
- Floor plates: Slightly different tile patterns or raised stones. Some require a sequence or standing on multiple spots.
- Rewards vary: From quick treasure stashes to full secret wings with unique enemies and rare mats.
- Timed doors: Be ready to sprint—some mechanisms don’t stay open long.
You can save skill points by learning the look of secrets.
- Visual tells: Slightly recessed stone, misaligned brick patterns, or lighting that doesn’t quite match the room.
- Architectural oddities: Fancy trim, weird alcoves, or “why is this corner here?” often hide a passage.
- Enemy and loot placement: Sparse mobs or a juicy chest in an otherwise empty area? There’s probably more behind the wall.
- Levers elsewhere: Switches can open doors in another room. Listen for clicks and sweep the area after toggling anything.
Enchanted Labyrinth: Read the Walls, Beat the Maze
GuidesThe Enchanted Labyrinth looks intimidating, but the game literally paints your route. Watch for shield symbols and dragon–griffin trail markers on walls and floors. Follow them like breadcrumbs and you’ll skip most dead ends and trap hallways.
- Scan for secrets: Secret doors blend into the stonework. Look for odd seams, slightly recessed bricks, or texture changes near corners and alcoves.
- Loot worth the detour: Expect spirit gems and upgrade mats tucked behind secret panels and side routes.
- Fight smart: You’ll face enemy packs, not solos. Rear Wind is an all-star here—instant cast, scales with your weapon’s max damage, and perfect for clearing groups without burning your mana bar.
- Keep your head on a swivel: Some rooms are bait. Check walls after big fights—rewards are often one click away.
Tombs of the Cruel Wolf: Early-Game Power Trip
GuidesA great first “real” dungeon that teaches you how Moonshades really works.
- Level 1 basics: Lots of locked doors—keys are nearby if you explore thoroughly. You’ll find upgrade books; stash them for later (they’re best on relic-tier gear).
- Level 2 puzzles: You’ll start placing polished gems to open routes. The classic skeleton door needs two different colored gems—keep notes so you can backtrack efficiently.
- Secrets matter: Hidden rooms hold materials that look meh now but are essential for future relic crafting. Grab them even if storage feels tight (use your chest!).
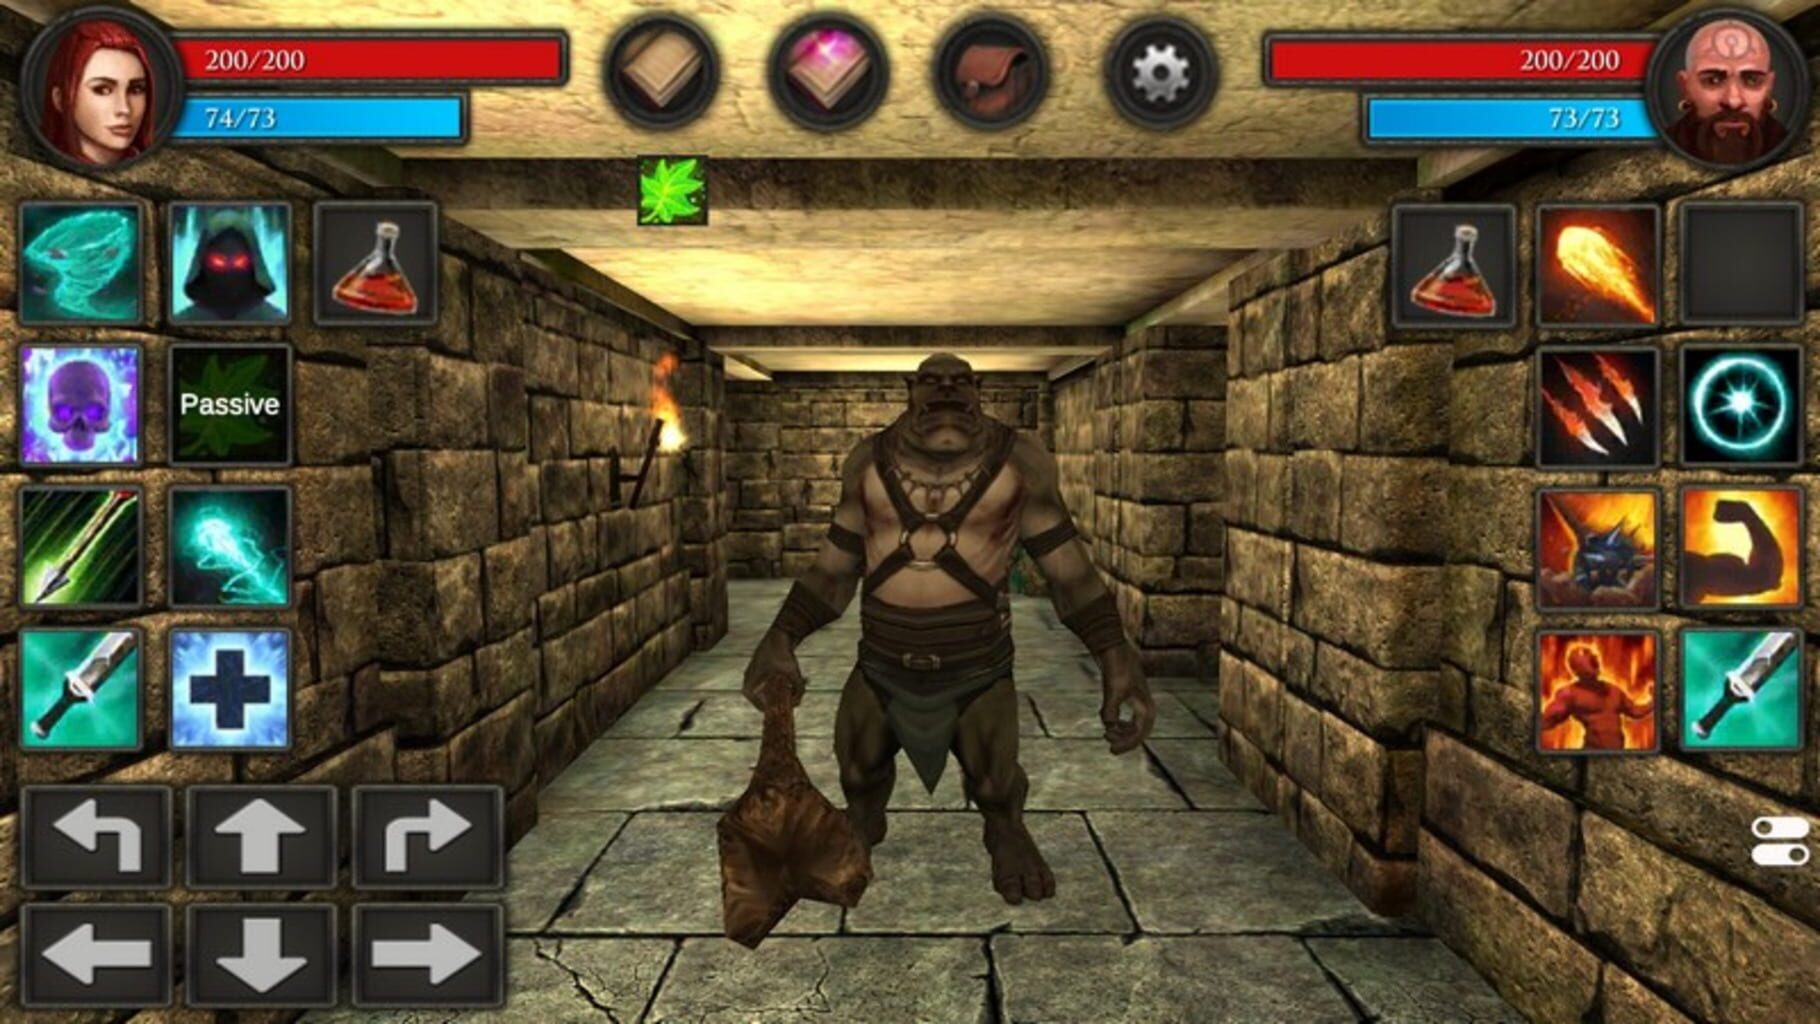
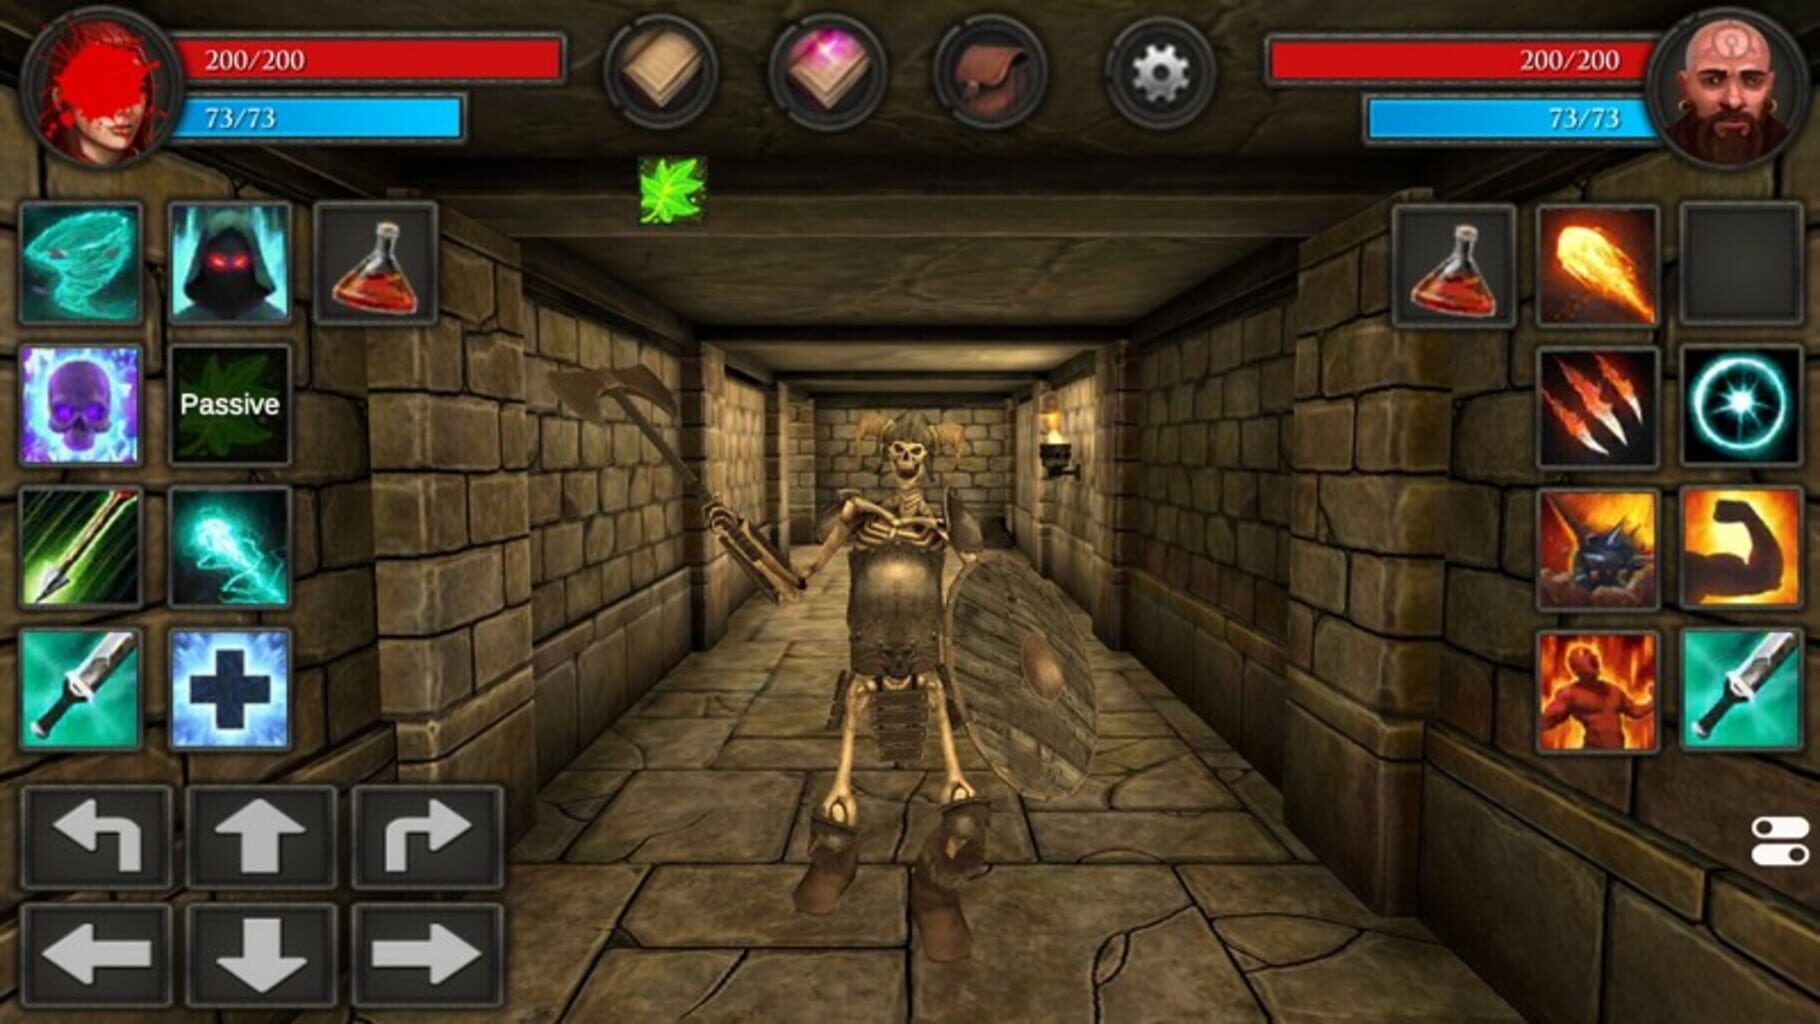
- Combat tips: Warriors go down to direct damage; skeletons often fall faster to magic. Watch for the first caster (skeleton fire mage) and practice interrupts and positioning.
Best Abilities and Builds: Rear Wind vs. Brutal Strike
GuidesPick tools that match the fight.
- Rear Wind: MVP for mob packs—instant cast, scales with your weapon’s max damage, low mana, great for interrupts and fast clears.
- Brutal Strike: Single-target nuke with a fat cooldown. Use on elites, minibosses, or to finish a priority target.
- Magic Arrow: Usually not worth the points compared to the above.
- AoE priority: As dungeons scale up, hitting multiple enemies fast is the difference between cruising and getting swarmed.
Voiceless Dungeon: Conquer the Compass and Traps
GuidesThis place turns your map into a mind game.
- Compass puzzle: A directional indicator updates as you move. Walk in the shown direction to advance; ignore it and you’ll loop into traps or dead ends.
- Trap sense: Pressure plates and hidden mechanisms everywhere. Train your eye for slightly raised tiles and “too nice” loot rooms.
- New toy: Brutal Strike hits like a truck but has a long cooldown—save it for beefy targets or priority kills.
- Explore everything: High-value loot tends to sit behind secrets or multi-step puzzles. You’ll also kick off the green shard questline here.
Relic Crafting 101: How to Turn Legendaries into Monsters
GuidesRelics are your endgame chase—absurdly strong, a bit random, and worth the grind.
What you need:
- 1x Legendary piece to sacrifice (its type and level matter)
- 1x Co-op Rune
- 1x Book of the Ancients (the rarest part)
- 3 crafted items from other recipes
Embrace the RNG: You can feed the forge armor and get a weapon back, or lower-level in, higher-level out. Save before crafting so you can reload if the result’s bad.
Farm smart: The Chamber of Horrors and later dungeons are prime for recipe bits and Books of the Ancients. Bring bag space.
Upgrade later: Pump Tier Upgrade Runes into relics, not mid-tier pieces. Going from +1 to +5 is a huge stat jump.
Magic Forge Hacks: Recipes, Salvage, and Save-Scum Wins
GuidesThe Forge is your second home. Make it work for you.
- Recipe freedom: You don’t always need the physical recipe if you know the combo. Keep a notes list of proven mixes.
- Salvage wisely: Use epic salvage crystals for better returns, especially on gear upgraded with Tier Runes or Books of the Ancients.
- Save before salvaging: Results are random. Reload if you whiff rare mats.
- Tidy shop, faster craft: Use storage chests, group materials by type, and queue your crafting so you’re not juggling space mid-session.
Movement Matters: Positioning Tricks That Keep You Alive
GuidesFootwork wins fights.
- Strafe dance: Move with the stick while turning with the d-pad to orbit enemies and avoid swings.
- Corner funneling: Fight in doorways and tight halls so mobs line up. Your AoE gets more value and you take less chip damage.
- Use the map: Kite enemies into traps or environmental hazards to save resources.
- Know when to bail: If you’re outnumbered or low on resources, retreat and reset. Death tax hurts more than pride.
Achievement Hunter’s Roadmap: Efficient Farming and Milestones
GuidesChasing badges? Plan routes that feed multiple goals.
- Hero series kills: Tiers at 10, 20, 50, 100, 200, 400, 800, 1600, 3200, 6400, 12800. Pick high-density dungeons for the best kill/hour.
- Location checks: Push through Tombs L2, Voiceless Dungeon, Forsaken Tunnels, Enchanted Labyrinth, Cursed Catacombs, Gloomy Caverns, Cyclops Lair, Maze of the Damned.
- Endless grinds: The Pits (hit levels 20 and 40) for sustained combat and loot.
- Survival tests: Chaotic Point—survive 10 and 30 rounds. Bring AoE, sustain, and kiting routes.
- Crafting wins: Aim for “Craft a Relic item” and high upgrade milestones by aligning farming, salvaging, and forge sessions.
Storage Tactics: Keep What Matters, Ditch the Clutter
GuidesInventory zen keeps the grind fun.
- Chest priorities: Store upgrade books, rare mats, and future-fit gear with great rolls.
- Sort by category: Keep gems together, stash crafting mats by type, and label your “relic prep” pile.
- Loadouts ready: Maintain alternate weapon/armor sets for different dungeon needs or enemy types.
- Consumables: Keep common potions on hand; protect rare one-use items until they’ll swing a tough fight.
Salvaging Like a Pro: Get Your Materials Back
GuidesTurn yesterday’s upgrades into tomorrow’s relic fuel.
- Use epic salvage crystals: Better returns, especially on items with Tier Runes or Books of the Ancients baked in.
- Salvage upgraded gear first: Plain blues/purples aren’t worth the crystal cost.
- Save before you crack it: Results vary—reload if you don’t pull the rare mats you need.
- Sync with crafting: Salvage right before a forge session so reclaimed mats go straight into new upgrades.
Screenshots
Videos
Questions, Answers and Comments
Wie und wo gebe ich denn die Cheats ein ????