The Outlast Trials Leitfäden
- Rigs and Prescriptions: Best Early Unlocks and Loadouts
- Full Achievement Guide: How to Unlock Every Trophy Fast
- Hidden Secrets and Easter Eggs: Ducks, Gulls, Chess Codes, and More
- Known Glitches and Workarounds You Should Know About
- Stealth, Hiding, and Movement: How to Stay Invisible (and Get A+)
- Pro Tips and Team Tactics for Hard Trials
- Master the Trials: Progression, Ratings, and How The Outlast Trials Actually Flows
- The Best Items to Carry: Smart Inventory and Resource Management
- Every Enemy Explained: Counters and Survival Tactics
- Traps 101: Spot Them, Disarm Them, Don’t Get Gassed
- Fix Lag and Connection Problems in The Outlast Trials

Rigs and Prescriptions: Best Early Unlocks and Loadouts
FreischaltbarUnlock Rigs starting at level 2 and round out your build with Prescriptions (passive upgrades). Here’s what each does and which ones to grab first.
- Stun Rig: Electric shock to stagger enemies—great emergency button.
- Blind Rig: Smoke burst to blind and reposition safely.
- Heal Rig: Heals you and nearby allies—amazing for co-op stability.
- X-Ray Rig: See through walls to spot enemies, traps, and whether loot is rigged. A top-tier pick for stealth and route planning.
- Noise Reduction Rig: Quiets your movement and interactions. Perfect for A+ rating runs.
- Antitoxin Rig: Regenerate sanity and halve psychosis duration. Huge if sanity is your issue.
- Last Chance Rig: Prevents a killing blow once every 5 minutes (drops you to 1 HP). A lifesaver for solo or high-stress trials.
- Strong Arm Rig: Supercharges throwables—longer stuns when you land direct hits.
Prescriptions (passives) worth grabbing early:
- Self Defense Technique: Use a brick/bottle from inventory to break a Pouncer’s grab. Clutch.
- Athlete: Bigger stamina pool for longer sprints.
- Expanded Inventory: One more slot = less painful choices.
- Door Basher: Breaks barricaded doors faster (two hits).
- Quiet Amp: Dramatically reduces how far enemies hear you when moving; door openings aren’t detected beyond ~4 meters.
If you’re Googling “best Rig in The Outlast Trials,” the X-Ray Rig is hard to beat for learning maps, avoiding traps, and planning clean runs.
Full Achievement Guide: How to Unlock Every Trophy Fast
FreischaltbarChasing 100%? Here’s a quick-hit guide to every achievement in The Outlast Trials and how to farm progress efficiently.
- Anger Issues: Bash 50 locked doors. The Door Basher/“Breaching” perk speeds this up.
- Bamboozler: Distract enemies 50 times with throwables. Toss them often.
- Big Saver: Collect 15 pieces of evidence. Check offices and side rooms every run.
- Breathe In: Use 100 antidotes. Dedicate a few runs to psychosis farming and drink them all.
- Bullseye: Land 50 headshots with throwables. Aim high, close distance, then throw.
- Can’t Touch This: Take zero damage across 10 Trials. Slow, stealthy, trap-aware play only.
- Chicken in a Pot: Use hiding spots 100 times. Hop in and out during safe moments to grind.
- Crowd Control: Kick 50 enemies off grabbed or downed teammates. Coordinate in co-op.
- Get Down: Get knocked down 50 times. Farm with a friend during low-stakes Trials.
- Glutton for Therapy: Complete 25 Trials. Natural progression.
- Hemophiliac: Lose 10,000 HP total. Happens over time.
- Hoarder: Collect 1,000 items. Open everything; run item-rich Trials.
- Hunchback: Crouch for 1 hour total. Crouch-walk while looting to build time.
- Hypochondriac: Use 200 medicines. Don’t hoard—use them frequently on farm runs.
- Major League Player: Hit enemies 100 times with throwables. Brick everything.
- Marathoner: Sprint for 1 hour total. Sprint loops during downtime.
- Mechanophiliac: Use Rigs 100 times. Pop them whenever they’re helpful; don’t save forever.
- Power Surge: Use 100 batteries. Keep NV on during farming to burn through batteries.
- Sawbones: Revive/heal teammates 50 times. Equip Heal Rig and syringes for co-op.
- Sleight of Hand: Pick 100 locks. Keep lockpicks stocked and crack every container/door.
- Slip and Slider: Slide for 2 minutes total. Slide on cooldown when safe.
- Speed Freak: Use 100 adrenalines. Pop them during chases and on speed runs.
- Spider Eye Lamb: Unlock all other achievements.
- Tapetum Lucidum: Use NV for 10 hours total. Leave NV on during long sessions.
- Toastmaster: Use Rig Rechargers 50 times. Don’t sit at full charge; keep using Rigs.
- Together We Are Strong: Perform 50 team actions. Ping, heal, rescue, and coordinate.
- Trigger Happy: Disarm 50 door traps. Slow-open, step through, disarm for the win.
- Vision Quest: Stay in full psychosis for 10 minutes total. Skip antidotes and survive.
If you’re searching “how to unlock all achievements in The Outlast Trials,” blend grinds: do throwables, sprints, slides, and lockpicks in the same farming runs to save time.
There’s more to Murkoff’s playground than pain. These secrets reward cosmetics and bragging rights.
- Golden Ducks (Poison the Medicine, Genesis): Ping 10 hidden golden ducks scattered around the map. It’s a cheeky nod—enjoy the flex factor.
- Seagulls (Pleasure the Prosecutor, Downtown): Ping a set of hidden seagulls (the count can vary by run). Completing it unlocks a slick epic ESOP customization with seagull flair.
- Post-It Notes (Kidnap the Mistress, Downtown): After your first radio, scour the map for scattered notes. Completion requires thorough exploration.
- Flamingos (Liquidate the Union, Suburbs): Track down the hidden flamingo decorations throughout the area.
- Devil’s Checkmate (Disrupt the Neighbourhood): Solve the chess-themed puzzle by entering the code 7453 on the kitchen number pad. Unlocks a hidden room and a chess board decoration for your room. The clue comes from white/blue chess pieces around the map.
- Pleasure Is Pain (Resort/Mansion): Find and photograph multiple “kinky photos,” break them to reveal numbers, then enter them into a lever system. The reward is an exclusive outfit.
- The Witness (Pleasure the Prosecutor): Mannequins tie to witness locations—track and photograph them based on spawn logic to complete this one.
Search-friendly tip: look up “secret locations in The Outlast Trials” by Trial name if you’re stuck—most of these require map-wide sweeps.
Known Glitches and Workarounds You Should Know About
FehlerThese bugs pop up often enough to plan around. If you hit one, here’s what to expect and how to cope.
- Map clipping (Kill the Snitch endpoints): Rarely, you’ll fall through the world near end sequences. If it happens, you’ll land in a “void” area and need to restart/rejoin.
- Animation loops: Night vision raise/lower, running, or walking animations can stutter and repeat. Often tied to connection hiccups; a client restart usually helps.
- Lockpick input lag: Presses don’t register in time during the minigame when you’re lagging. Reattempt after a calmer connection or restart the lobby.
- Door bypass exploit (Kill the Snitch): Some objects can be rolled through key-gated doors to skip progression. Expect future patches to clamp this down.
- Throwable physics desync: Bricks/bottles sometimes miss or don’t proc effects in co-op due to sync issues. Move closer and aim center-mass/head to mitigate.
- Enemy pathing bugs: Rare cases of enemies clipping or getting stuck. If it benefits you, don’t rely on it—pathing can snap back suddenly.
Quick fixes: restart game, rehost the lobby, swap to wired, and avoid known trigger actions (like sprint-door slams) when the lobby is laggy.
Stealth, Hiding, and Movement: How to Stay Invisible (and Get A+)
HinweiseYou’re not built for fights—you’re built to vanish. Use these stealth tips to win Trials cleanly.
- Turn on accessibility helpers: Enable the Noise Indicator and Darkness Indicator in options. They’re basically legal wallhacks for detection risk.
- Darkness is your shield: Move in the dark with night vision, preserve batteries by toggling it off in lit zones.
- Hide smart: Lockers, desks, trunks—hide only after you break line of sight. If they watch you enter, they’ll drag you out.
- Keep a throwable: With the Self Defense Technique, a bottle/brick can break a Pouncer’s grab.
- Quiet Amp + discipline: With Quiet Amp, your noise footprint shrinks a ton. Don’t sprint forever—once you’ve broken chase, slow down to cut sound.
- Co-op net quirk: Avoid sprint-closing doors when your squad has lag—it can cause rubberbanding and get someone caught.
If you’re searching “how to stealth in The Outlast Trials,” the formula is: indicators on, darkness first, doors second, noise last.
Pro Tips and Team Tactics for Hard Trials
HinweiseA clean run is planned, not lucky. Here’s how experienced teams push high ratings and fast clears in The Outlast Trials.
- Scout with X-Ray: Spot enemies, traps, and rigged loot before committing. Pathing gets safer and faster immediately.
- Noise discipline: Use the Noise Indicator to know when you’re safe to move fast. Once you’ve broken chase, stop sprinting to kill sound and end pursuit faster.
- Ping everything: Enemy locations, traps, routes, and items. Pings double as quick comms even without voice chat.
- Role specialization: One player hauls syringes/meds, another runs throwables, someone else handles locks. Cover all needs without duplicate clutter.
- Route knowledge: Maps aren’t fully random—just enough to keep you honest. Learn anchor points and typical patrolling zones to make good calls on the fly.
Searching “tips for The Outlast Trials co-op”? Split duties, ping constantly, and plan your Rig loadouts to complement each other.
Master the Trials: Progression, Ratings, and How The Outlast Trials Actually Flows
LeitfädenThe Outlast Trials trades solo scares for a co-op survival gauntlet you can tackle with friends or alone (online connection required either way). You’ll advance through multi-mission Programs, with the finale culminating in Farewell Mansion. Each Trial is a contained mission with clear objectives, but don’t expect perfect repetition—door barricades, trapped containers, and accessible routes shuffle every run.
Want A+ ratings (and the big currency boosts that come with them)? Play slow, quiet, and clean:
- Stay unseen: Prioritize stealth and darkness over panic sprints.
- Avoid damage: Getting hit tanks your score.
- Don’t trigger traps: Disarm or bypass them correctly.
If you’re searching “tips for The Outlast Trials” or “how to get A+ rating in The Outlast Trials,” the real answer is discipline: plan routes, manage items, and never rush unless you’ve cleared the path.
The Best Items to Carry: Smart Inventory and Resource Management
LeitfädenYour inventory is tiny, so every slot matters. Here’s what to prioritize in The Outlast Trials and when to use it.
- Medicine: Small heals for partial recovery; large heals for full HP. Often locked in first aid kits—bring lockpicks. Save meds for emergencies, not top-offs.
- Antidotes: Restore sanity (crucial when psychosis hits). If sanity bottoms out, nearby antidote locations will highlight—plan your route around those.
- Rig Rechargers: Feed your powerful Rig abilities. They’re common enough, but not infinite—save them for spikes in enemy pressure.
- Lockpicks: Essential for med kits, toolboxes, and sealed rooms. They’re small and easy to miss—keep at least one in your bag.
- Throwables (bricks/bottles): Noise distraction or a face-stun if you bean an enemy. Great for escape plays and for achievements.
- Syringes: Only revive teammates. Useless in solo. Mandatory in co-op.
- Batteries: Night vision is life. Use NV in the dark and click it off in lit areas to stretch your supply.
- Master Key: The rare jackpot. Found only in secret gift rooms after hitting two specific buttons within a short window. Acts like a universal lockpick that opens almost anything—perfect for high-value runs and sniffing out extra evidence and upgrades.
Search intent pro tip: if you’re looking for “best items in The Outlast Trials,” aim for lockpick + throwable + heal as a general loadout, adjusting based on your team’s roles.
Every Enemy Explained: Counters and Survival Tactics
LeitfädenKnow your Ex-Pops and you’ll live longer. Here’s how to handle each threat in The Outlast Trials.
- Pouncer: Hides and ambushes. Listen for murmurs and watch for subtle movement in hiding spots. Keep a throwable for escapes if grabbed (with Self Defense Technique).
- Screamer: Shrieks to disorient and call trouble. Neutralize with a quick throwable or bait them, then move away fast.
- “Normies”: Standard chase-and-bash types. Run, break line of sight, and hide properly.
- Gassing enemy: Inflicts psychosis. If gassed, head for on-screen antidote markers.
- Psychosis state: Regular enemies stop attacking, but Skinner Man hunts you. Manage sanity and pick your moment to antidote.
Search tip: players asking “how to deal with Skinners in The Outlast Trials” should focus on sanity management, fast routes to antidotes, and avoiding chain-triggering traps that push you deeper into psychosis.
Traps 101: Spot Them, Disarm Them, Don’t Get Gassed
LeitfädenTraps are why A+ runs die. Learn the tells and the tricks.
- Door Traps: Look for small side lights. Either slowly open, slip through, and disarm from the safe side for a free battery, or crouch and open fast so the dart shoots over your head. Warn teammates—friendly fire is real here.
- Electric floors/mines: Jump them or toss a brick/bottle at the mechanism to disable. Keep distance—the detonation often releases psychosis gas.
- Rigged containers: Med kits/toolboxes can spray gas on open. Crack them, step back, and let the cloud dissipate before looting.
- Trap-loot boxes: Watch for little pipes on the edges. Same deal—back away, wait out the gas, then grab.
- Noise traps: Broken glass and hanging cans will sell you out. Crouch-walk or hop over.
- Closet monsters: Listen for murmurs or little peeks. Creep past or flush with a throwable.
- Clown bombs: Either sprint past the trigger or hit them with a throwable to pre-detonate safely.
- Screamers as “living traps”: Stun with a brick or make noise and reposition.
Pro tip: the X-Ray Rig highlights hazards and rigged loot before you commit. If you’re tired of asking “how do I avoid traps in The Outlast Trials,” X-Ray is your answer.
Fix Lag and Connection Problems in The Outlast Trials
LeitfädenBecause Trials are fully online, server or network hiccups can ruin a run. Here’s how to stabilize your experience when you hit rubberbanding, input delay, or disconnects.
- Expect peak-time wobble: Heavy traffic and maintenance windows can block access or cause drops. Check official channels for downtime.
- Go wired: Ethernet beats Wi‑Fi for ping, packet loss, and stability.
- Router TLC: Enable QoS to prioritize gaming traffic. Close bandwidth hogs (streams, downloads) during Trials.
- Restart the client between long sessions: Fresh connections clear odd desyncs and animation loops.
- Avoid sprint-closing doors in laggy lobbies: This can rubberband teammates and mess with chases.
- Route optimization tools: If your ISP’s pathing is bad, third‑party network optimizers can improve routing and reduce ping.
- When servers are down: You can’t play offline. Save yourself the headache and wait it out.
If you searched “The Outlast Trials lag fix,” start with Ethernet, QoS, and a clean client restart—those three solve a surprising amount.
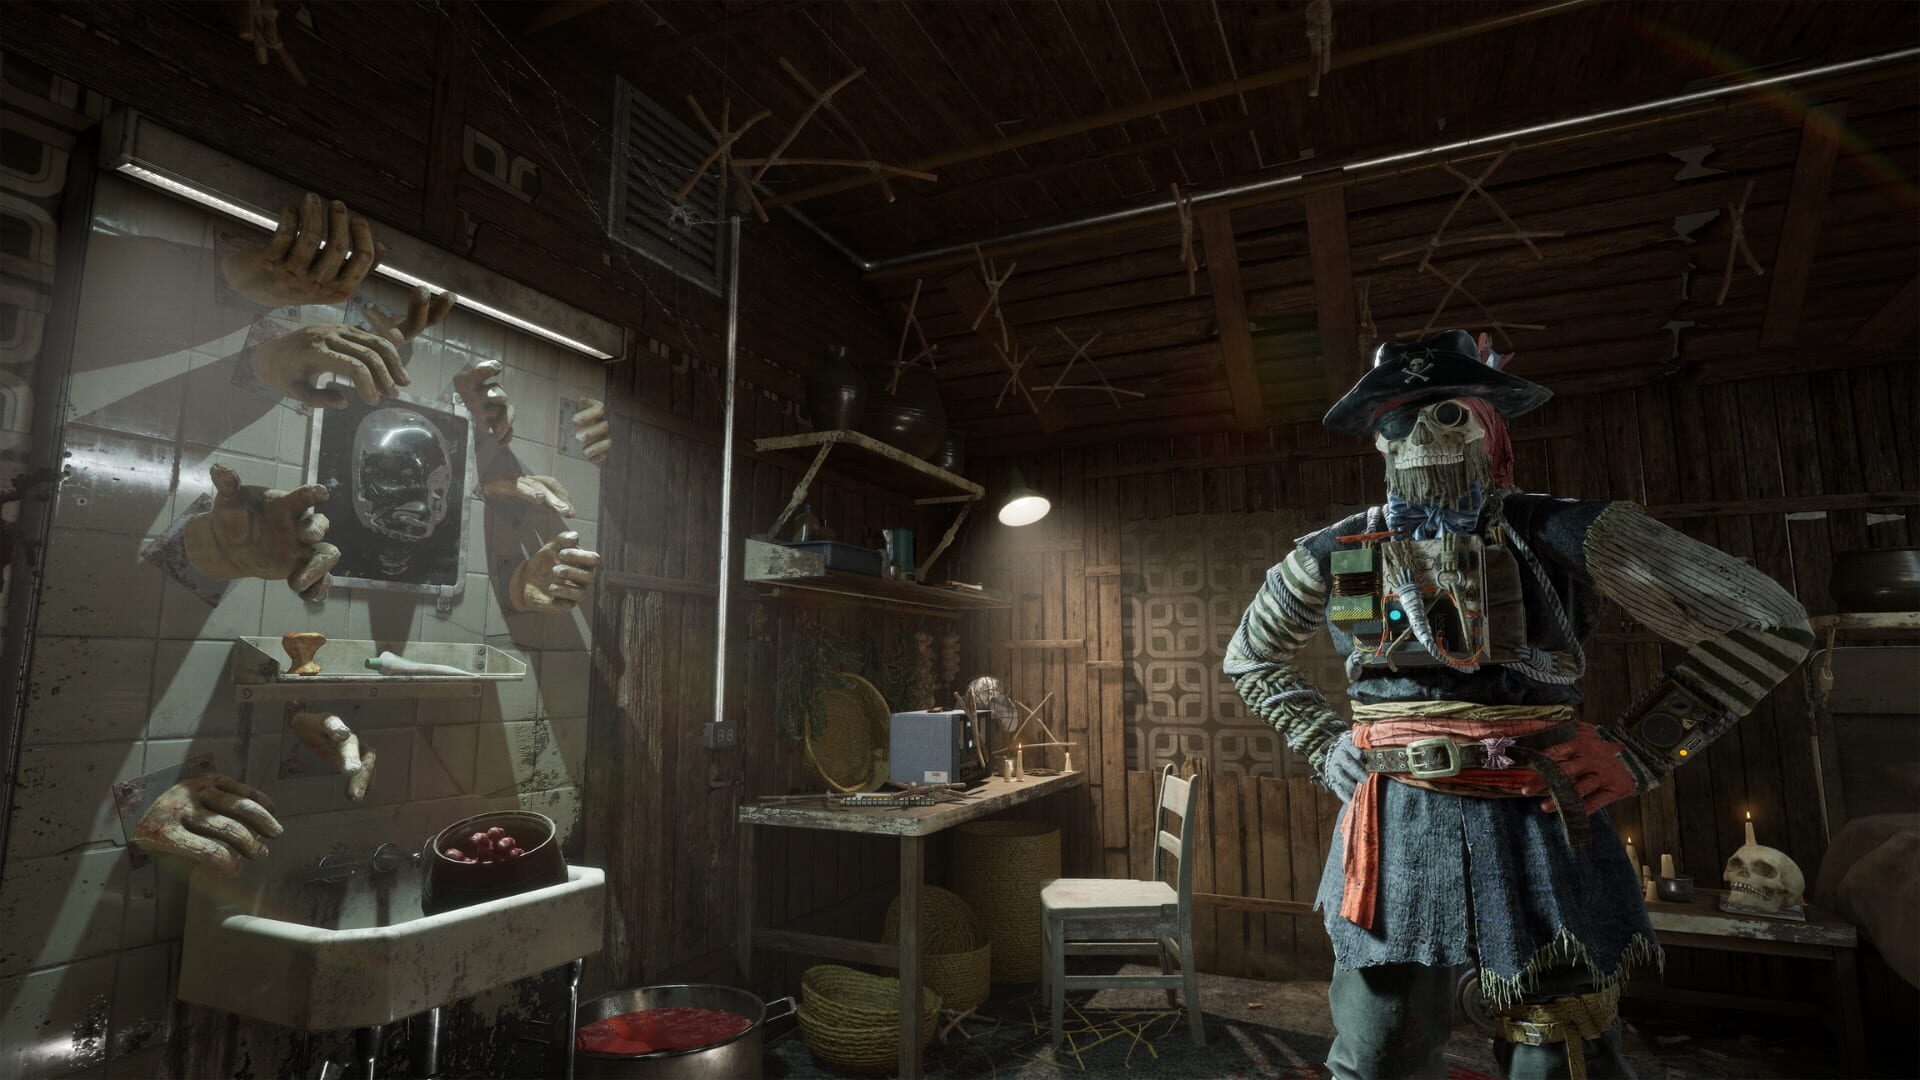
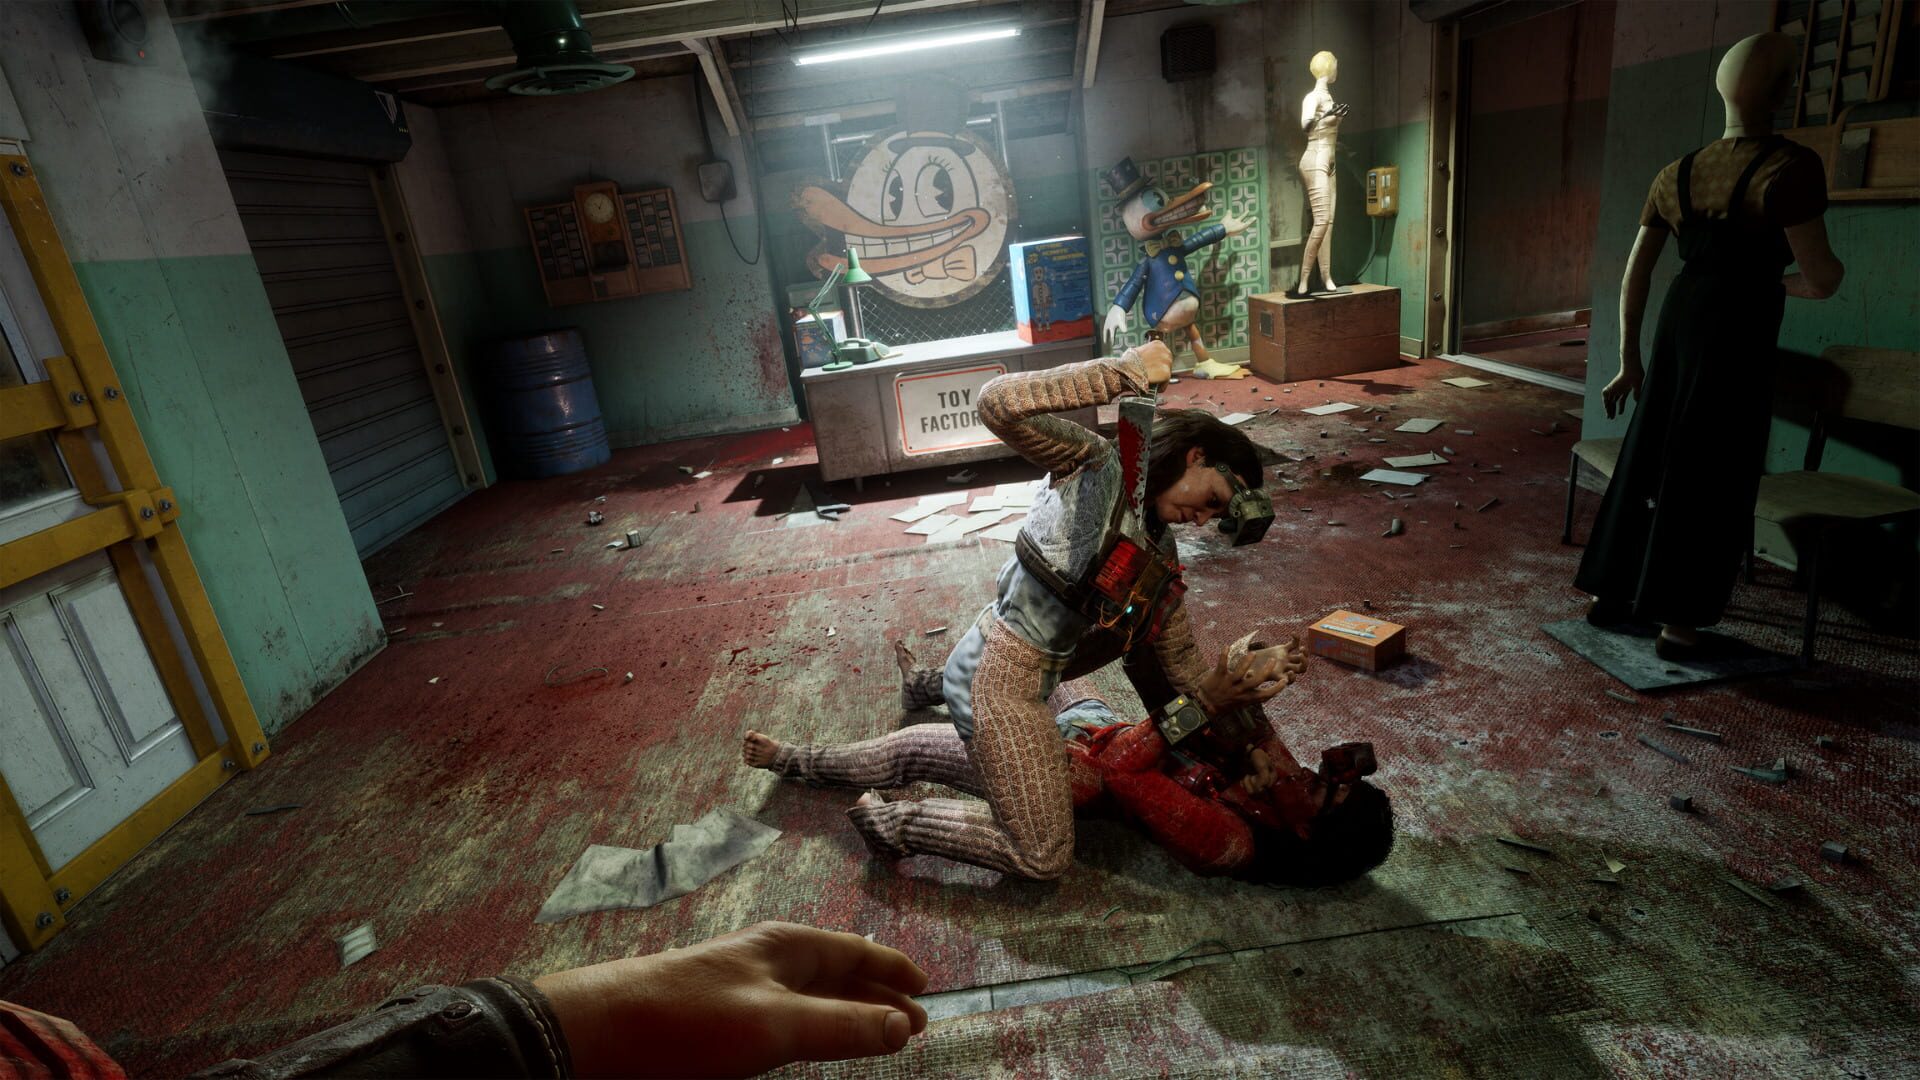
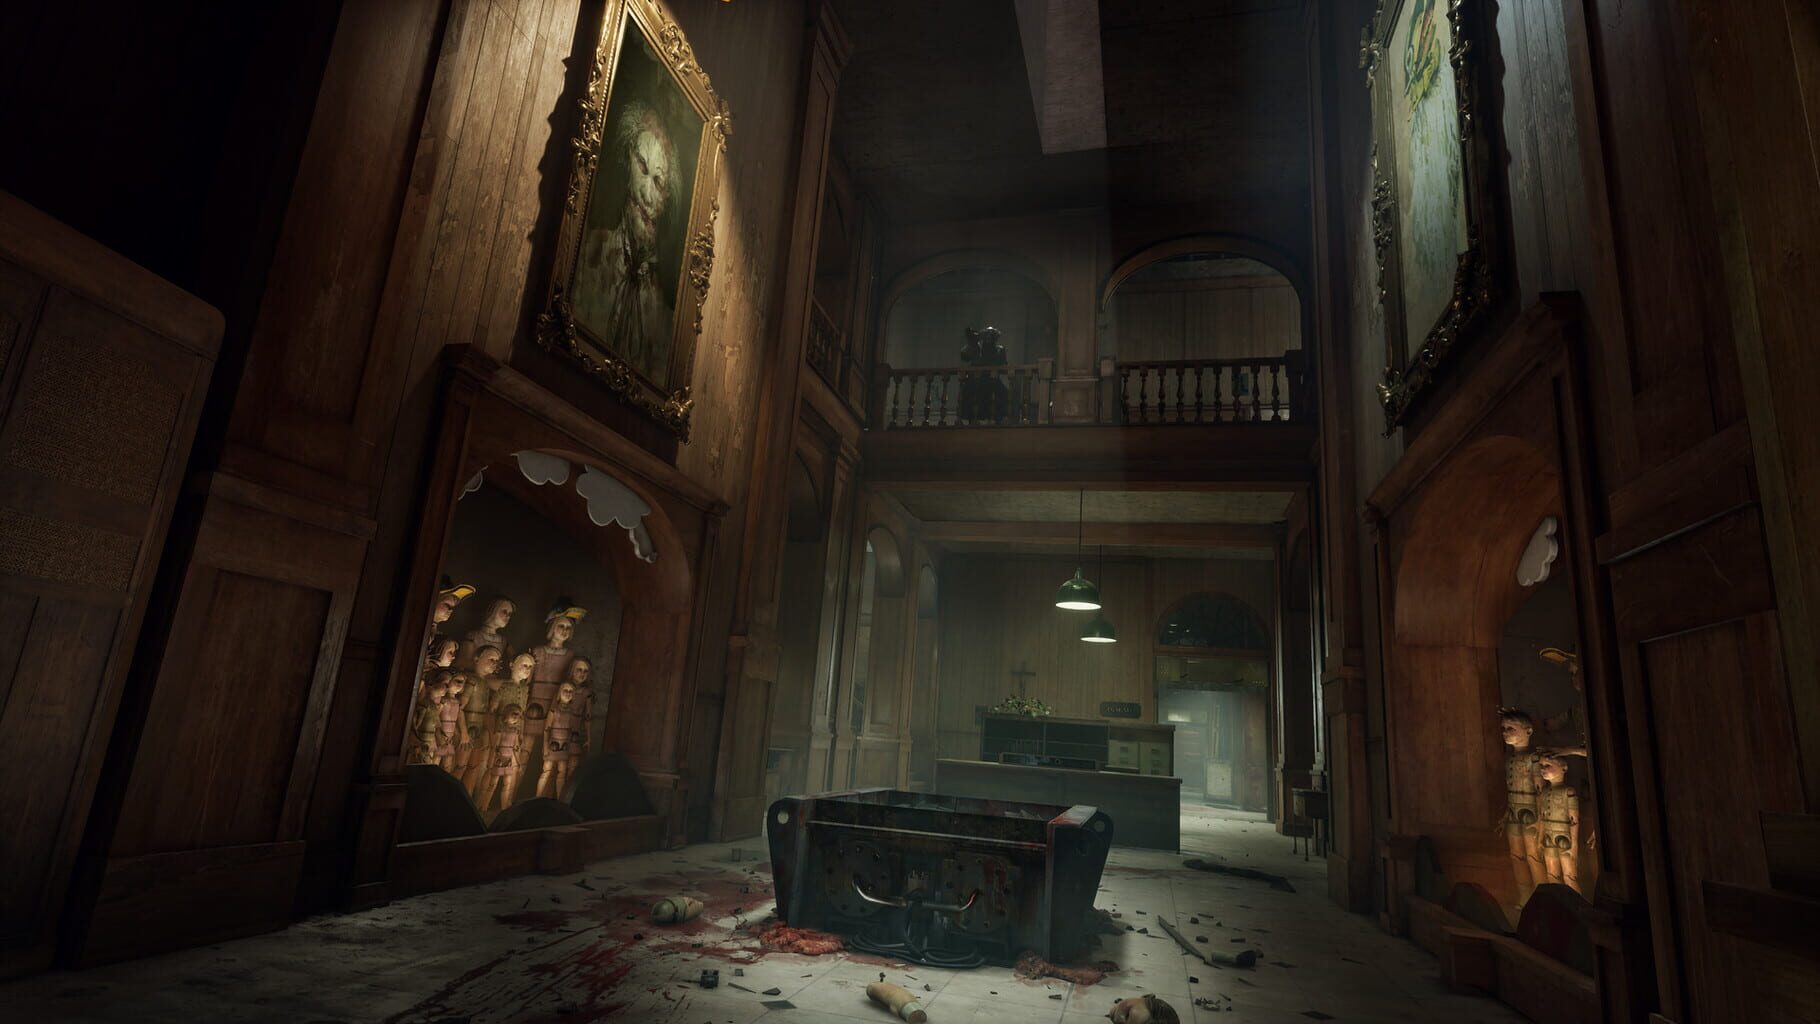
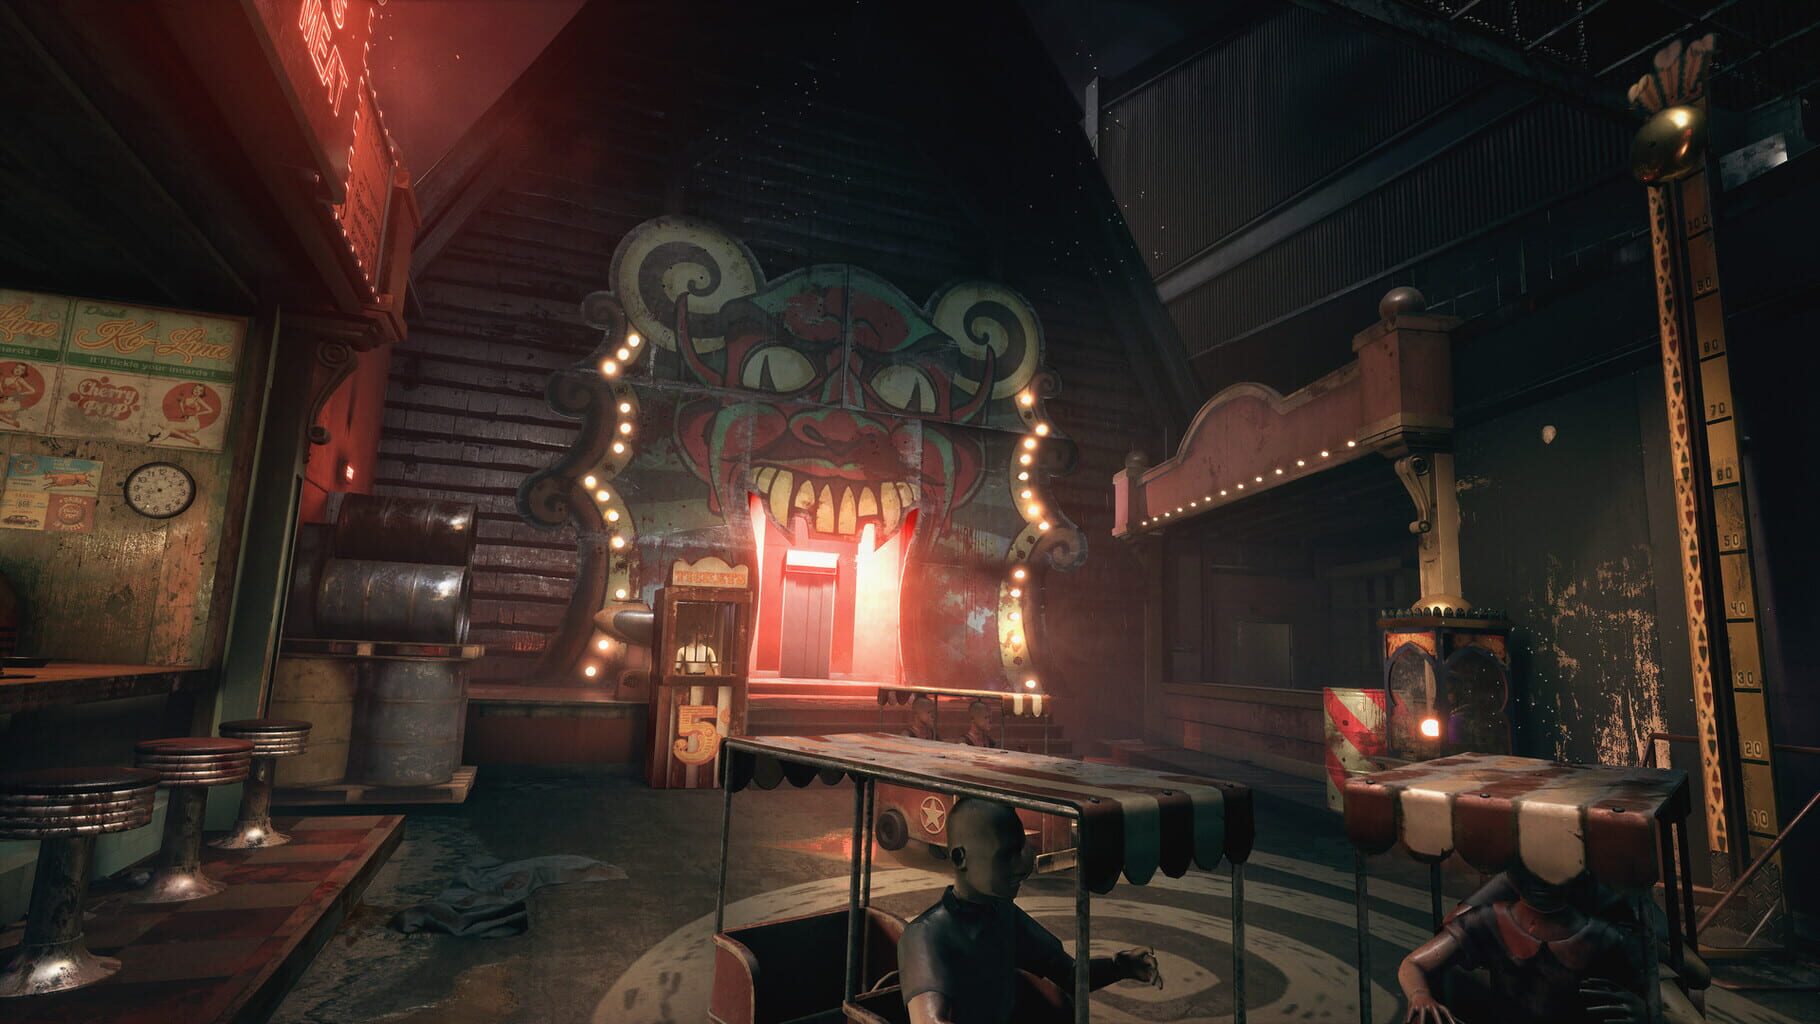
Screenshots