Pacific Drive Leitfäden
- Flexible Cheats and Trainers for a Chill (or Chaotic) Drive
- Fabrication Unlocks That Actually Matter
- Bigfoot Teases, Weird Tourists, and Hidden Goldshells
- Bugs You Might Hit (and How to Bounce Back)
- Starter Tips the Game Never Tells You
- Achievement Runs and Efficient Progression
- Expeditions Mode: Survive the Long Haul

Flexible Cheats and Trainers for a Chill (or Chaotic) Drive
SchummelnIf you want to experiment or just vibe through the Zone, trainer apps make Pacific Drive super customizable.
- PLITCH: Free toggles like Heal Player and Adjust Movement Speed. Premium adds Godmode (you and the car), gravity tweaks, jump height, and even AI speed controls. It’s all single‑player focused.
- WeMod: Another trainer with an easy UI and lots of presets so you can dial in a relaxed cruise or a no-mercy storm sprint.
- Techy route: Tools like Cheat Engine exist if you know what you’re doing, but trainers are way simpler.
Quick tip: back up your saves before you go wild, and remember there’s no multiplayer here—these are purely for your own road trip.
Fabrication Unlocks That Actually Matter
FreischaltbarYou’ll see a million blueprints. These are the ones that move the needle.
- Garage infrastructure
- Scanning Antenna: Three simultaneous pings → better planning.
- Matter Deconstructor/Regenerator: Recycle busted parts and passively repair gear between runs.
- Advanced Workbench: Gateway to high-tier components.
- Outfitting Station: Craft armor clothing with resistances (acid, radiation, electric, etc.).
- Vehicle performance
- Steel Sheets are your first big armor step; branch into Insulated, Lead‑Plated, or Armored variants for specific threats.
- Turbolight Engine: Excellent midgame upgrade that stays viable deep into the campaign.
- Tires: Off‑Road for grip in dirt/forest; Puncture‑Proof to ignore spikes/critters (less grip, more peace of mind).
- Tools worth rushing
- Plasma Scrapper: Faster, tougher upgrade to the basic Scrapper. Huge for harvesting.
- Hand‑Vac: Auto-collects awkward materials (e.g., Marsh Eggs).
- Liberator (and MK.2): Yank intact parts off abandoned cars.
- LIMPulse Emitter: EMP option to neutralize organic/electro‑organic nuisances.
- Storage and space
- Expanded/Pneumatic Lockers in the garage keep the hoard tidy.
- Augmented Trunk and Side Racks turn the wagon into a mobile warehouse. Backseat batteries/tanks are fair game if you don’t need the passenger space.
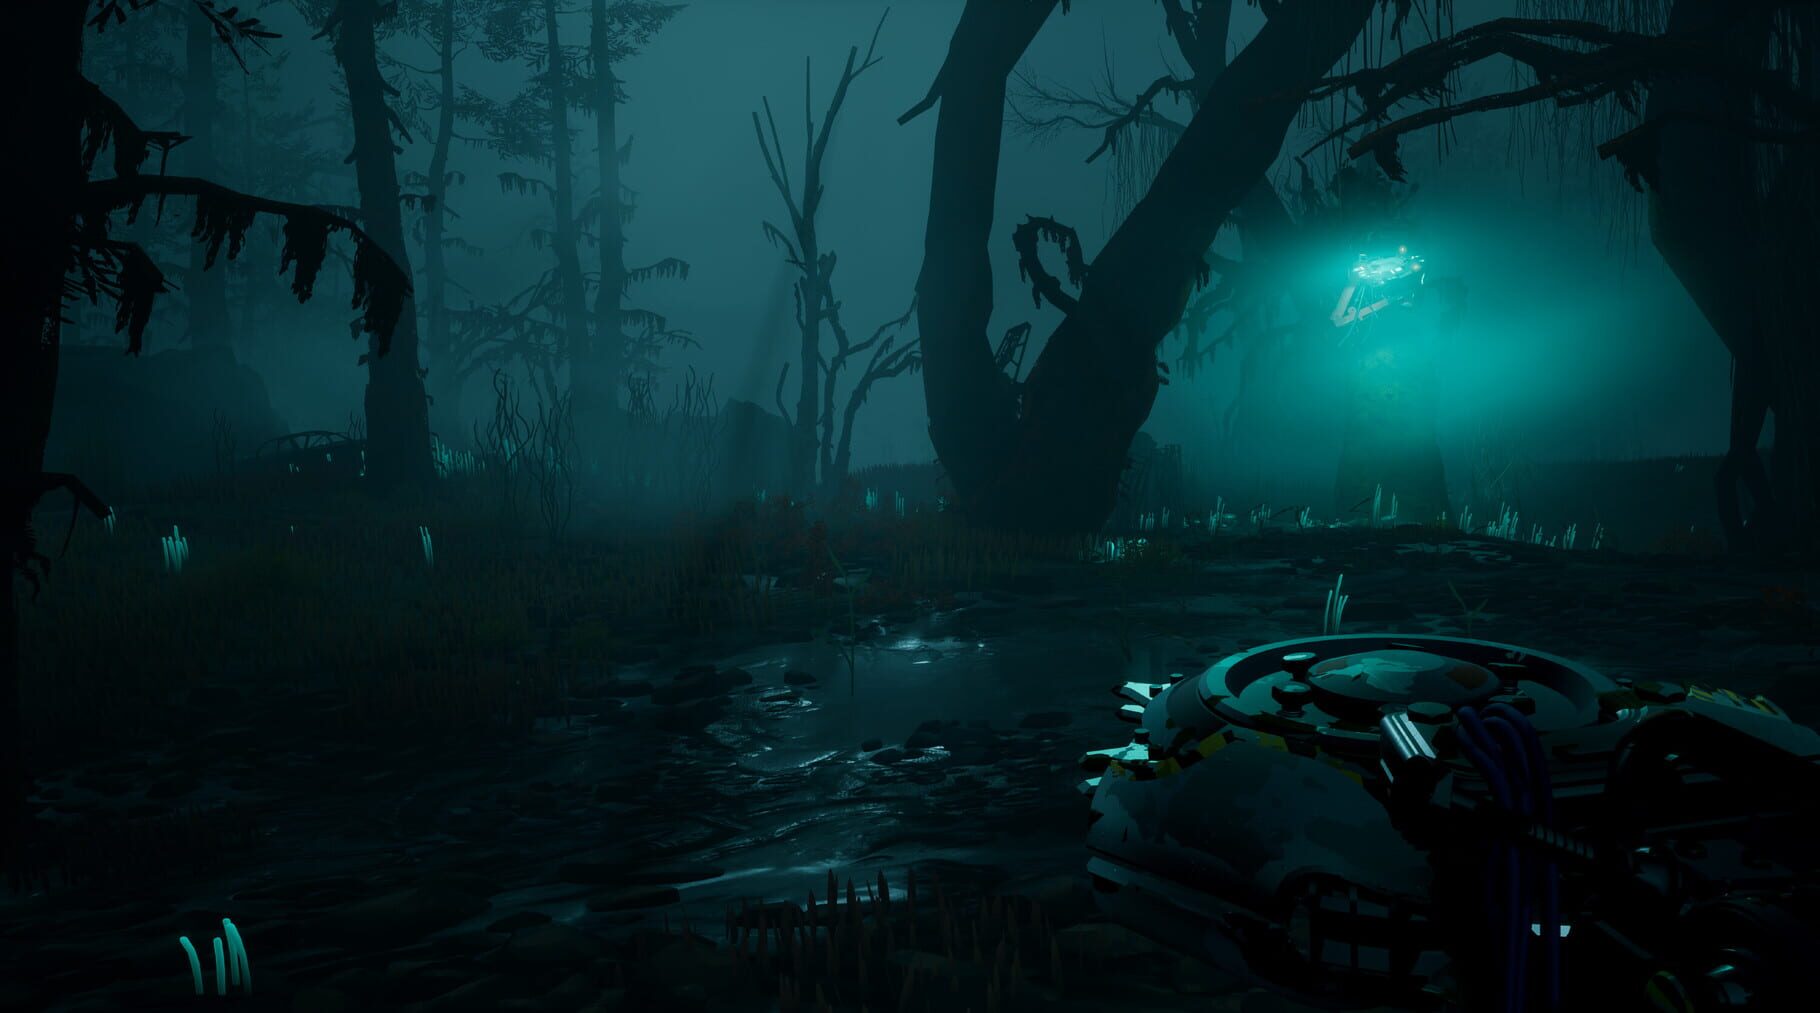
The Zone has jokes—and a few urban legends.
- Sasquatch breadcrumbs: Characters (especially Tobias) are obsessed with Bigfoot lore. It’s sprinkled through dialogue and documents in a way that’ll make you wonder if the big guy’s actually out there.
- Tourist oddities: These lanky anomalies sometimes act like horror props—moving when you aren’t looking, freezing when you are. You may spot them flashing signs like “Roadworks,” handing you stuff, or popping up beside the car when they were “far away” moments ago.
- Goldshells: Cosmetic-filled pods that “grow” on twisted trees after the Trips & Treasures update. Find, crack, and score garage/car flair.
Pro tip: Sweep tree clusters and gnarled trunks off-road. A Hand‑Vac helps scoop Goldshell rewards fast.
Bugs You Might Hit (and How to Bounce Back)
FehlerA few known issues and how to deal with them if they pop up.
- DLC softlocks (Whispers in the Woods): A patch added fallback logic for stuck story triggers. If you were blocked before, updating usually clears it.
- Save hiccups: Very large saves could crash on auto/manual save. Updates improved stability, but it’s smart to save at the Auto Shop often and keep a backup. Suspended Runs lets you pause a junction cleanly.
- Fog flicker: Mostly fixed; visual noise is far rarer now.
- Car stuck in garage (tutorial item trap): If you consume required tutorial supplies before packing, you can block progress. The only reliable fix is reloading an earlier save. Keep those items until the objective ticks.
- Minor quirks: Occasional Xbox audio stutter on camera zoom; sometimes vibration ignores in‑game settings—use system-level settings if needed.
- Save strategy: Keep multiple hub saves, especially before big craft sprees or story beats.
Starter Tips the Game Never Tells You
HinweiseA few small settings and habits make the Zone way less punishing.
- Keybinds & QoL
- The T key quick-transfers items between containers—massive time saver.
- In settings, try Brighter Nights, Faster Nights, Easy Ignition/Shifter, and Endless Headlights. They don’t block achievements and make nighttime runs sane.
- Stay topped up
- Bring food. Canned Food (~8 HP) and MREs (~12 HP) patch up chip damage from radiation, slips, and bumps.
- Unlock the Matter Deconstructor early to recycle junk into useful parts.
- When you’re stuck
- Use the car un‑stick/recall option. It takes a few seconds, and you’re vulnerable during it—clear nearby threats first.
- Off‑road > main roads (often)
- Highways are anomaly magnets. Forest shortcuts can be quieter and faster.
- Read the contour rings on the route map: tighter rings = steeper and likely impassable.
- Anchors without the panic
- Park outside the radiation bubble and line your arc toward the anchor for a quick dump-and-go.
- Expect spawns after you grab an anchor—be ready to bolt.
- Scan everything
- Scans unlock fabrication blueprints and upgrades. Missing a scan can gate progress.
- Use ARC Map Details for anchors, logs, buildings, and elevation before committing to a route.
Achievement Runs and Efficient Progression
LeitfädenChasing 100%? Here’s how to make it less of a grind.
- No Parking (3 junctions, never put it in Park)
- Pick routes with clean sightlines and minimal dead-ends.
- Prep a fast build: strong engine, durable panels, fuel reserves, and tires that fit the route.
- Repairs on the move only—so avoid hero plays.
- How long it takes
- There are 49 achievements, and most unlock naturally across ~25–30 hours. Only a couple are situational.
- Resource farming
- Outer Zone: basics and Stable Energy.
- Mid‑Zone: Unstable Energy, with marsh/swamp (Marsh Eggs, Swamp Coral) and corrupted biomes.
- Deep Zone: Corrupted Energy and top-tier parts.
- Use Junction Scramblers to reroll routes and chase high‑instability zones for bigger hauls (risk included).
Expeditions Mode: Survive the Long Haul
LeitfädenExpeditions are the “don’t-look-back” runs—no garage mid-trip, escalating rules each tier, and big rewards if you hold it together.
- Stacking difficulty: Each level adds on top of the last, so later tiers feel downright cursed.
- Route choices: You pick from three openers with different hazards/rewards—more radiation, nastier anomalies, or better loot. Build to your route.
- Pit stops: Limited refuel/repair spots. Prioritize what keeps you alive (tires, engine, battery) and ration everything.
- Sustain tools: Bigger battery capacity, alt‑power (wind/hydro), and conservative fuel builds shine here.
- Ida’s Workshop: Trade for rare or “unrestricted” purple‑star gear you can’t normally craft—huge for weird builds.
- Failure safety: If you wipe, your difficulty rank drops one step so you’re not stuck on a brick wall.
Screenshots