Death Howl Подсказки
- Best Early Totems and When to Swap
- All the Ways to Unlock Cards (and Where to Look)
- Teardrop Skill Trees: Realm-By-Realm Progression
- Achievements: Progression vs. Challenges
- Card Panel Lockout (Fixed in v1.0.0.2) and What to Do
- Encounter Glitches? Use Combat Reset and Rotate Fights
- Mastering Positioning on the Grid (Death Howl tips you’ll actually use)
- Currency & Teardrops: Don’t Lose Your Progress to a Grove
- Early Synergies & Combos that Carry Runs
- Exploration Pays: Hidden Caves, Totems, and Map Reveals
- Surviving Debuffs: Doomed, Poison, and Hand-Cloggers
- How to Earn “Warrior” (What We Know and How to Prep)
- Sacred Groves: Checkpoints, Fast Travel, and Farm Loops
- Boss Fights: Learn the Dance, Then Build to Beat It
- Deck Building by Realm (and the Realmless Core)

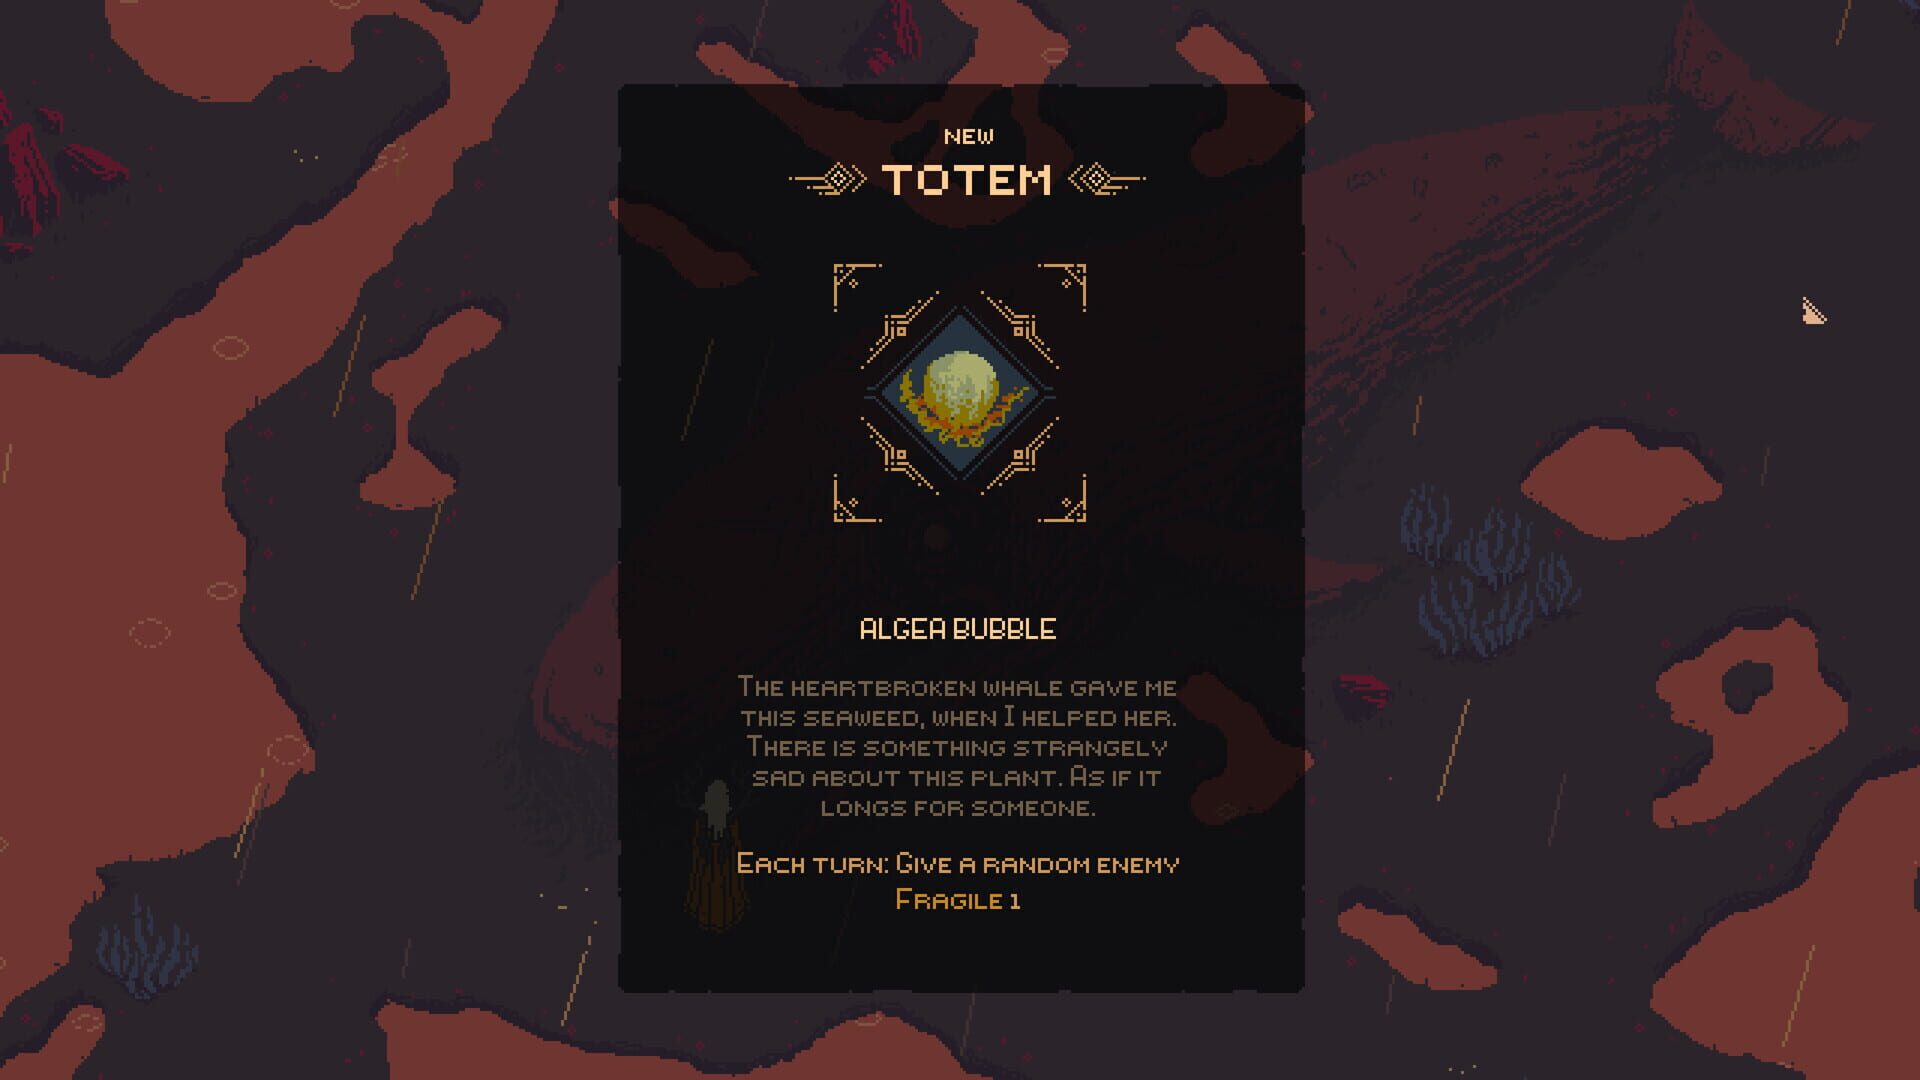
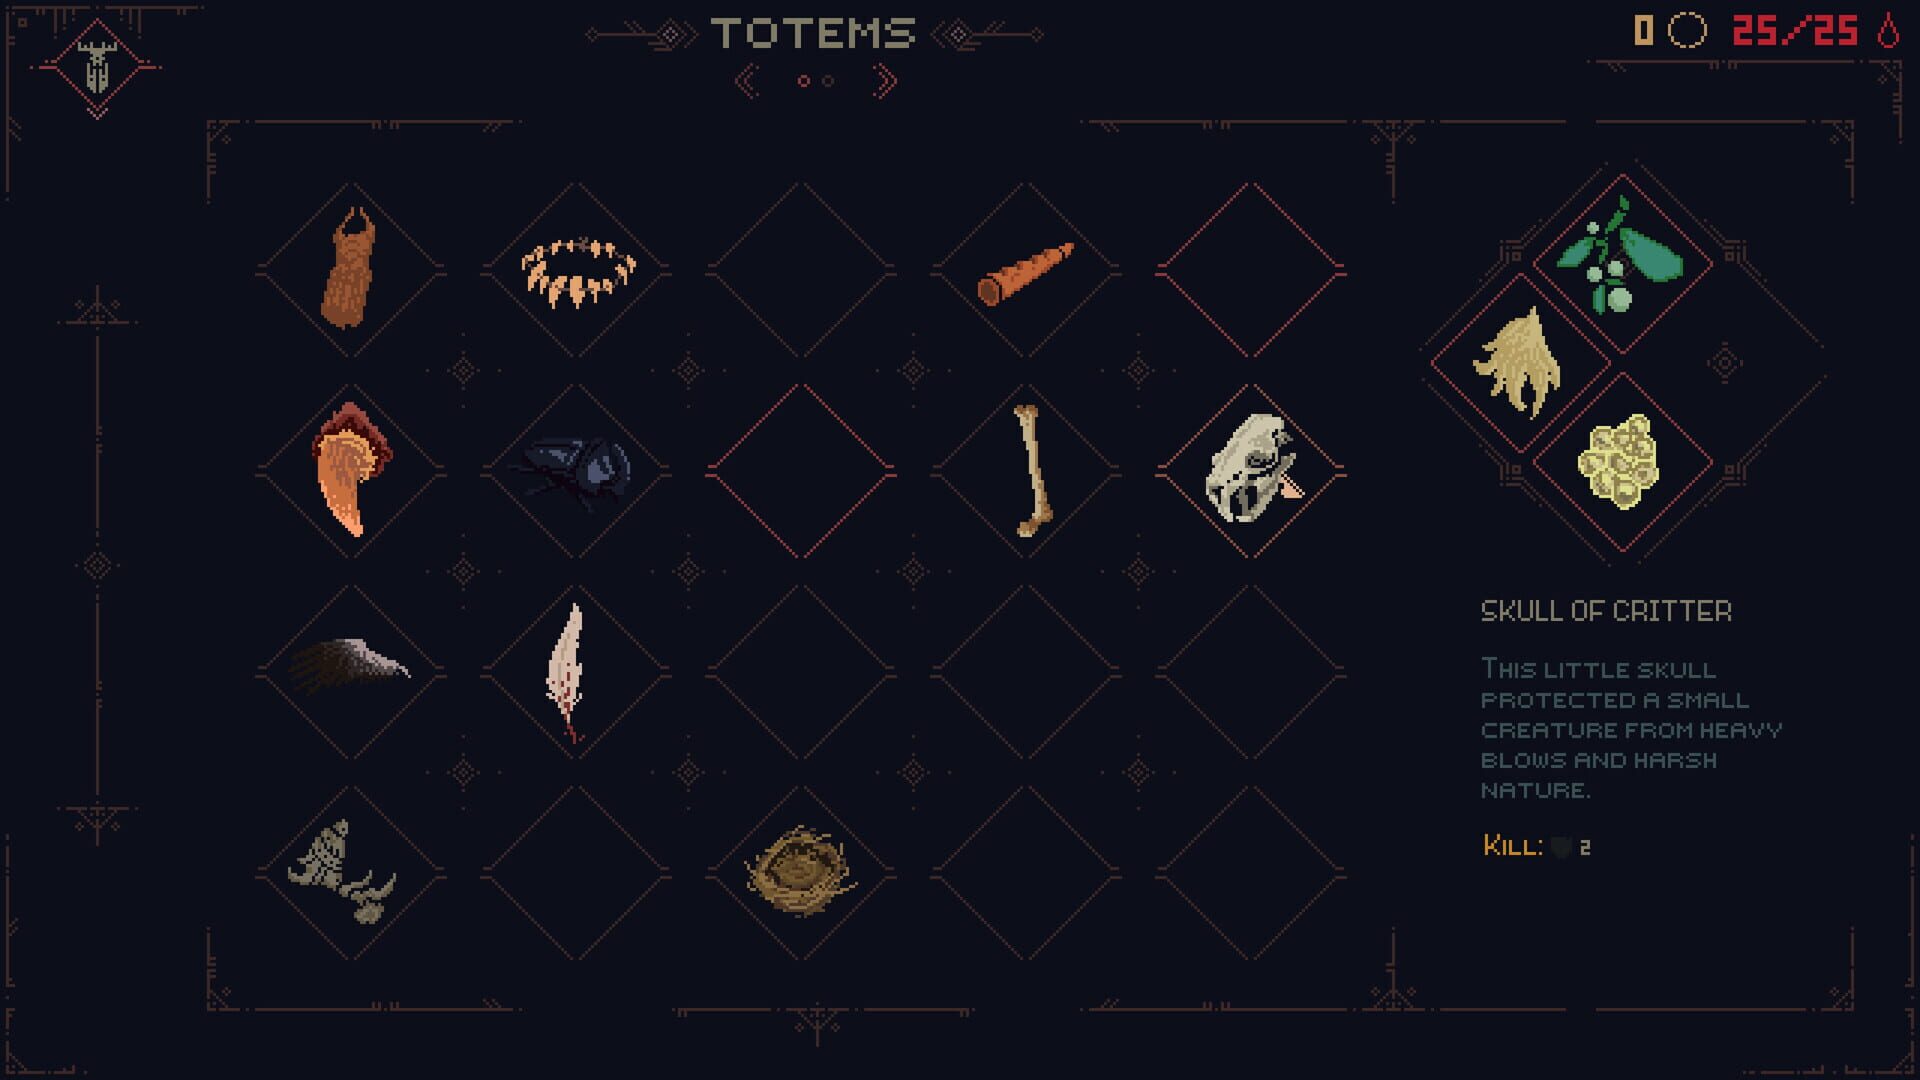
Best Early Totems and When to Swap
РазблокируемыйTotems are pre-battle passives that shape entire fights, and you can swap them freely outside combat.
- Equip smart early picks: Brother’s Bracelet for steady value; Mother’s Cloth for survivability while you learn.
- Hunt the Tree Root Totem. It’s tucked behind tough Elder Spirit encounters but pays off.
- Match to the fight. Movement boosts, starter shields, or specific card synergies—pick what solves the enemy in front of you.
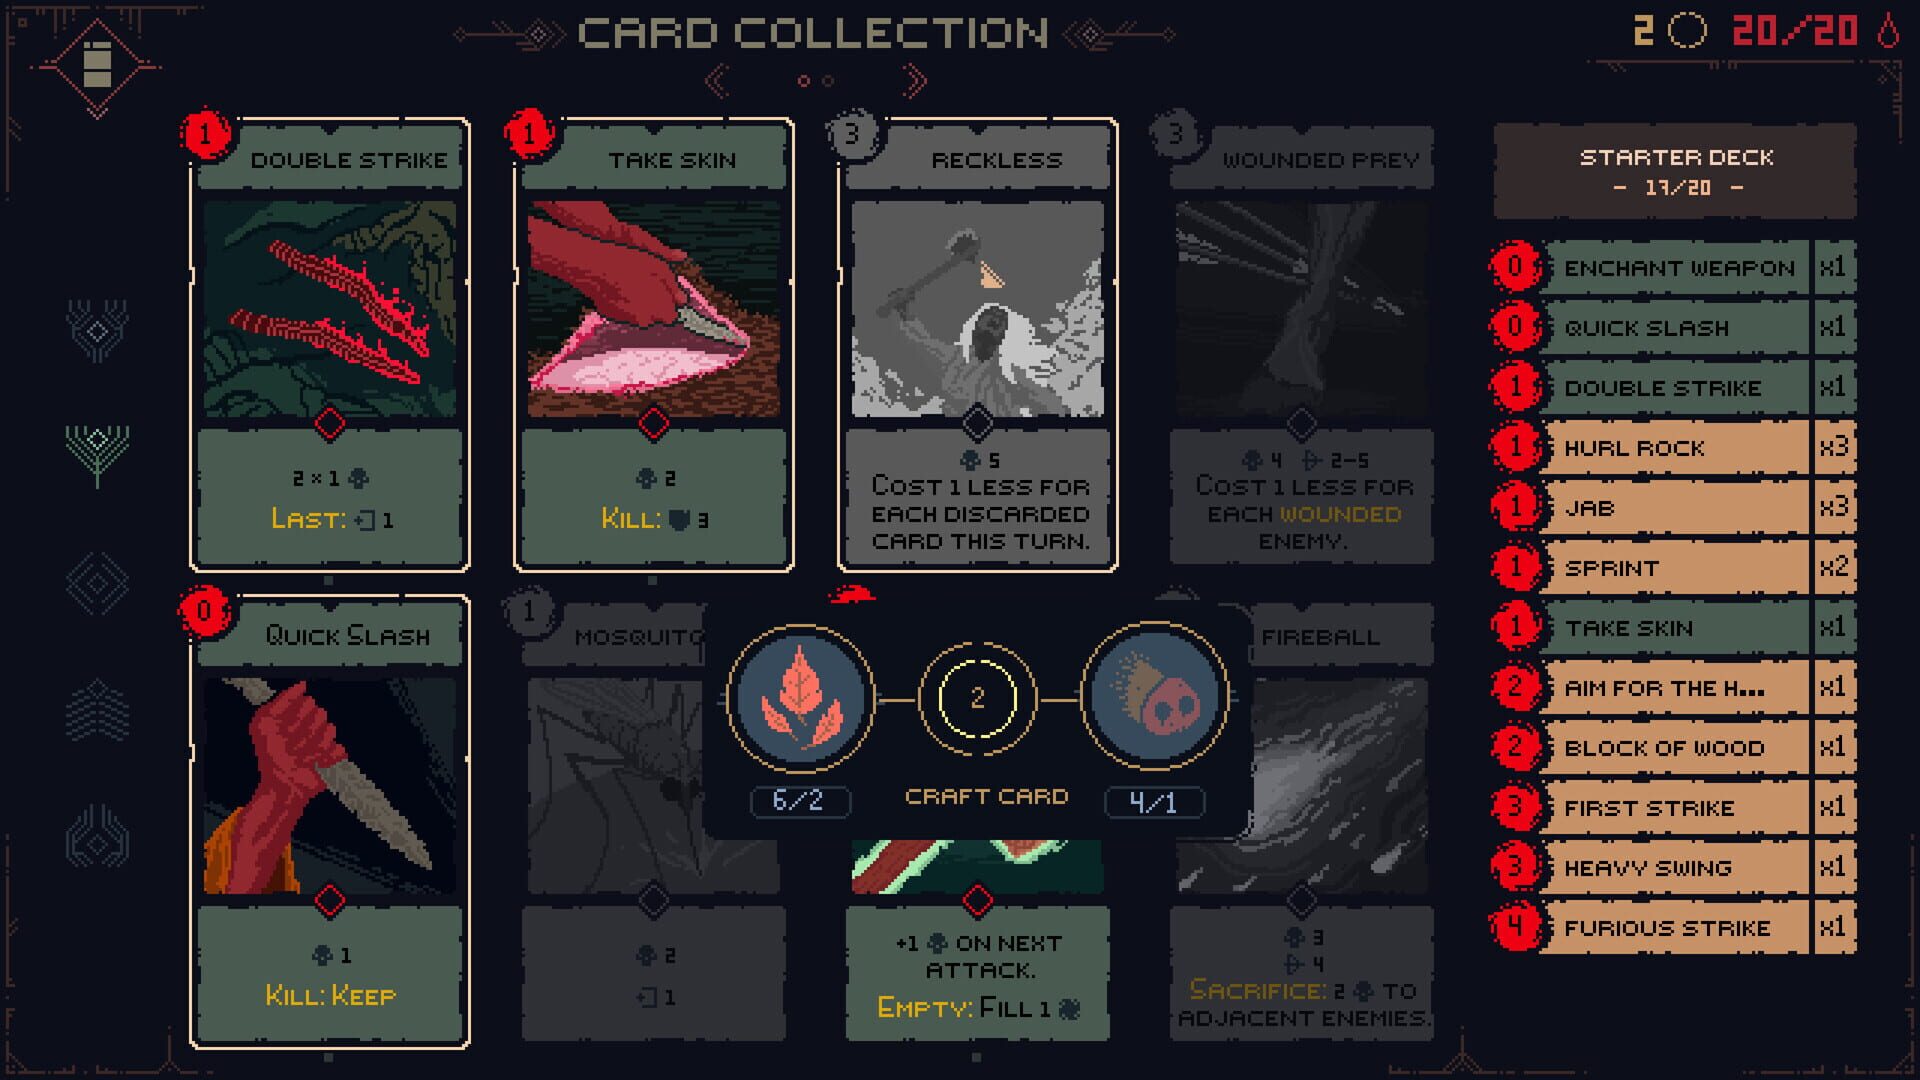
All the Ways to Unlock Cards (and Where to Look)
РазблокируемыйLooking for “how to unlock cards in Death Howl”? You’ve got three reliable paths:
- Enemy drops/materials: farm spirits for crafting resources or occasional direct cards.
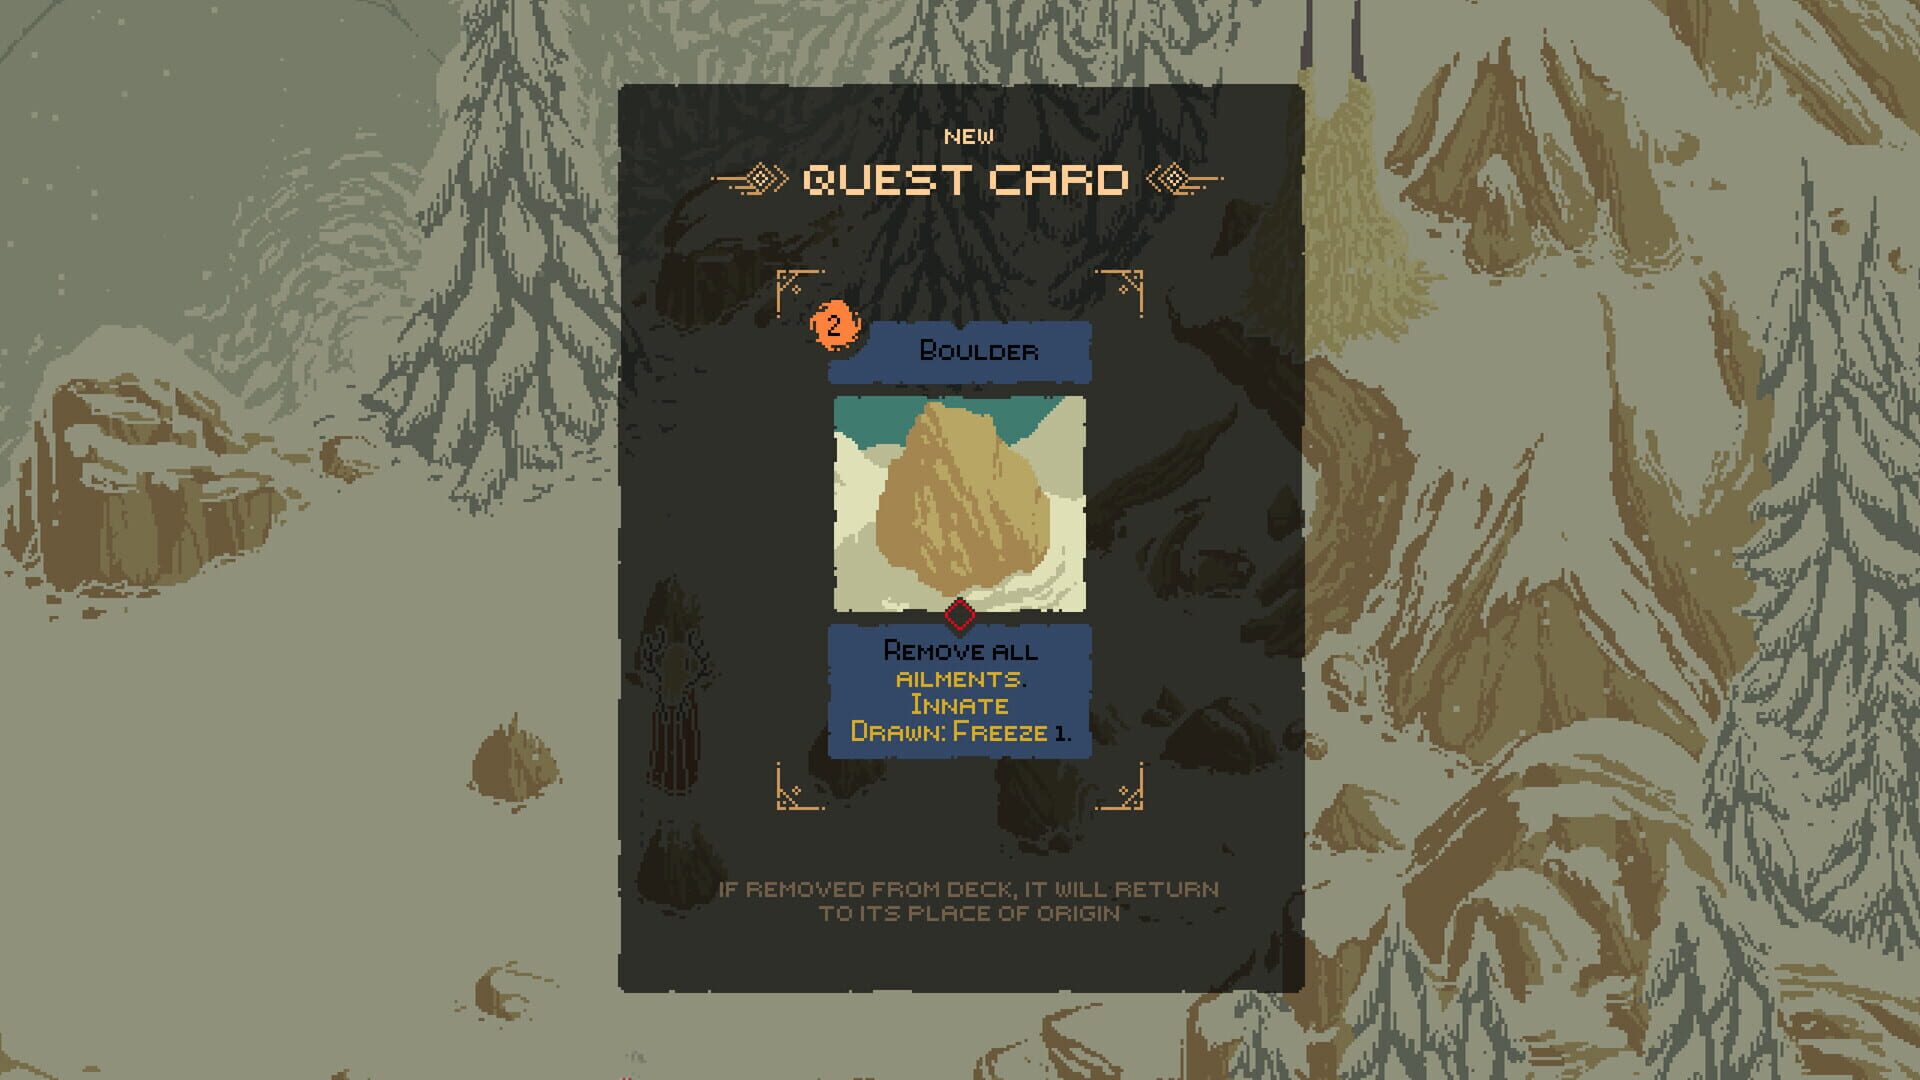
- Quest rewards: some regions grant unique cards for completion—tougher quests tend to pay out stronger options.
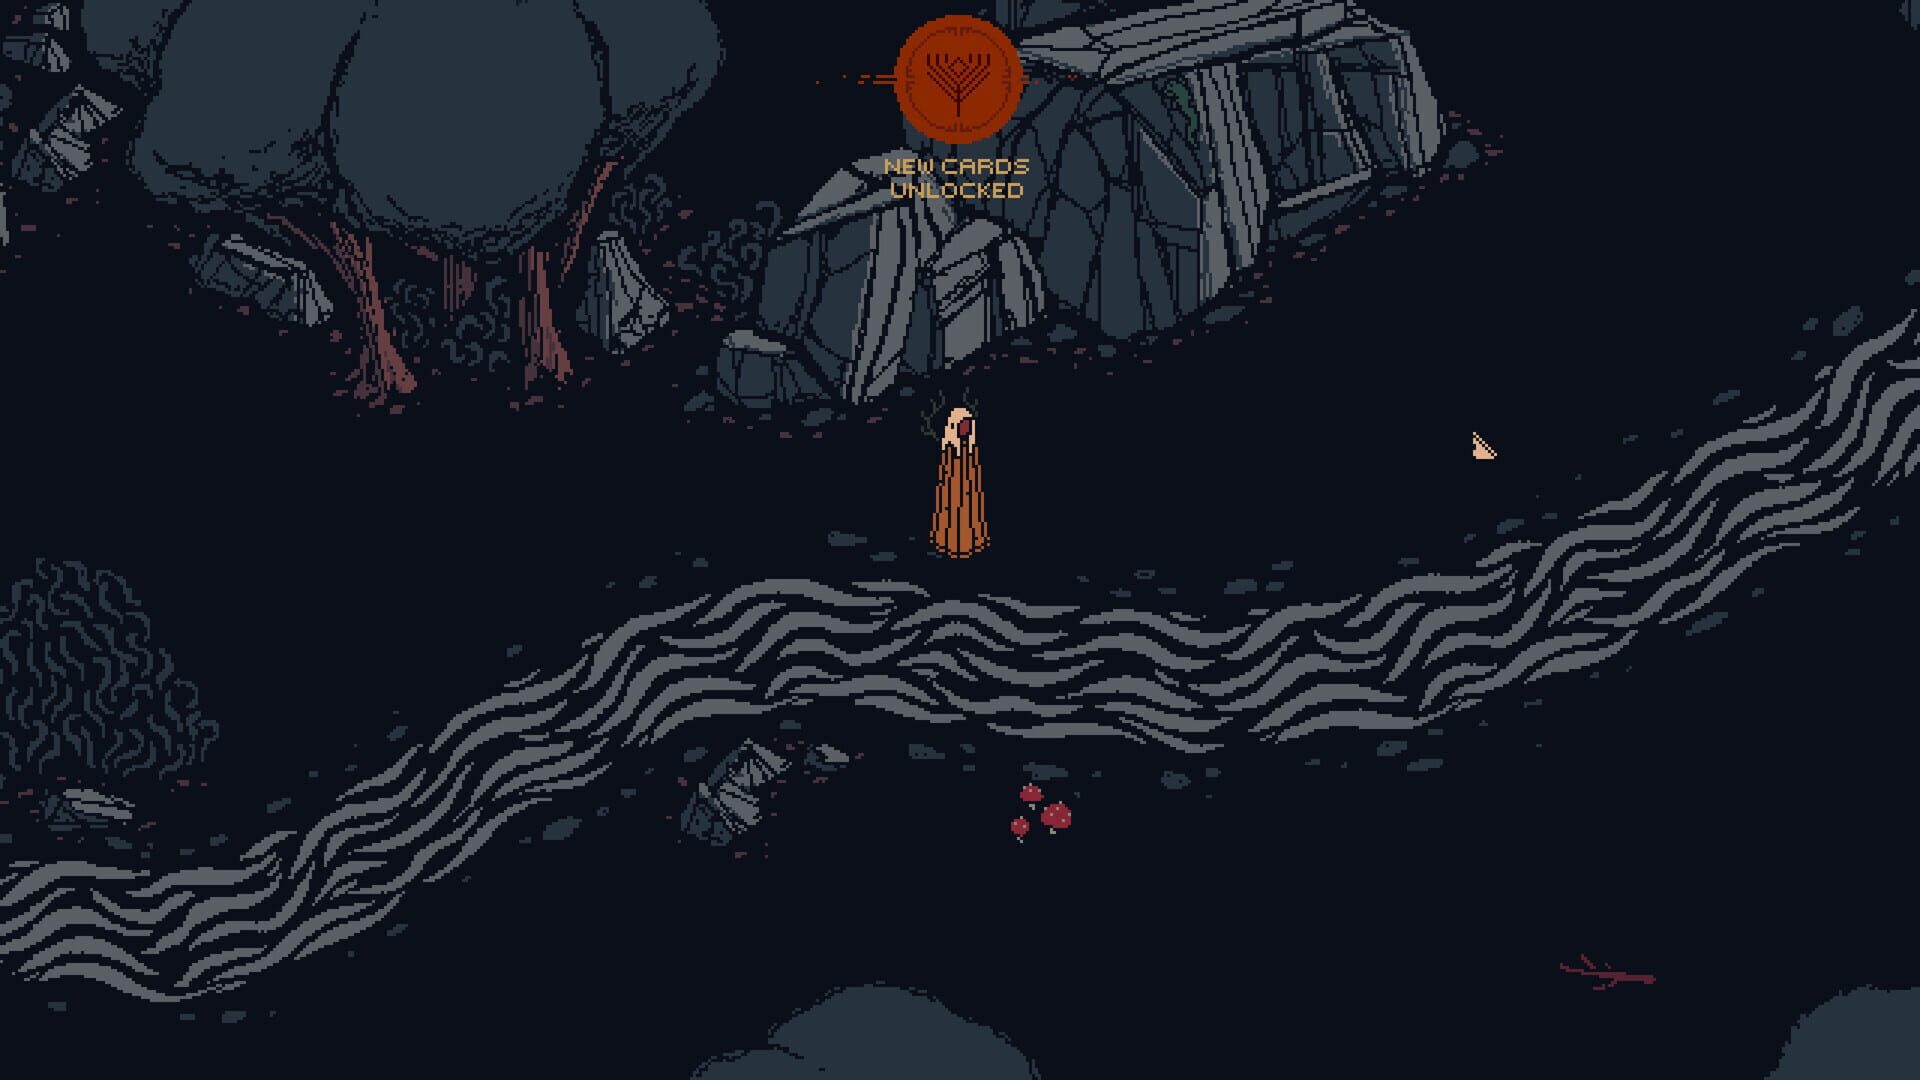
- Hidden caves: explore to find Fylge Summon Cards (Bug, Cone, Branch, Skull, and more). These summons cost 2 mana and keep that cost across realms, making them consistently useful.
- Don’t skip Elder Spirits. Optional and hard, but the rewards are worth it.
Teardrop Skill Trees: Realm-By-Realm Progression
РазблокируемыйEach realm has its own Teardrop skill tree. When you move to a new realm, you’re essentially starting over with a fresh tree.
- Frontload survivability. Buy defensive and mobility upgrades first; they’re the foundation for later damage ramps.
- Synergize with your current deck. If you’re leaning into shields or movement combos, feed those nodes first.
- Expect the reset. The design prevents carry-over power spikes, so plan to refarm early in new zones.
Achievements: Progression vs. Challenges
РазблокируемыйDeath Howl includes 20 achievements (1000 Gamerscore) split between general progression and challenge tasks.
- Thematic names hint at requirements (like “Flames of Vengeance” or “Balancing the Scales”).
- Challenge hunting tips: pick a target, build a deck around the constraint, and practice on repeatable encounters first.
- Warrior specifics are murky, but likely tied to clean, restricted wins—prep with defense and strict positioning.
Card Panel Lockout (Fixed in v1.0.0.2) and What to Do
СбоиThere was a nasty bug where unlocking a Special Realm Card before anything else in that realm could block access to the Card Panel. It's fixed in v1.0.0.2.
- Quick checks: verify your game version; update if you’re on an older build.
- Temporary workaround: if the panel feels “stuck” or cards won’t craft despite materials, try a combat reset to refresh state.
- When in doubt: restart from the latest Sacred Grove and reattempt the interaction.
Encounter Glitches? Use Combat Reset and Rotate Fights
СбоиIf you hit weird positioning, card logic hiccups, or softlocks during a fight, the in-game combat reset usually clears the state without costing progression.
- Reset first. It’s the safest fix mid-run.
- If it persists: rotate to a different encounter or farm route to avoid potentially corrupted instances.
- FYI for searchers: if you’re looking for “Death Howl cheats” or trainers, none are confirmed or supported at the moment—focus on farm loops and smart builds instead.
Mastering Positioning on the Grid (Death Howl tips you’ll actually use)
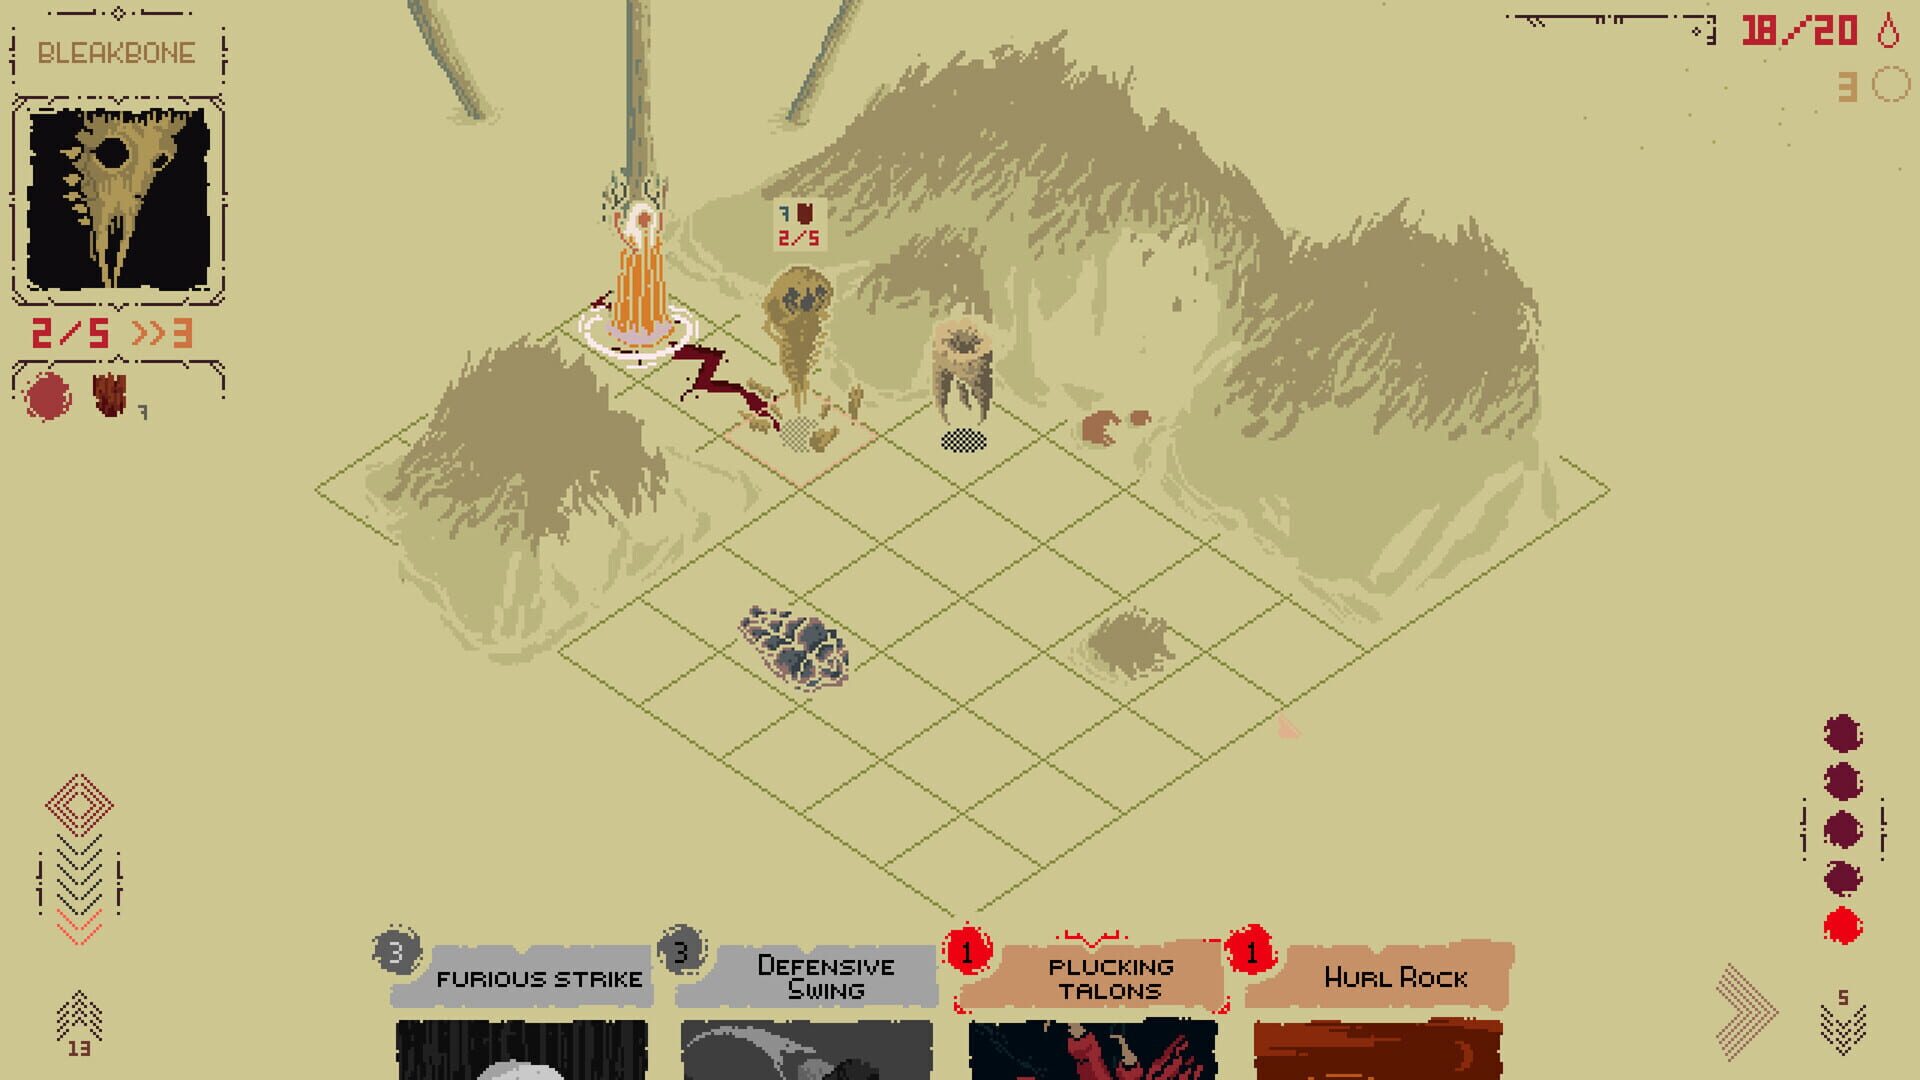
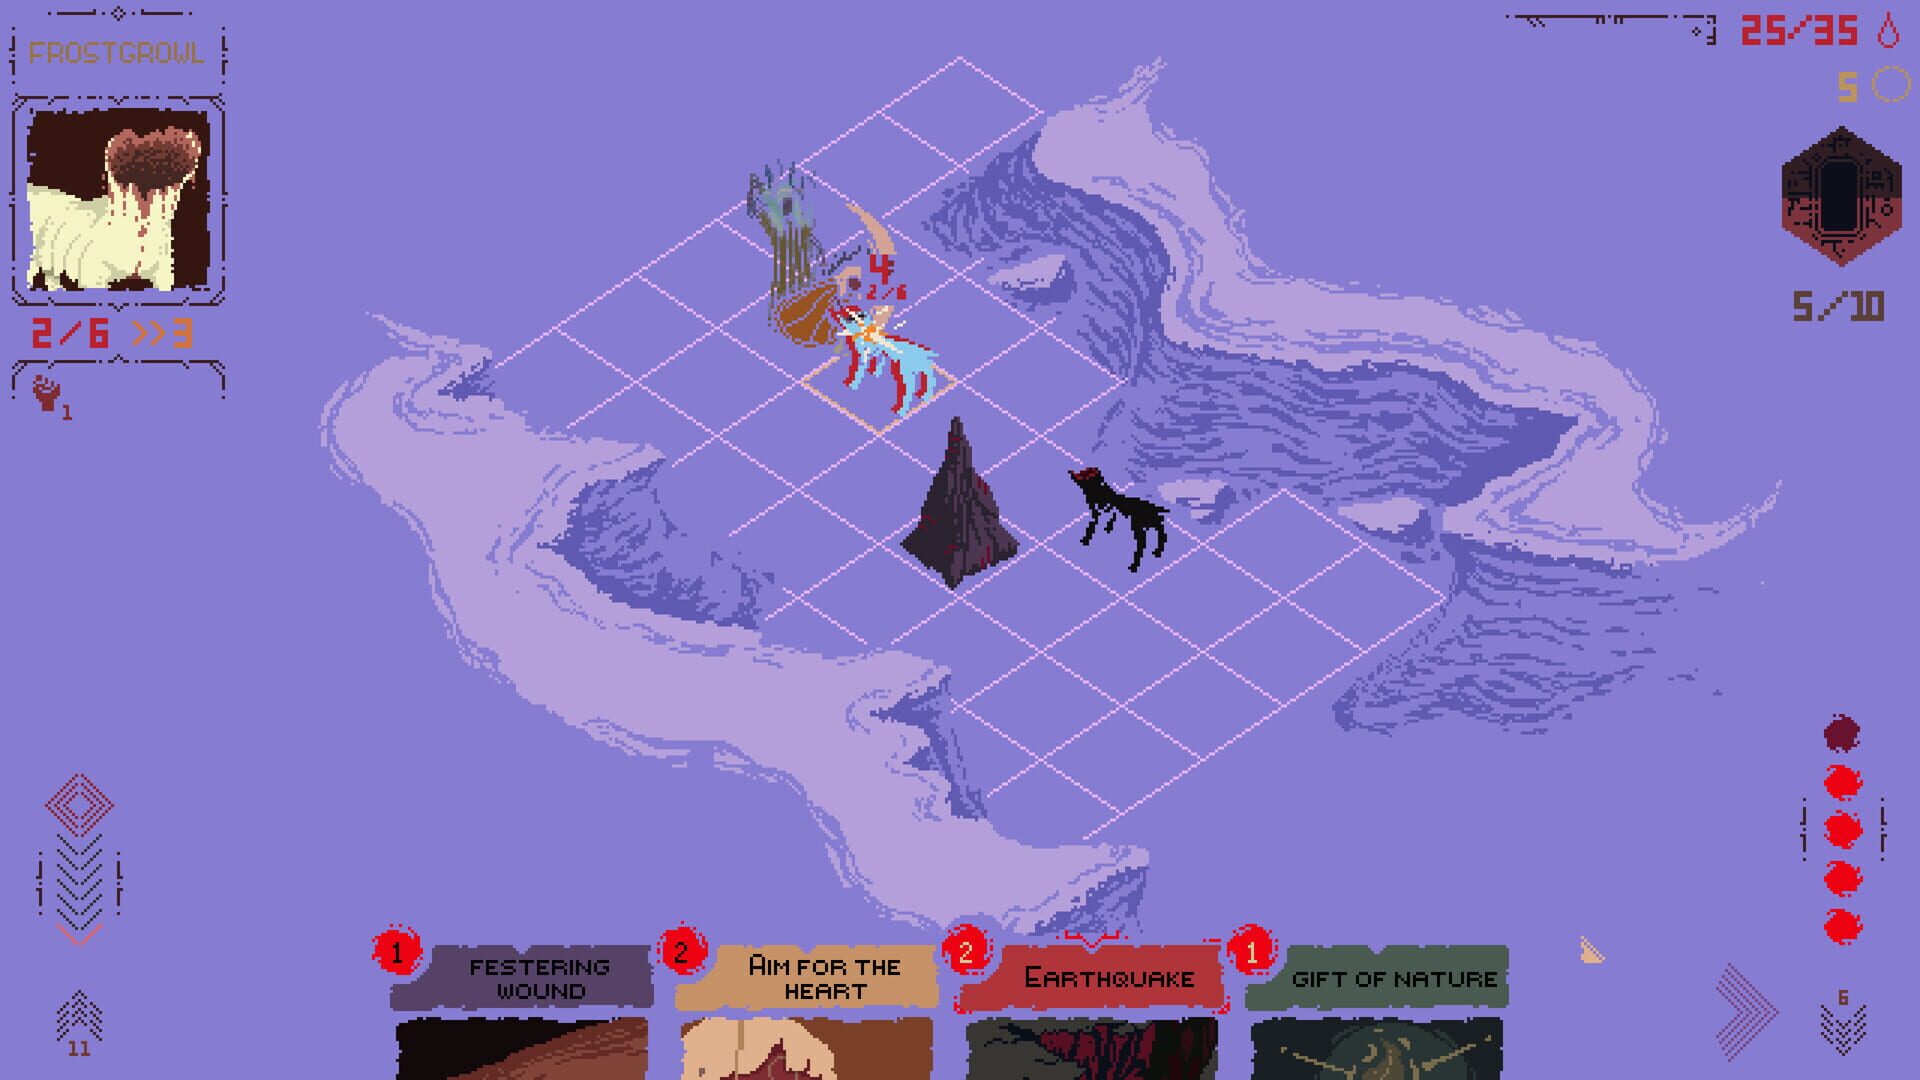
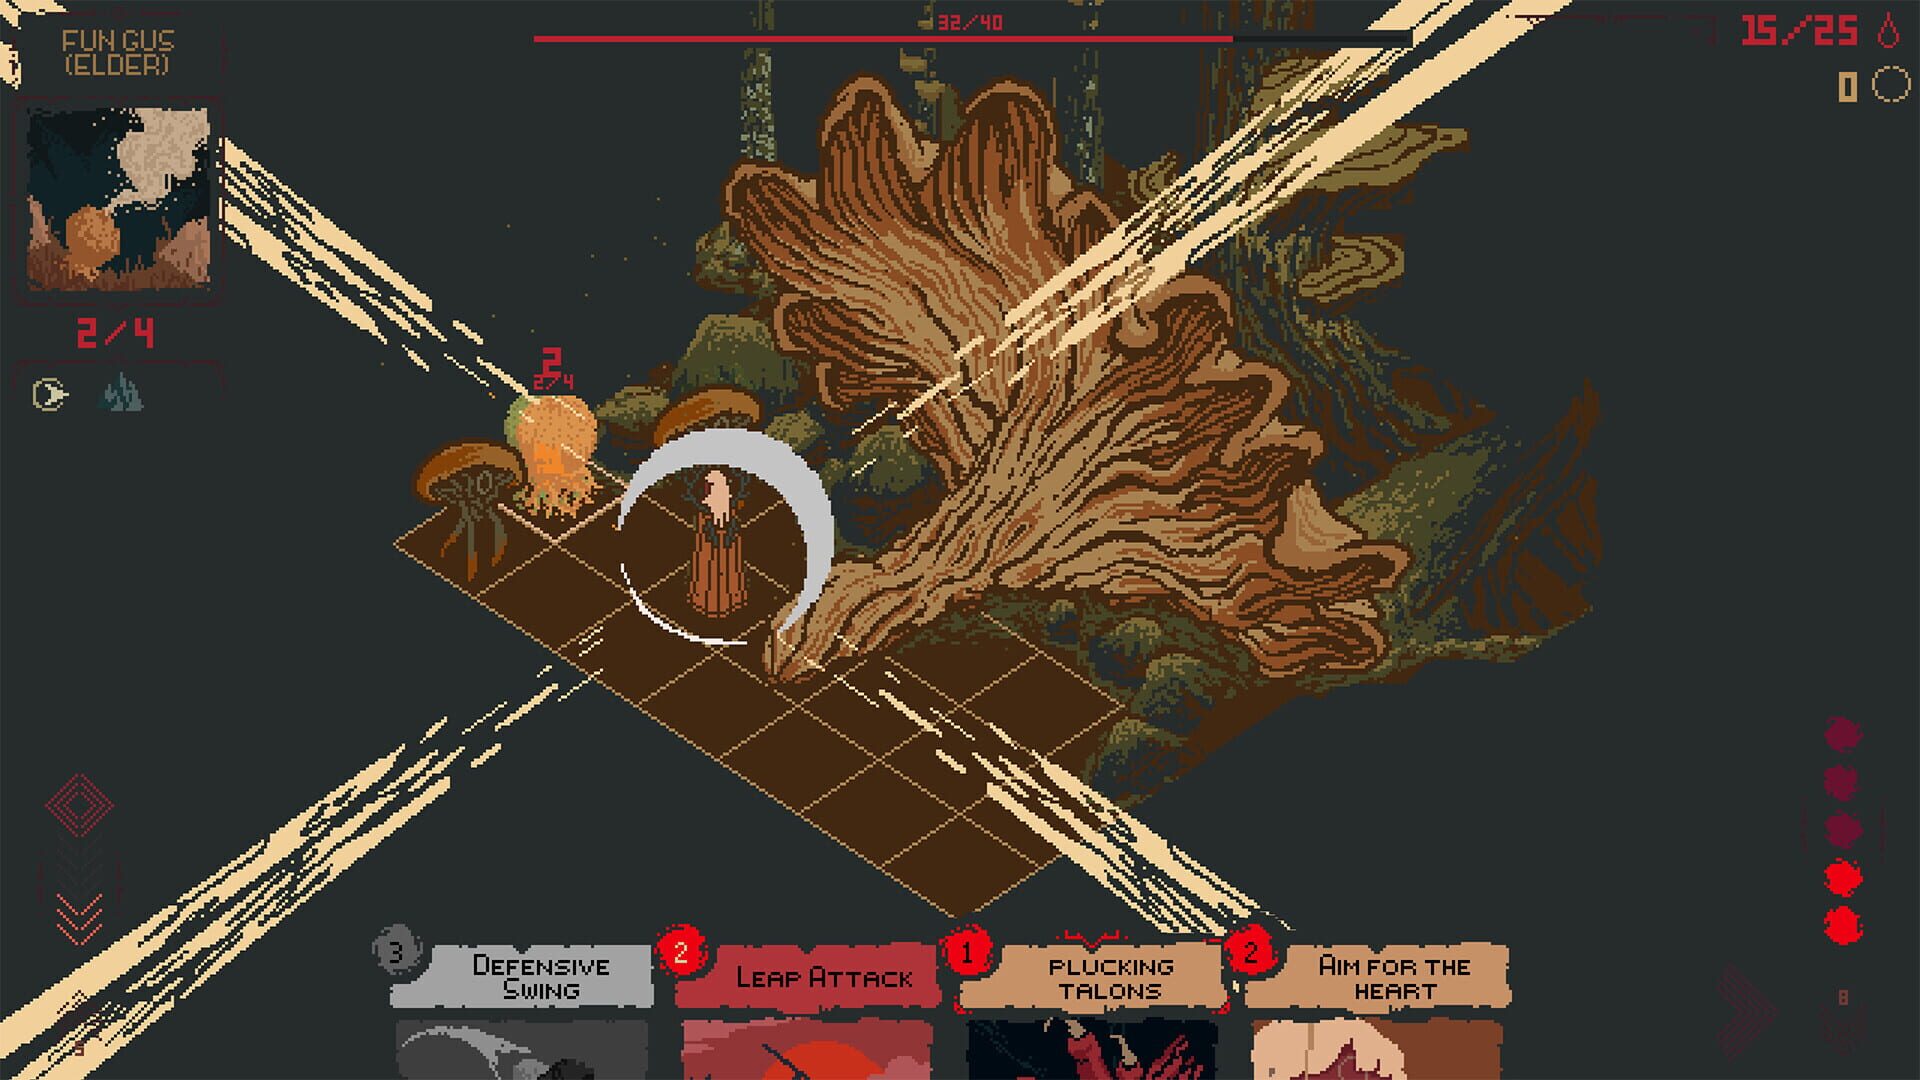
ПодсказкиDeath Howl’s grid combat is all about economy: you get 5 mana each turn and spend it on movement and cards. Movement is rook-style in straight lines, one square per mana. Miscount and you’ll waste your turn.
- Plan your turn before you move. Map the full mana cost for movement + plays so you don’t strand yourself.
- Distance dictates card viability. Cards like Aim for the Heart need specific ranges; Defensive Swing shines when you’re adjacent.
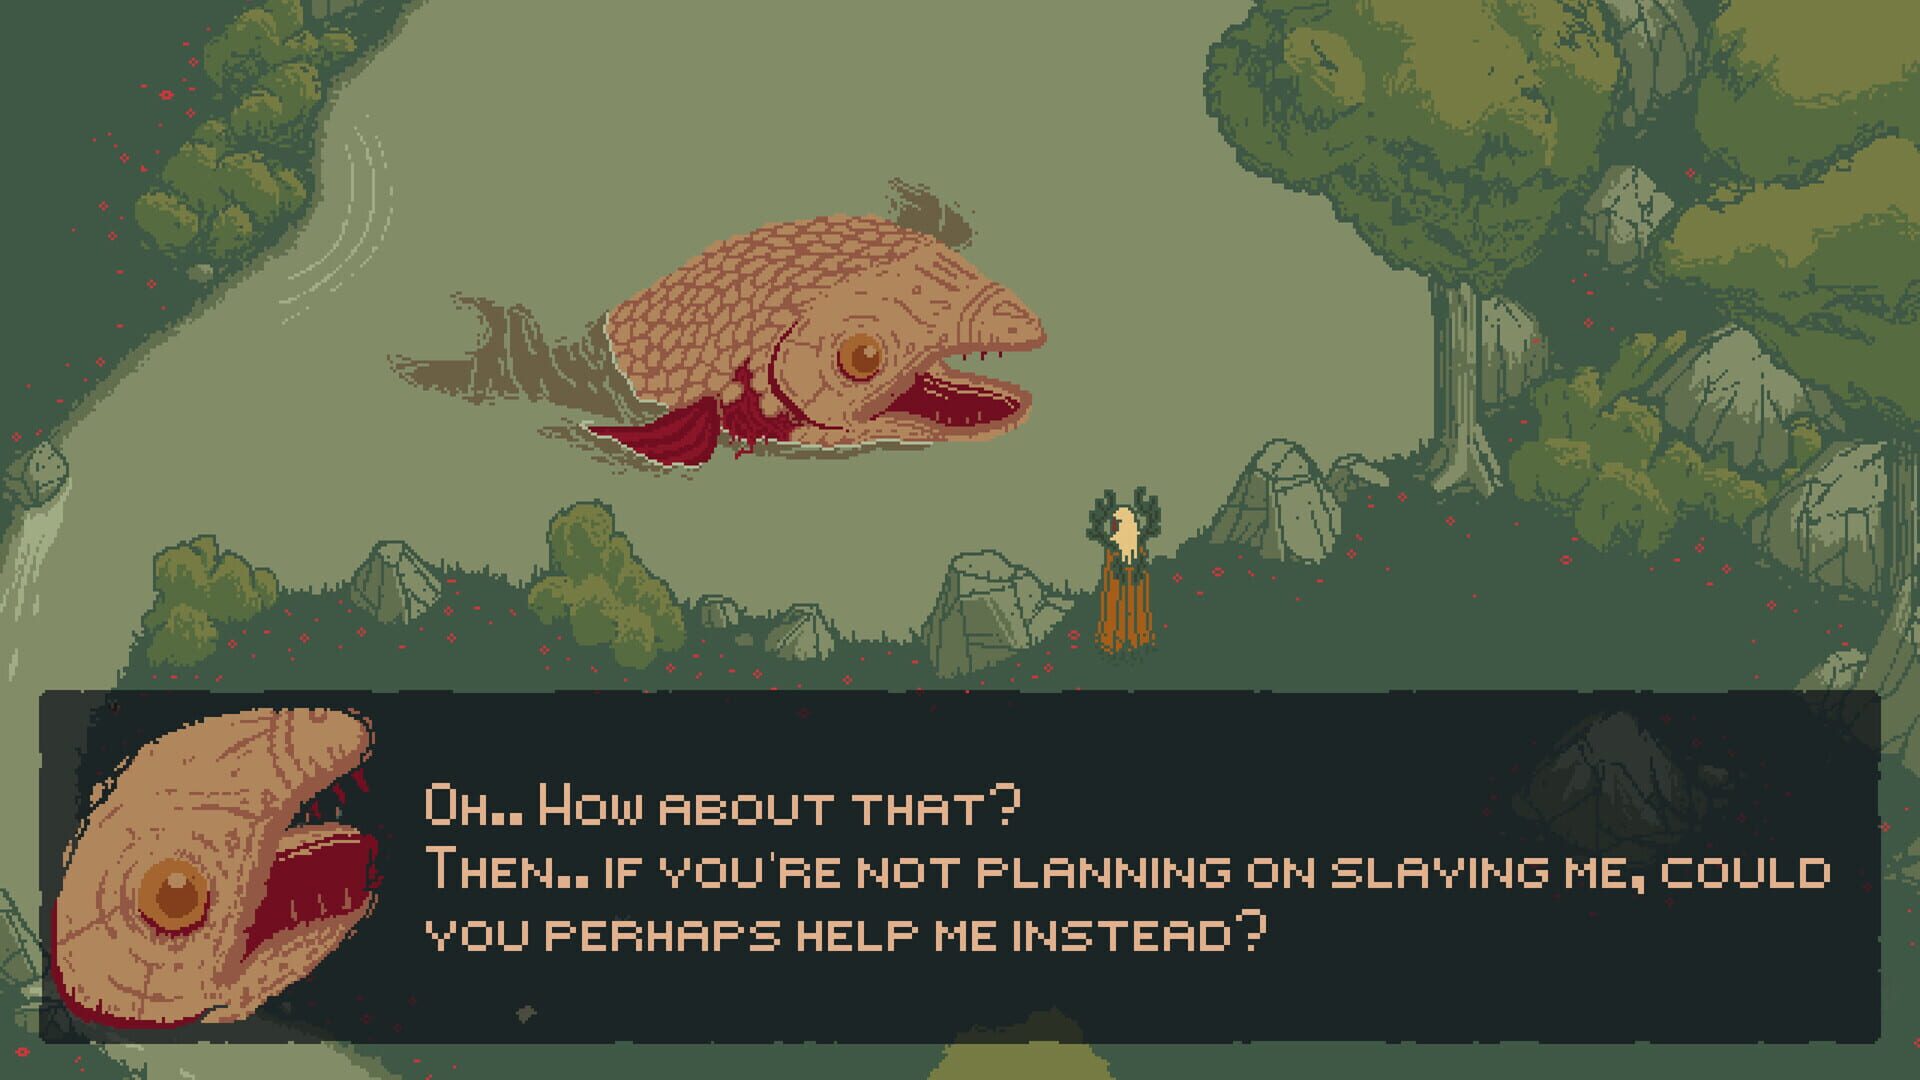
- Read enemy roles. Gloomcroaks yank you into melee; Dreadfins harass from afar. Decide if you’re closing gaps or forcing them to come to you.
- Use terrain. Hugging walls limits how many enemies can reach you, but don’t turtle so hard you lose tempo.
- Practice threat ranges. Your first fights with each spirit type should be “study runs” to learn their movement and attack patterns.
Currency & Teardrops: Don’t Lose Your Progress to a Grove
ПодсказкиIf you’re searching “how to farm Teardrops in Death Howl,” here’s the catch: resting at a Sacred Grove automatically converts all carried Death Howls into Teardrops. No prompt, no undo.
- Correct order: craft cards first, then rest to convert leftover Death Howls into Teardrops.
- Set priorities: early Teardrops go to defense and mobility so you live long enough to farm offense later.
- Pre-realm prep: before entering a new realm, run a short farm loop in the previous one to bank extra Teardrops for immediate upgrades.
- Budget smart: don’t hoard Death Howls you plan to craft with—spend them before any Grove rest.
Early Synergies & Combos that Carry Runs
ПодсказкиBuilding efficient, condition-based combos is how you win fights without bleeding mana. Start with reliable, low-cost chains and scale from there.
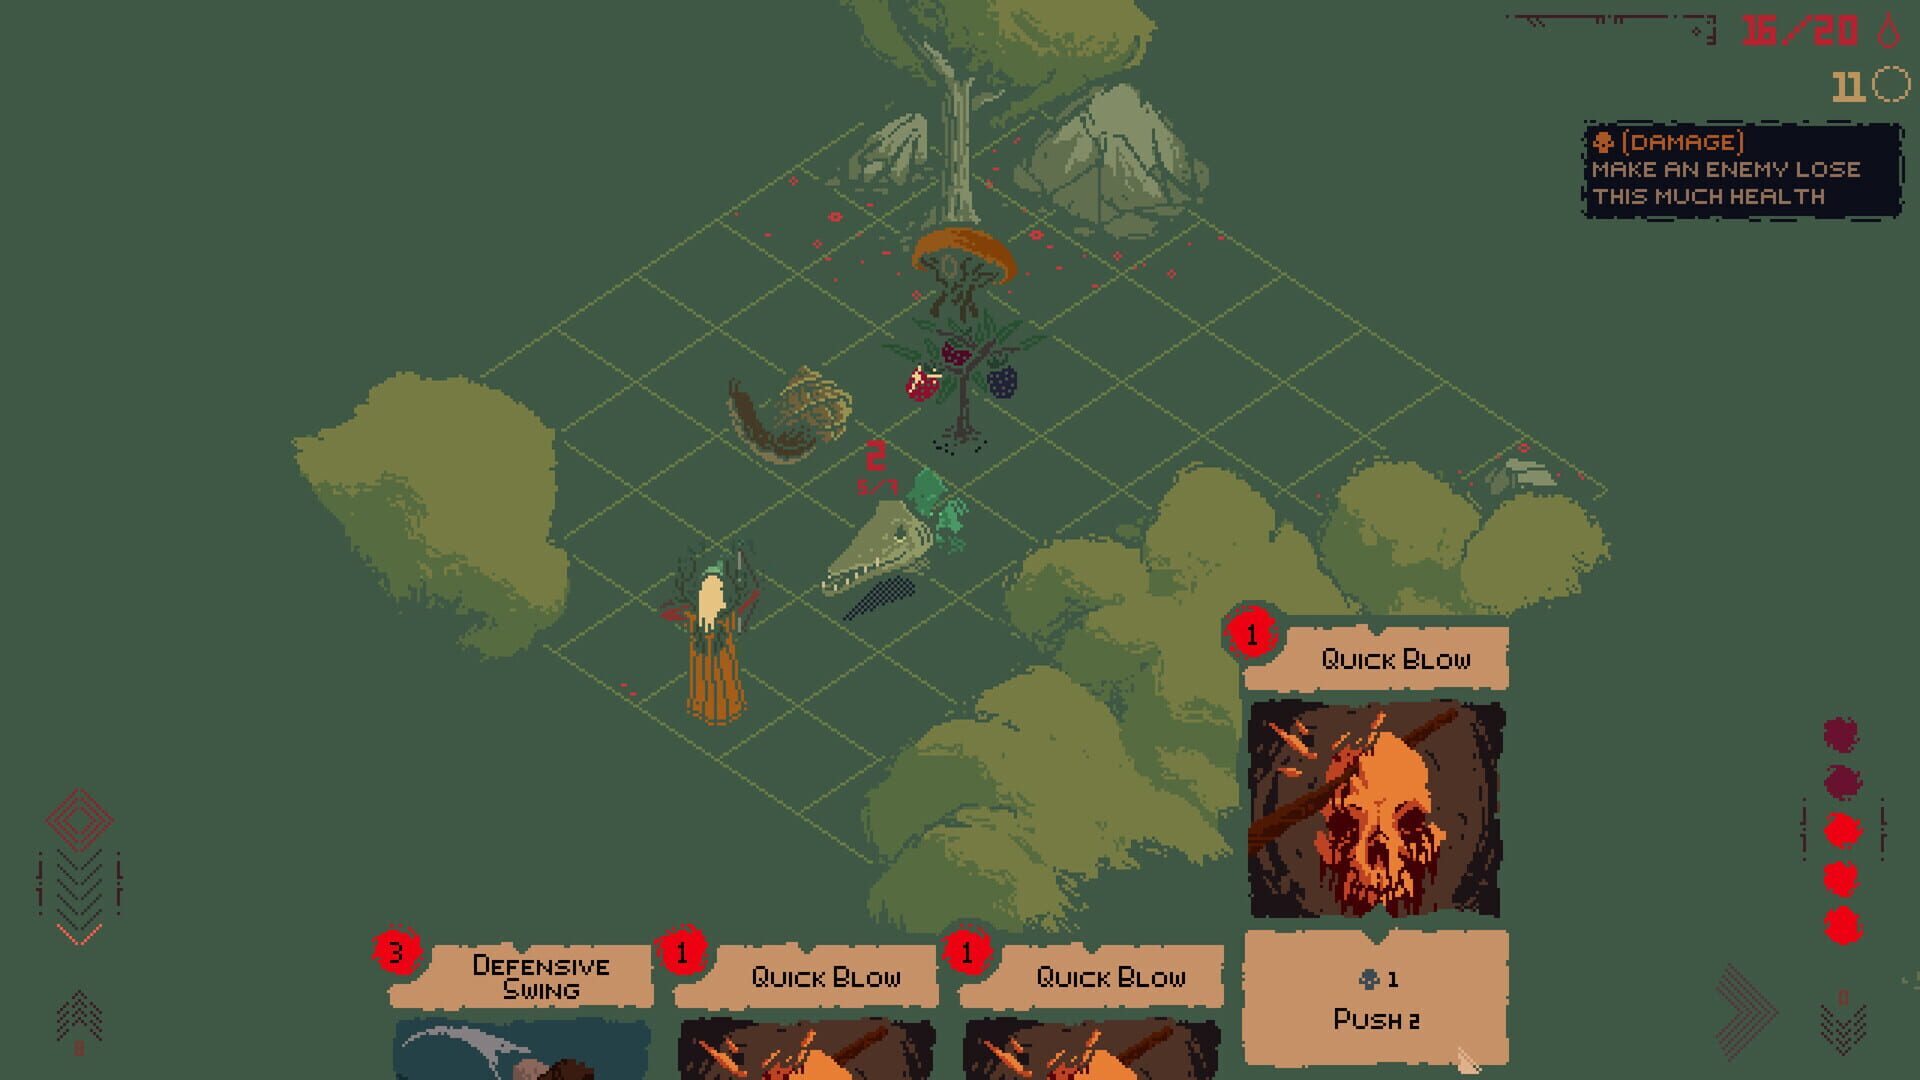
- Bread-and-butter chain: Block of Wood (2 mana, shields) → Defensive Swing (drops to 1 mana if shielded) → Quick Strike (1 mana push) → Aim for the Heart (2 mana ranged). Strong damage, good spacing.
- Cost reducers are king. Cards like Furious Strike get cheaper the more you’ve played this turn. Lead with cheap plays, close with the heavy hitter.
- Consistency > flash. Build around effects you can trigger every turn: shields, adjacency, and “cards played this turn” counters.
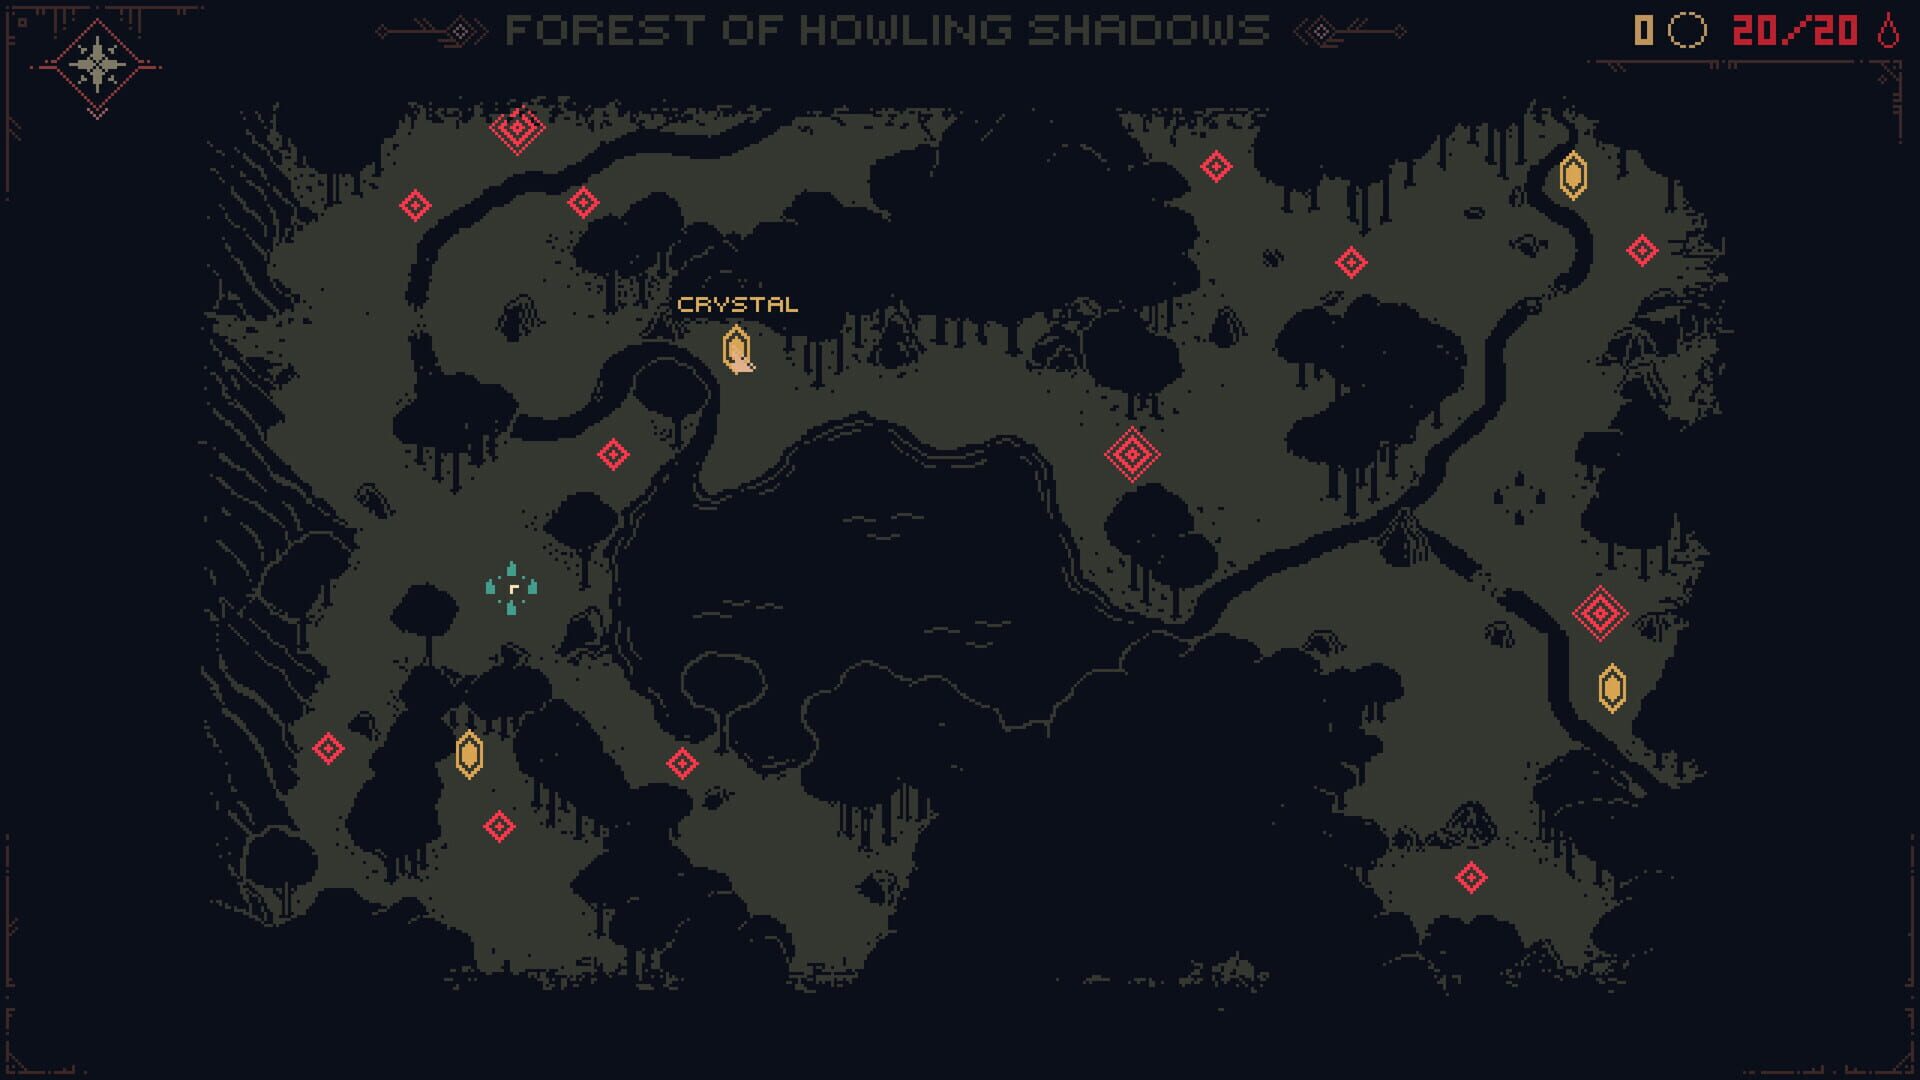
Want “secret locations in Death Howl”? Exploration isn’t optional here—it’s power.
- Click suspicious spots. Hidden cave entrances don’t always pop visually; manually check odd rocks and off-path nooks.
- Chase Elder Spirits. Some of the best rewards (like the Tree Root Totem) hide behind tough optional fights.
- Loot the world. Mushrooms, berries, and other materials matter for crafting—you’ll see the payoff in combat.
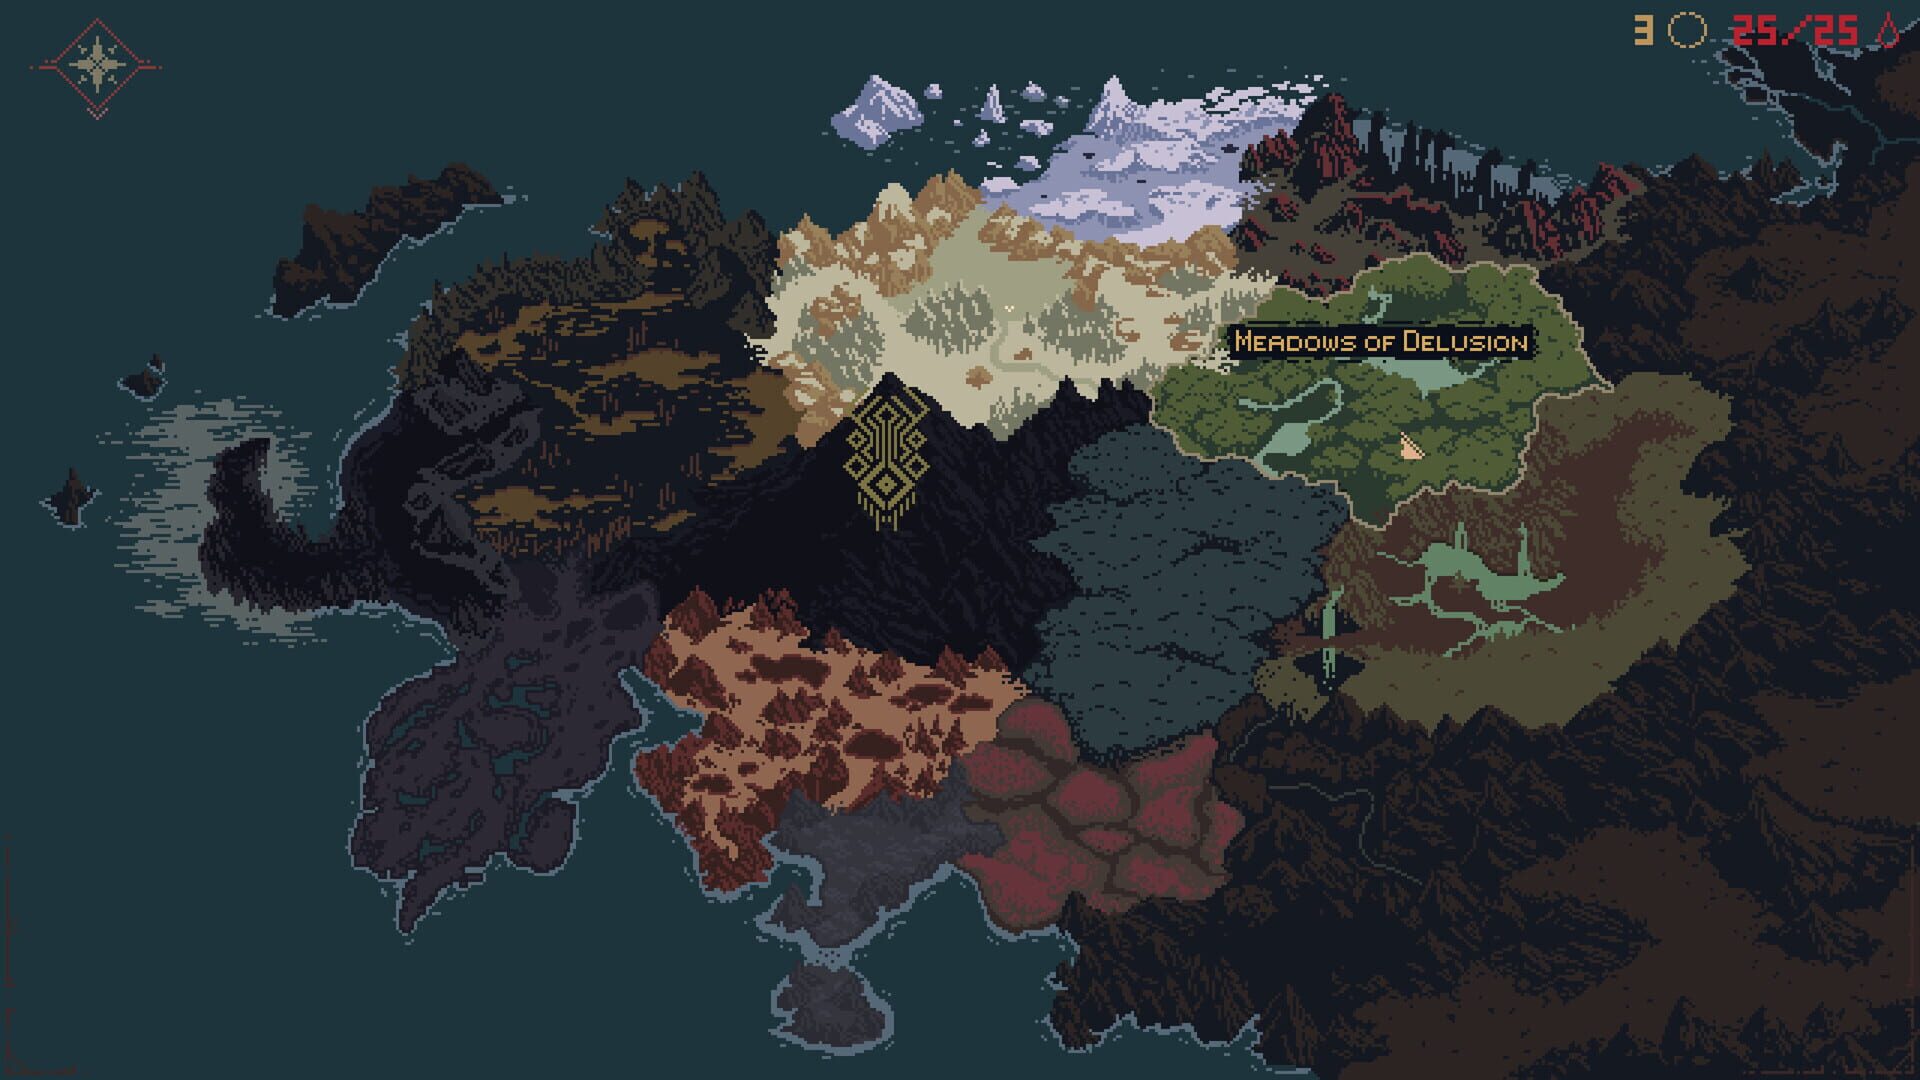
- Activate Sacred Groves early. They reveal the entire zone map so you can plan fights, routes, and farm loops.
Surviving Debuffs: Doomed, Poison, and Hand-Cloggers
ПодсказкиDeath Howl’s status effects can delete runs if you ignore them.
- Doomed = immediate priority. If you end your turn with a Doomed card in hand and don’t discard it, you die. Keep a removal plan in your deck.
- Mind Glare and similar hand junk reduce your draw quality and tempo. Slot 1–2 debuff answers if a region’s enemies keep stuffing your hand.
- Poison stacks fast. Don’t let it snowball; clear it or end fights before it spirals.
- Scout first, counter later. Learn which enemies inflict what, then adjust your deck before the rematch.
How to Earn “Warrior” (What We Know and How to Prep)
РуководстваIf you’re hunting the Warrior achievement in Death Howl, it likely hinges on strict combat performance (think: no-hit fights, specific enemy kills, or restricted decks). Until the exact trigger is nailed down:
- Go defensive-first. Build around Block of Wood, Defensive Swing, and reliable shields.
- Control positioning. Take fights where you minimize incoming hits and force enemies into your range bands.
- Practice patterns. Run repeat fights against harder spirits to master their tells before a serious attempt.
- Record your runs. If it pops, you’ll know which conditions you met.
Sacred Groves: Checkpoints, Fast Travel, and Farm Loops
РуководстваSacred Groves are the backbone of progression and farming in Death Howl.
- They’re multi-purpose: heal, access the skill tree, fast travel, and convert Death Howls into Teardrops when you rest.
- Enemy respawns on activation. Use this to set efficient loops near spirits you farm well.
- Fast travel everywhere. Once unlocked, Groves form a network—bounce between regions to gather resources or revisit easier fights.
- Micro-goal your runs. Prioritize hitting the next Grove over long objectives; each one opens safer routes and better grind options.
Boss Fights: Learn the Dance, Then Build to Beat It
РуководстваBosses in Death Howl are designed for repetition and pattern learning. Expect multiple attempts—then tailor your deck to the exact fight.
- Identify phases. Some bosses spawn hands/adds; clear them to open safe damage windows.
- Defense > burst while learning. A stable health bar beats a glass cannon when you’re still reading patterns.
- Position with purpose. Set up your range bands and shield triggers before committing to damage turns.
Deck Building by Realm (and the Realmless Core)
РуководстваEvery realm in Death Howl has its own card pool and Teardrop tree. Cards from a different realm cost extra mana, so clinging to an old build quickly becomes inefficient.
- Keep a Realmless backbone. These cards keep their costs everywhere and stabilize your deck across realms.
- Craft fundamentals early:
- Block of Wood (cheap shields)
- Defensive Swing (cost drops with shields)
- Quick Strike (push/positioning)
- Aim for the Heart (safe ranged poke)
- Sprint (emergency movement at a cost)
Adapt per region. Slot in realm-specific cards that answer local enemies instead of forcing an outdated combo.
Скриншоты
Видео