R-Type Delta: HD Boosted Leitfäden

Known Bugs and Oddities (launch build)
FehlerA few quirks slipped through with the 60 FPS rebuild. Here’s what’s up and how to cope until patches land.
- Audio Desync: Certain sequences (notably parts of Stage 3 and the ending) can drift out of sync with the action. It’s cosmetic but noticeable.
- Missing Bits: Some enemy formations or small environmental elements appear absent in spots compared to PS1. Routes may feel “off”—adjust accordingly.
- Faster Than Memory: With slowdown gone, certain set pieces run hotter than the original, changing boss rhythms and timing windows.
- PC Specific: Exiting may require the Esc key, and occasionally death explosion SFX won’t trigger.
Workarounds:
- Route with the new timing in Practice.
- Favor visual clarity (HD mode) to read faster patterns.
- Report issues; keep an eye out for patch notes.
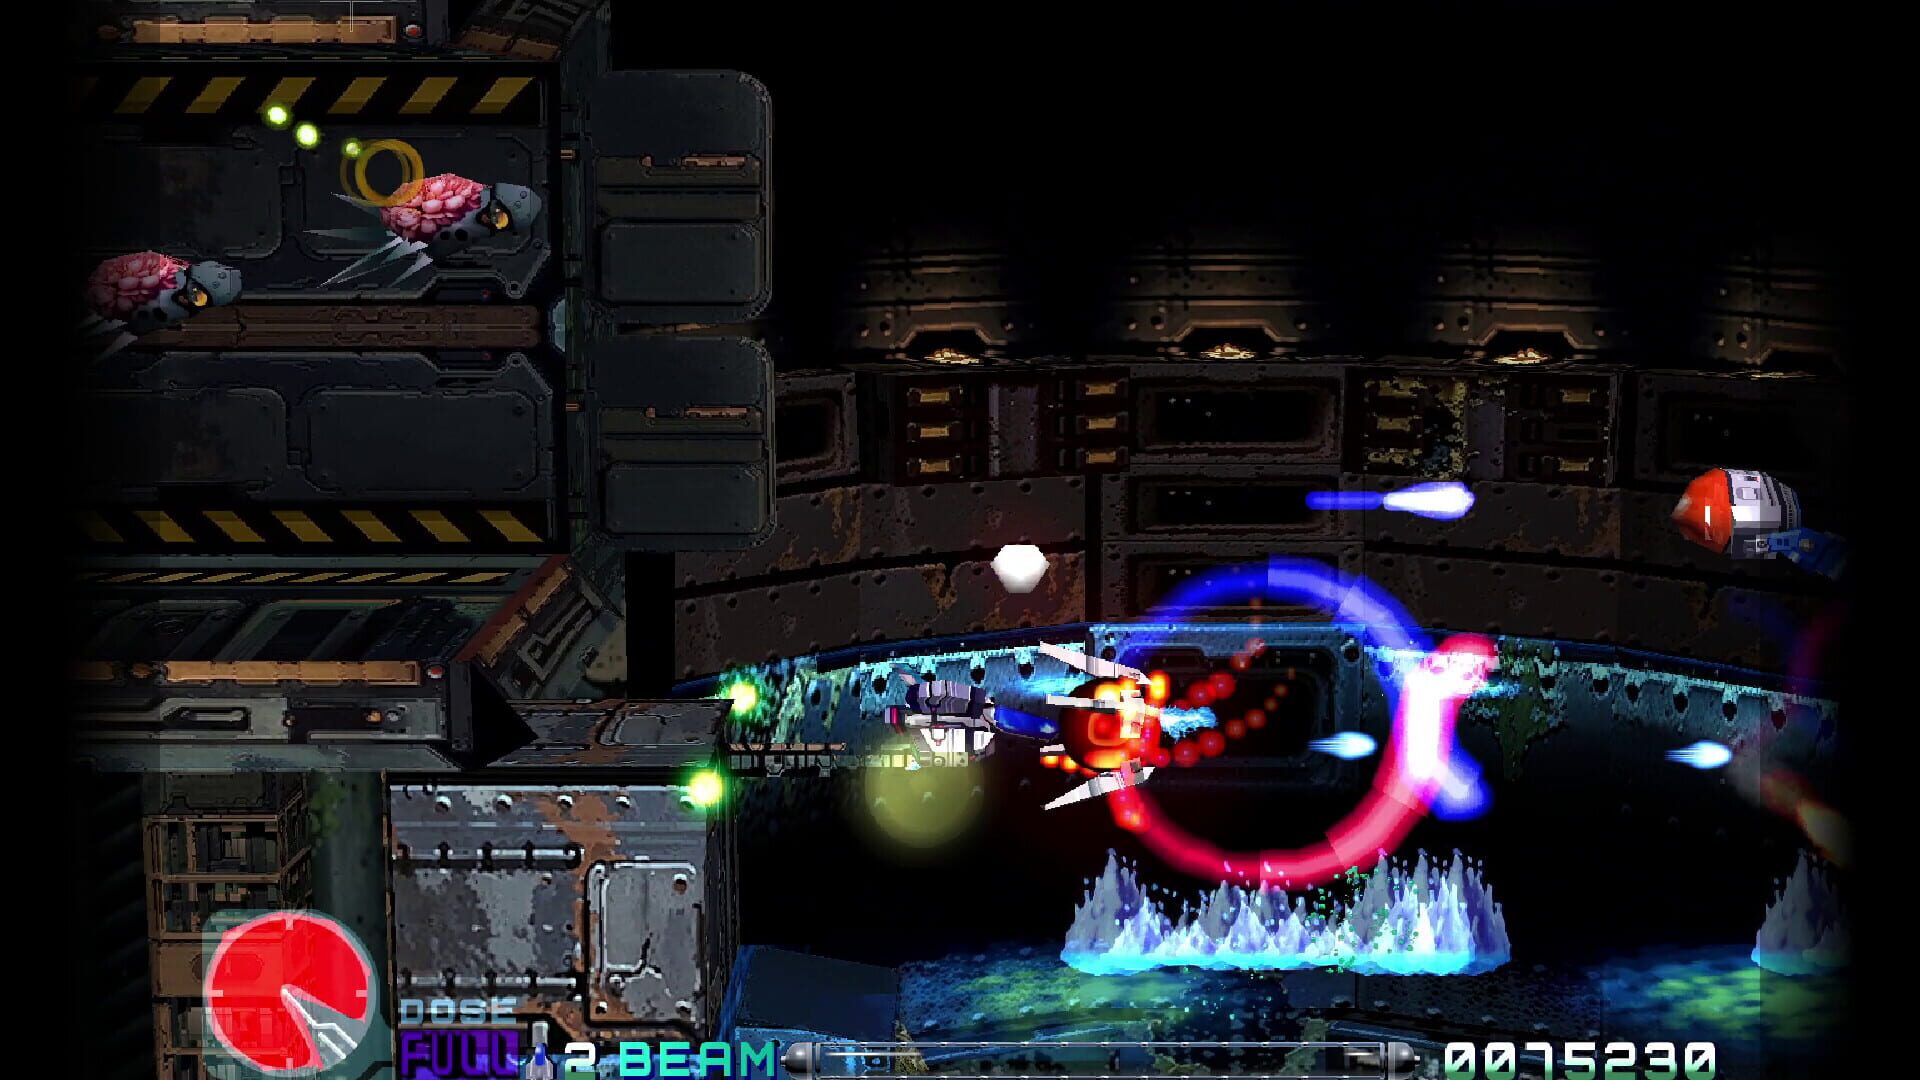
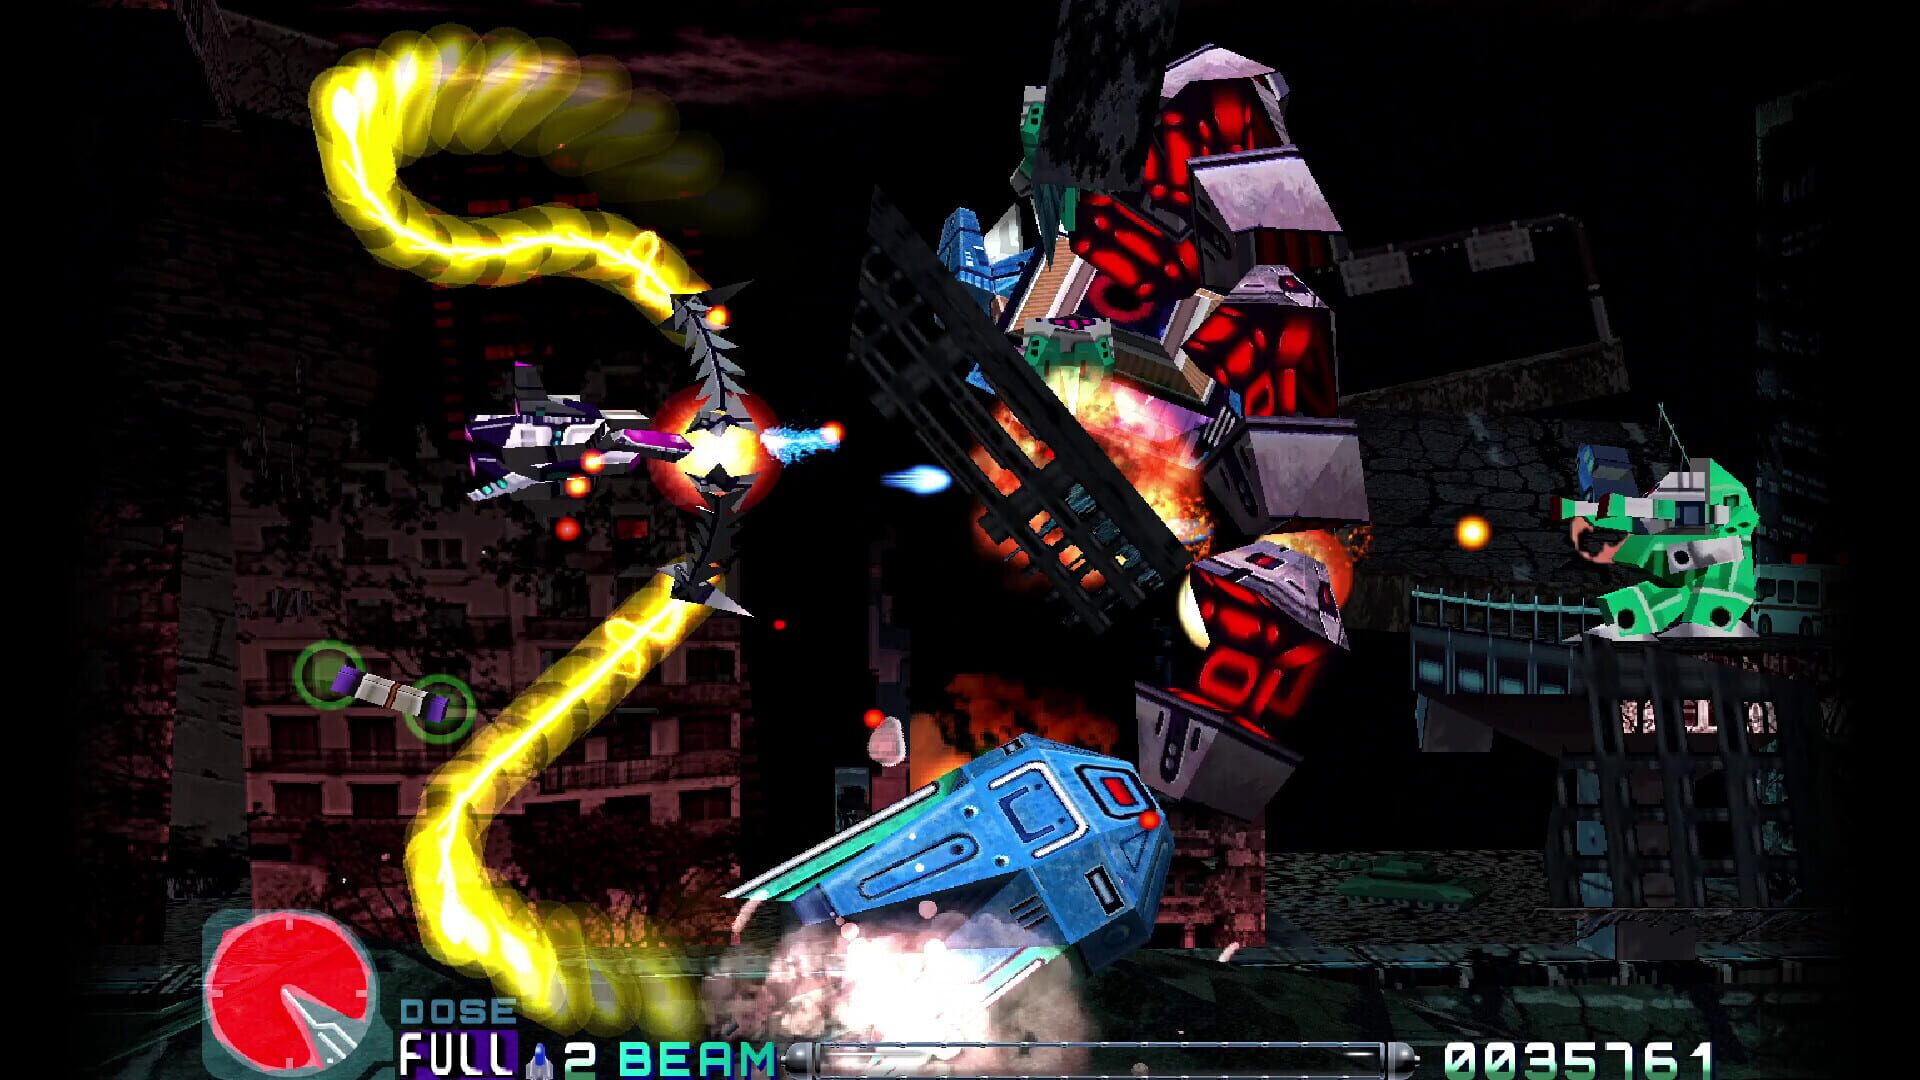
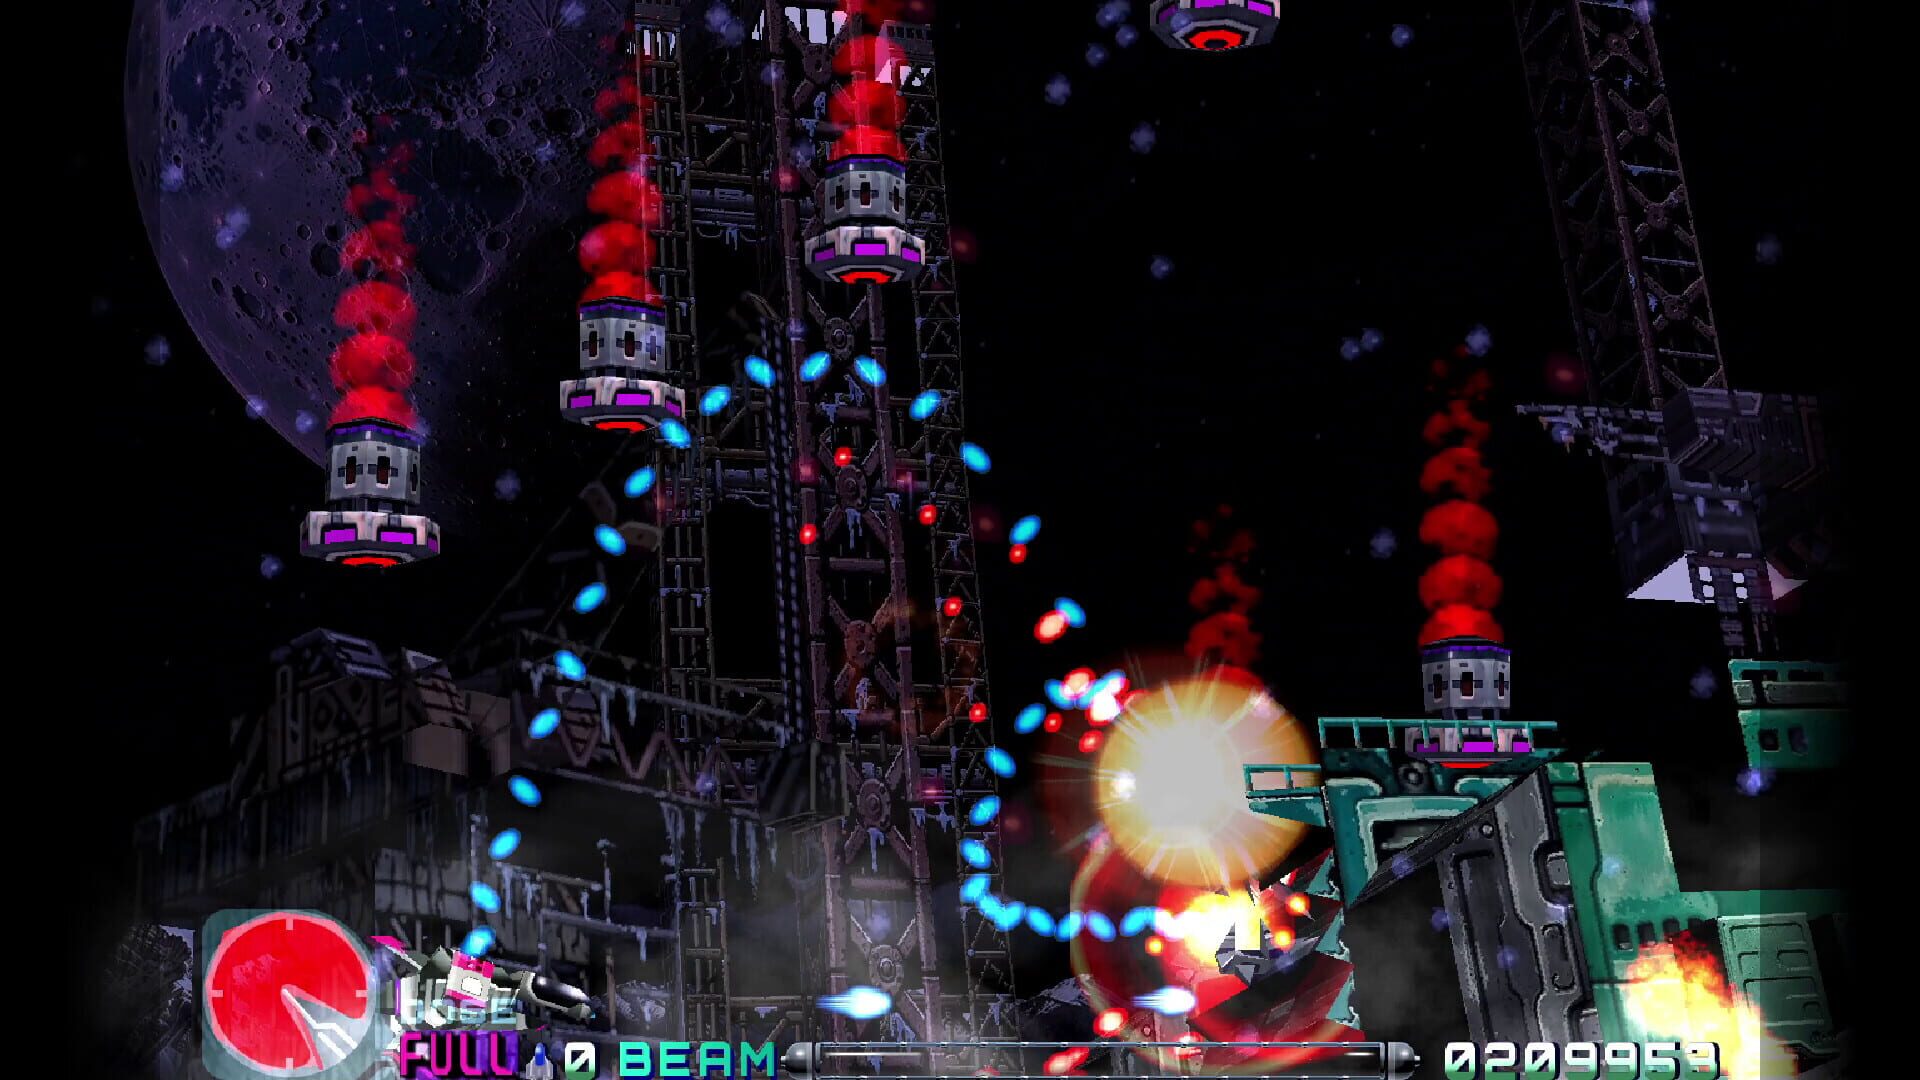
Stage 3 Survival Guide (yes, it’s harder now)
HinweiseThe 60 FPS lock removes the OG slowdown, so Stage 3 hits faster and meaner than you remember.
- Speed Setting: The default ship speed (Level 2) can be twitchy here. Try dropping a gear in tight corridors, then bump it back up for boss phases.
- Force First: Keep your Force attached for tighter bullet eating and faster Dose building. Use Delta to carve space during mecha set pieces.
- Practice Mode: Once you’ve seen Stage 3, jump into Practice and drill trouble rooms. Toggle Invincibility to study patterns, then run it clean.
- Color Choice: Blue (Rebound) shines in the mechanical interiors. If ground threats stack up, swap to Yellow for lane control.
- Checkpoint Mentality: Death stings—power-ups go bye-bye. Treat checkpoints as mini-runs; route a safe rebuild path after each respawn.
Difficulty, Death, and Practice Mode Tips
HinweiseThis is still R-Type—one touch and you’re space dust.
- Difficulties: Kid, Normal, Hard. Even Kid is no joke. Start there to map routes, then move up.
- Speed Control: Your ship speed is crucial. Don’t be shy about toggling it mid-stage for corridors vs. boss arenas.
- Practice Mode Rules: You can only practice stages you’ve reached in the campaign. Use Invincibility to learn enemy timing, then toggle it off to lock in clean clears.
- Mindset: Expect to lose power after a death and rebuild. Plan safe pickups and lean on your Force for protection during recovery.
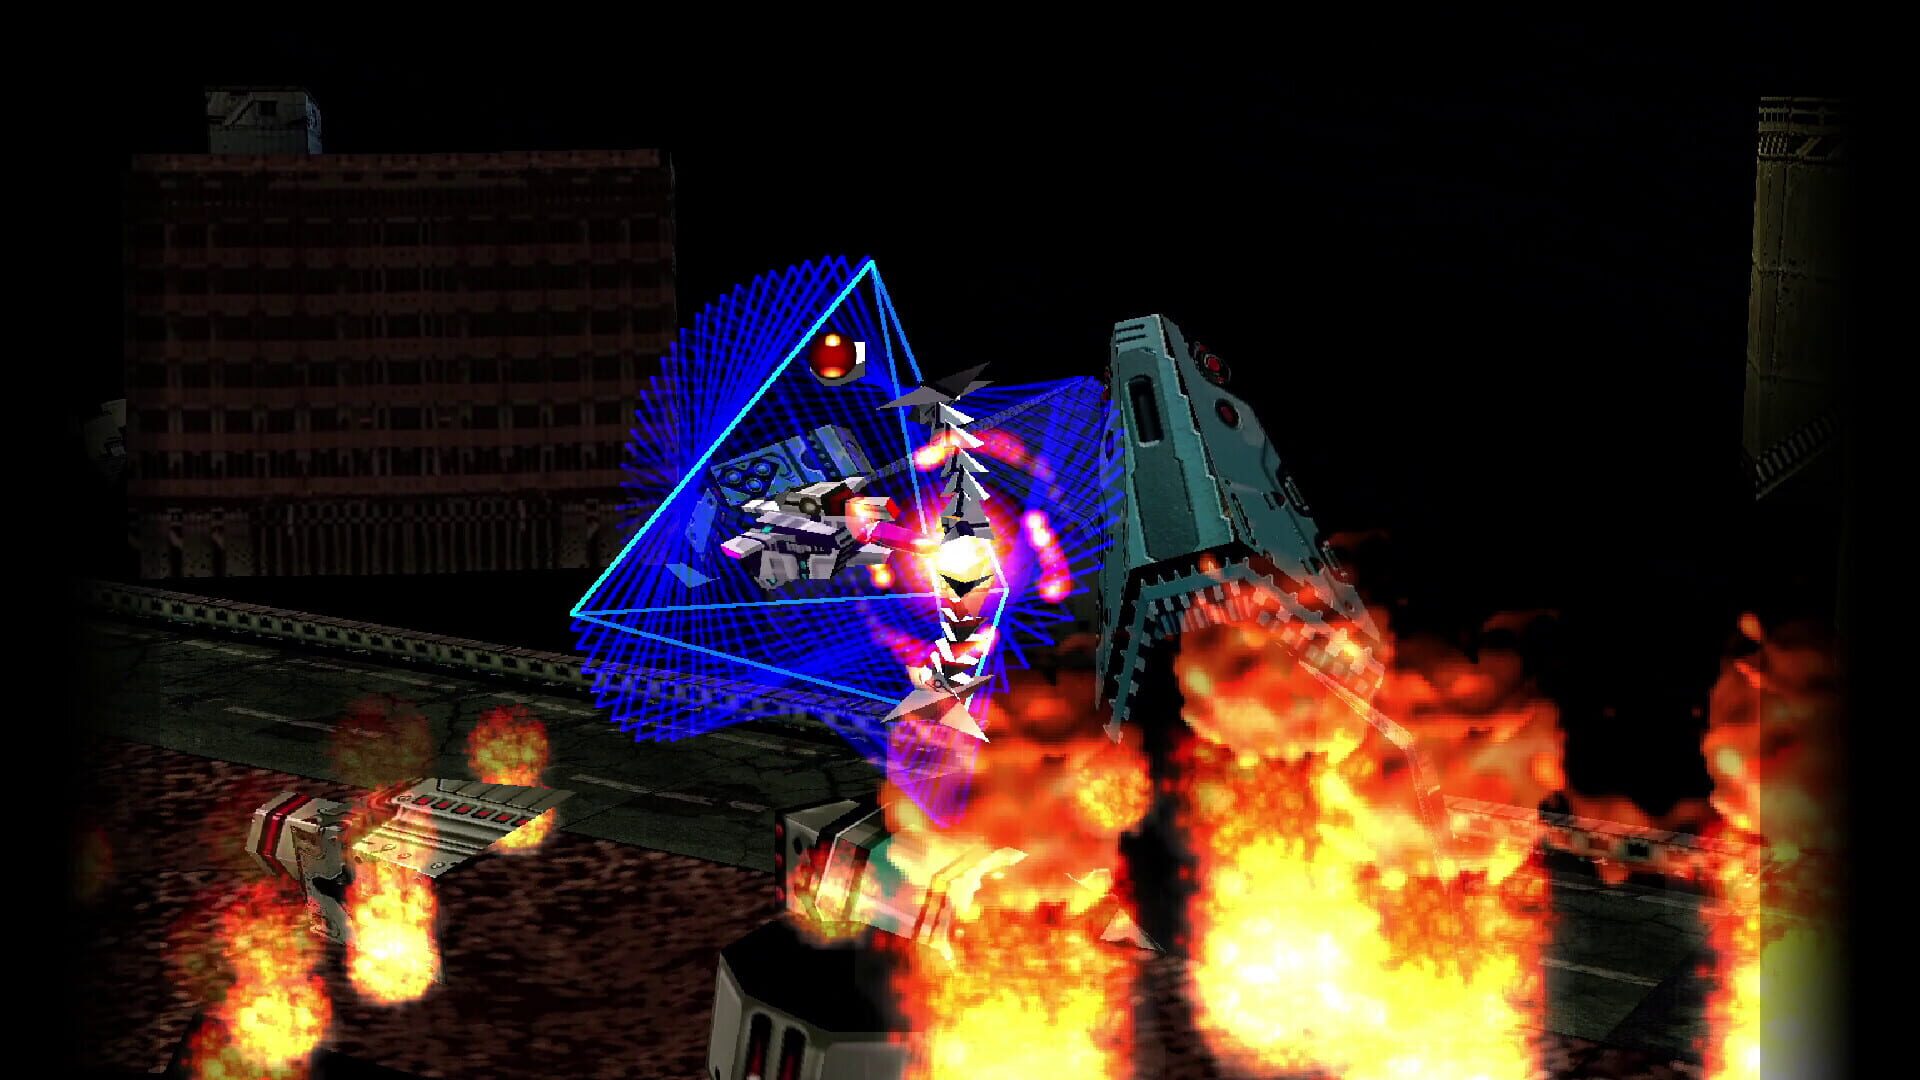
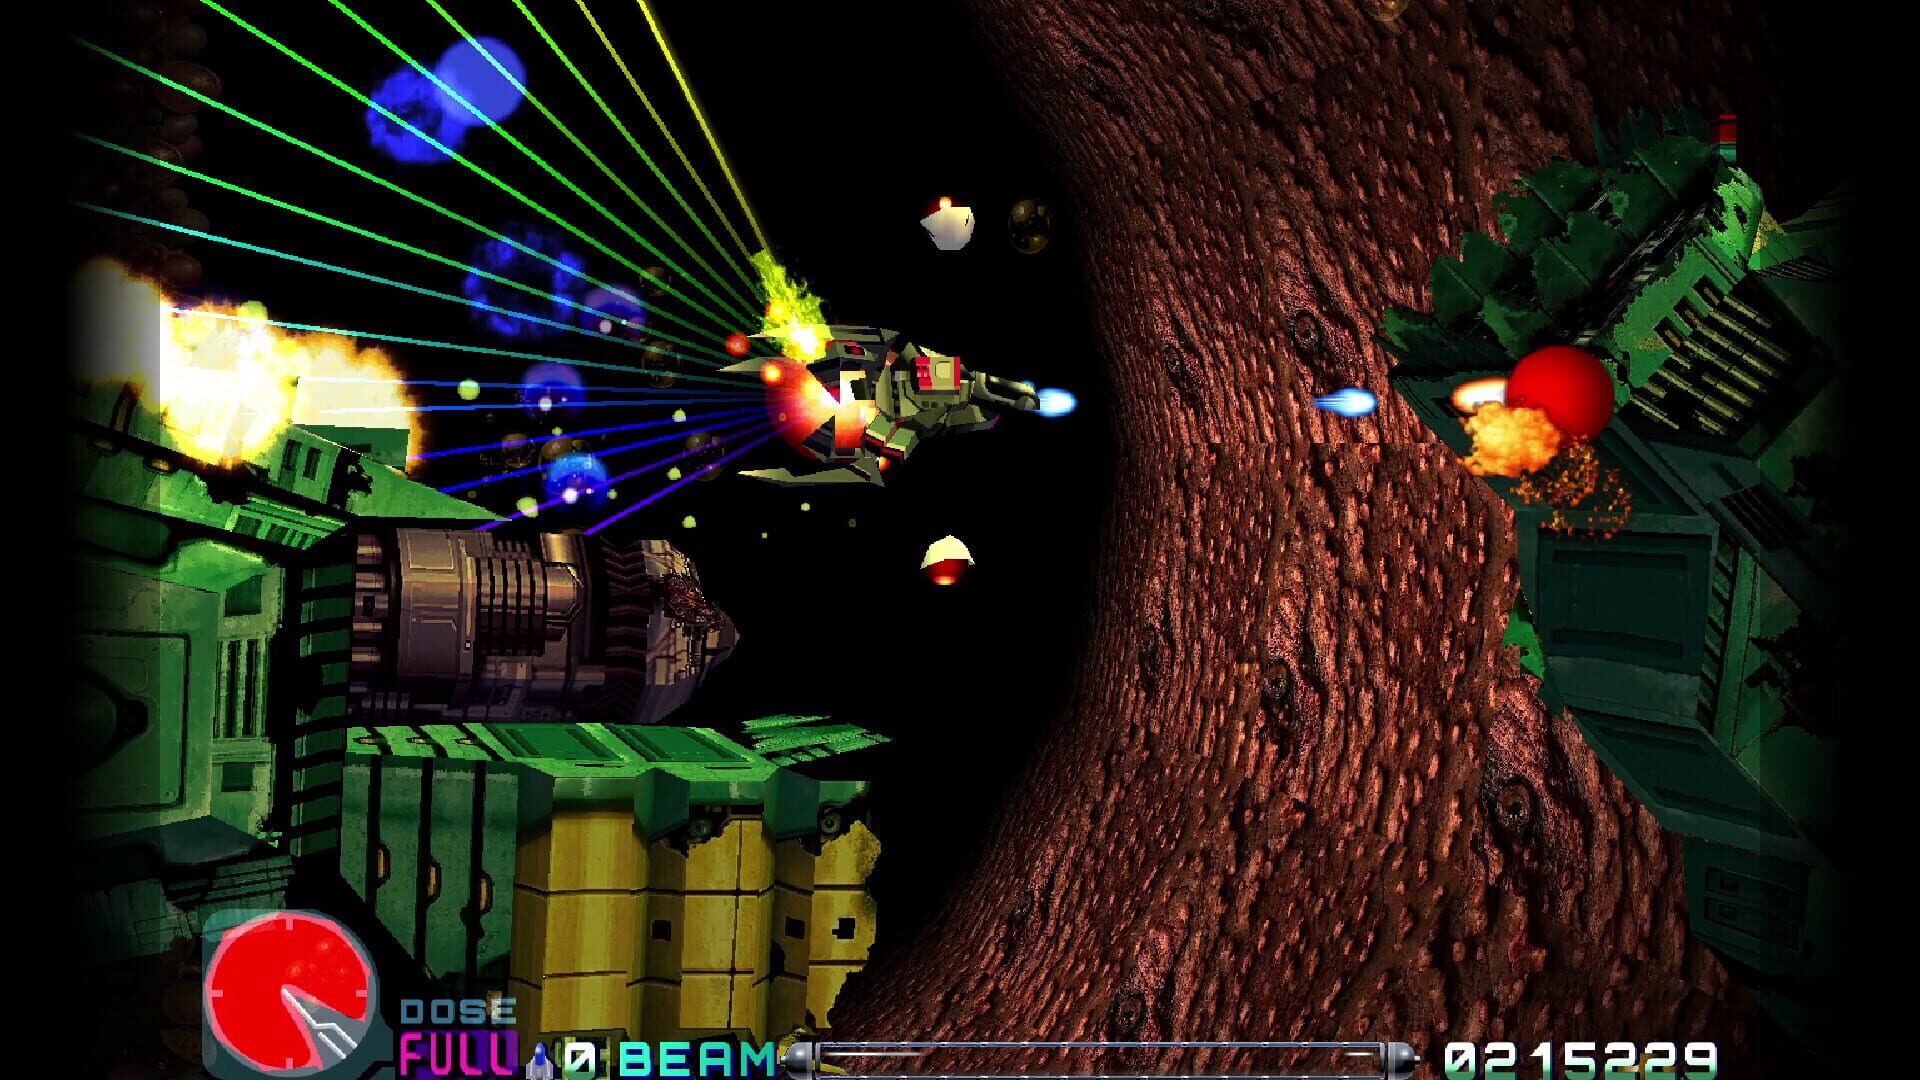
Best Ship Builds in R-Type Delta: HD Boosted
LeitfädenR-Type Delta lives and dies by your ship choice. Each craft rewrites how you play, so pick the one that fits your brain and your thumbs.
- R-9AII “Delta”: The classic. The Force pod clamps to the nose or tail to block shots and change your special weapon’s angle. Great for learners and anyone who loves precise routing and pod placement.
- R-X “Albatross”: Detach the Force and it’ll hunt enemies on its own. You focus on dodging while your pod shreds. It’s friendlier early on but rewards smart positioning to keep that pod where it matters.
- R-13 “Cerberus”: The “pro gamer” pick. You anchor the Force and tether it at range, steering it independently while flying elsewhere. It’s incredible for boss control and lane creation, but the learning curve is steep.
Tip: All three ships have unique charge shots and Delta Weapons. Try each one through the opening stages to see which click; then commit and grind that craft to mastery.
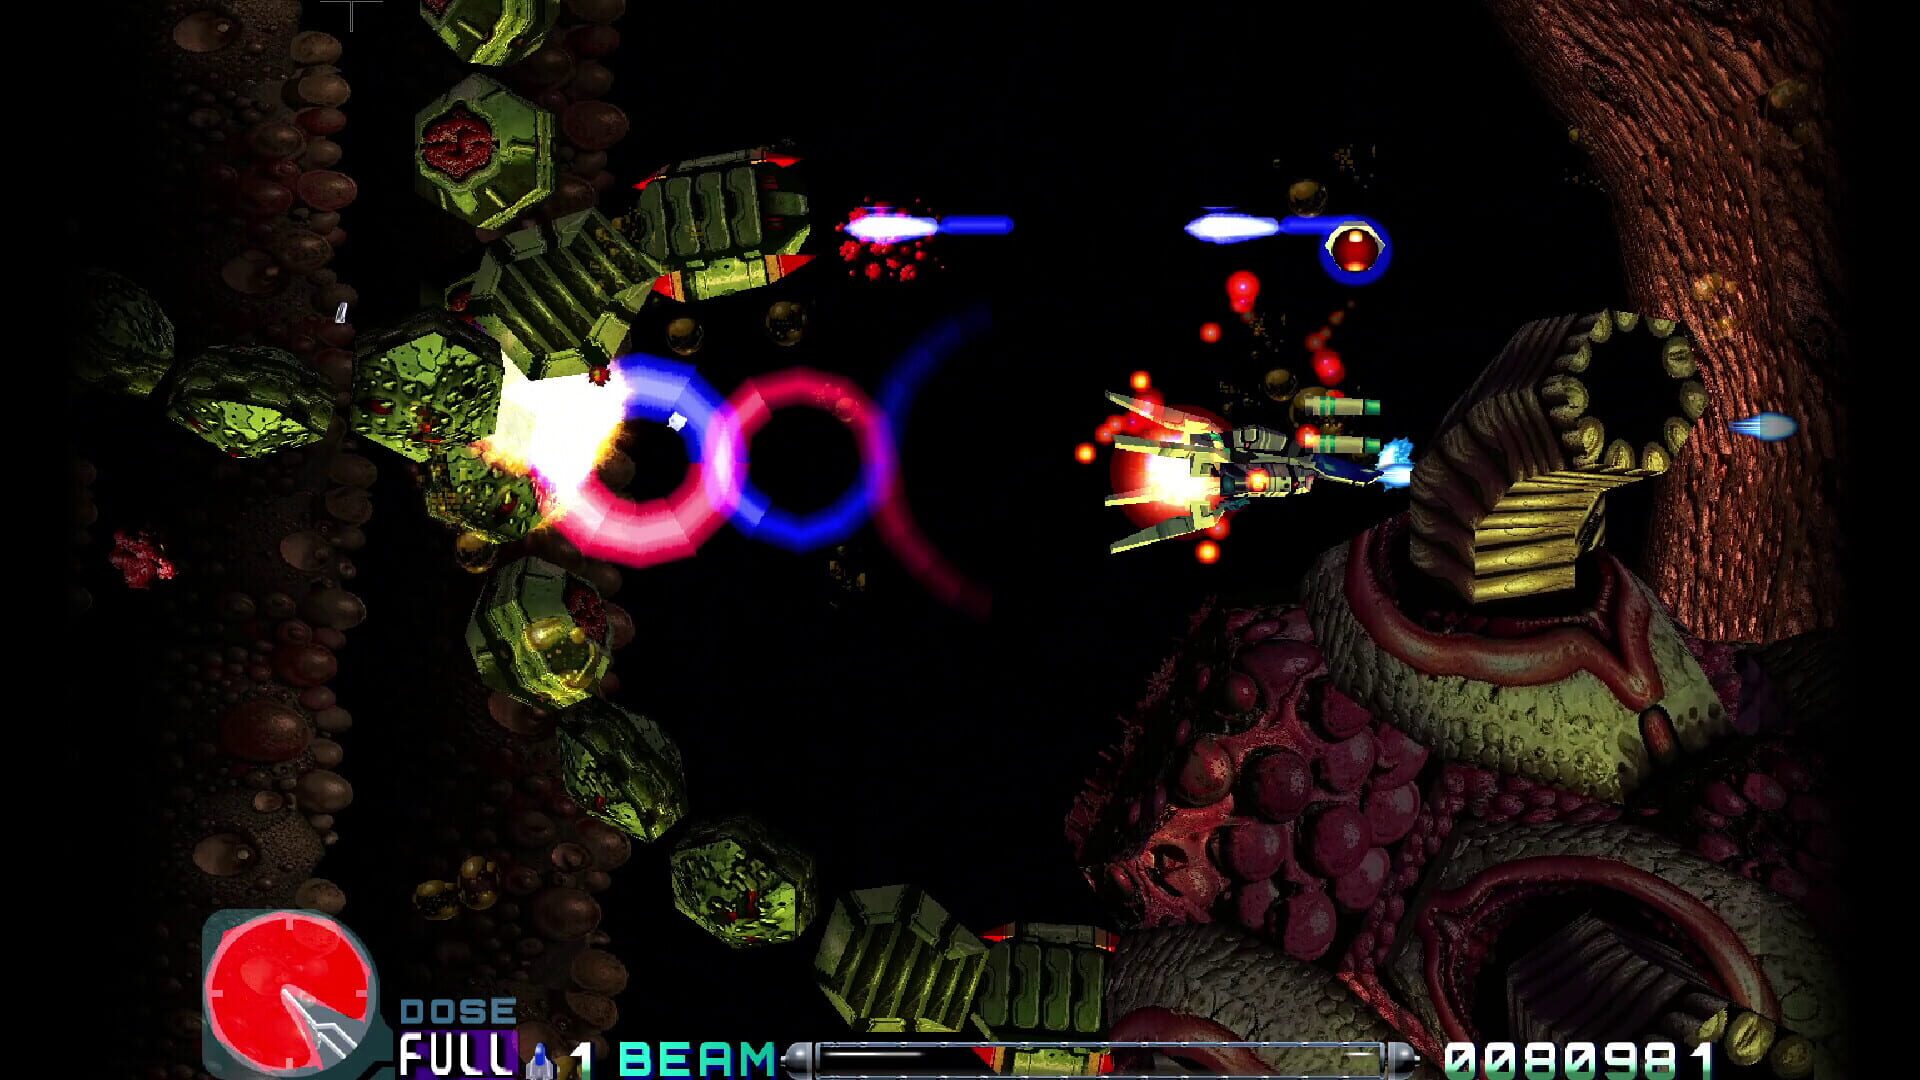
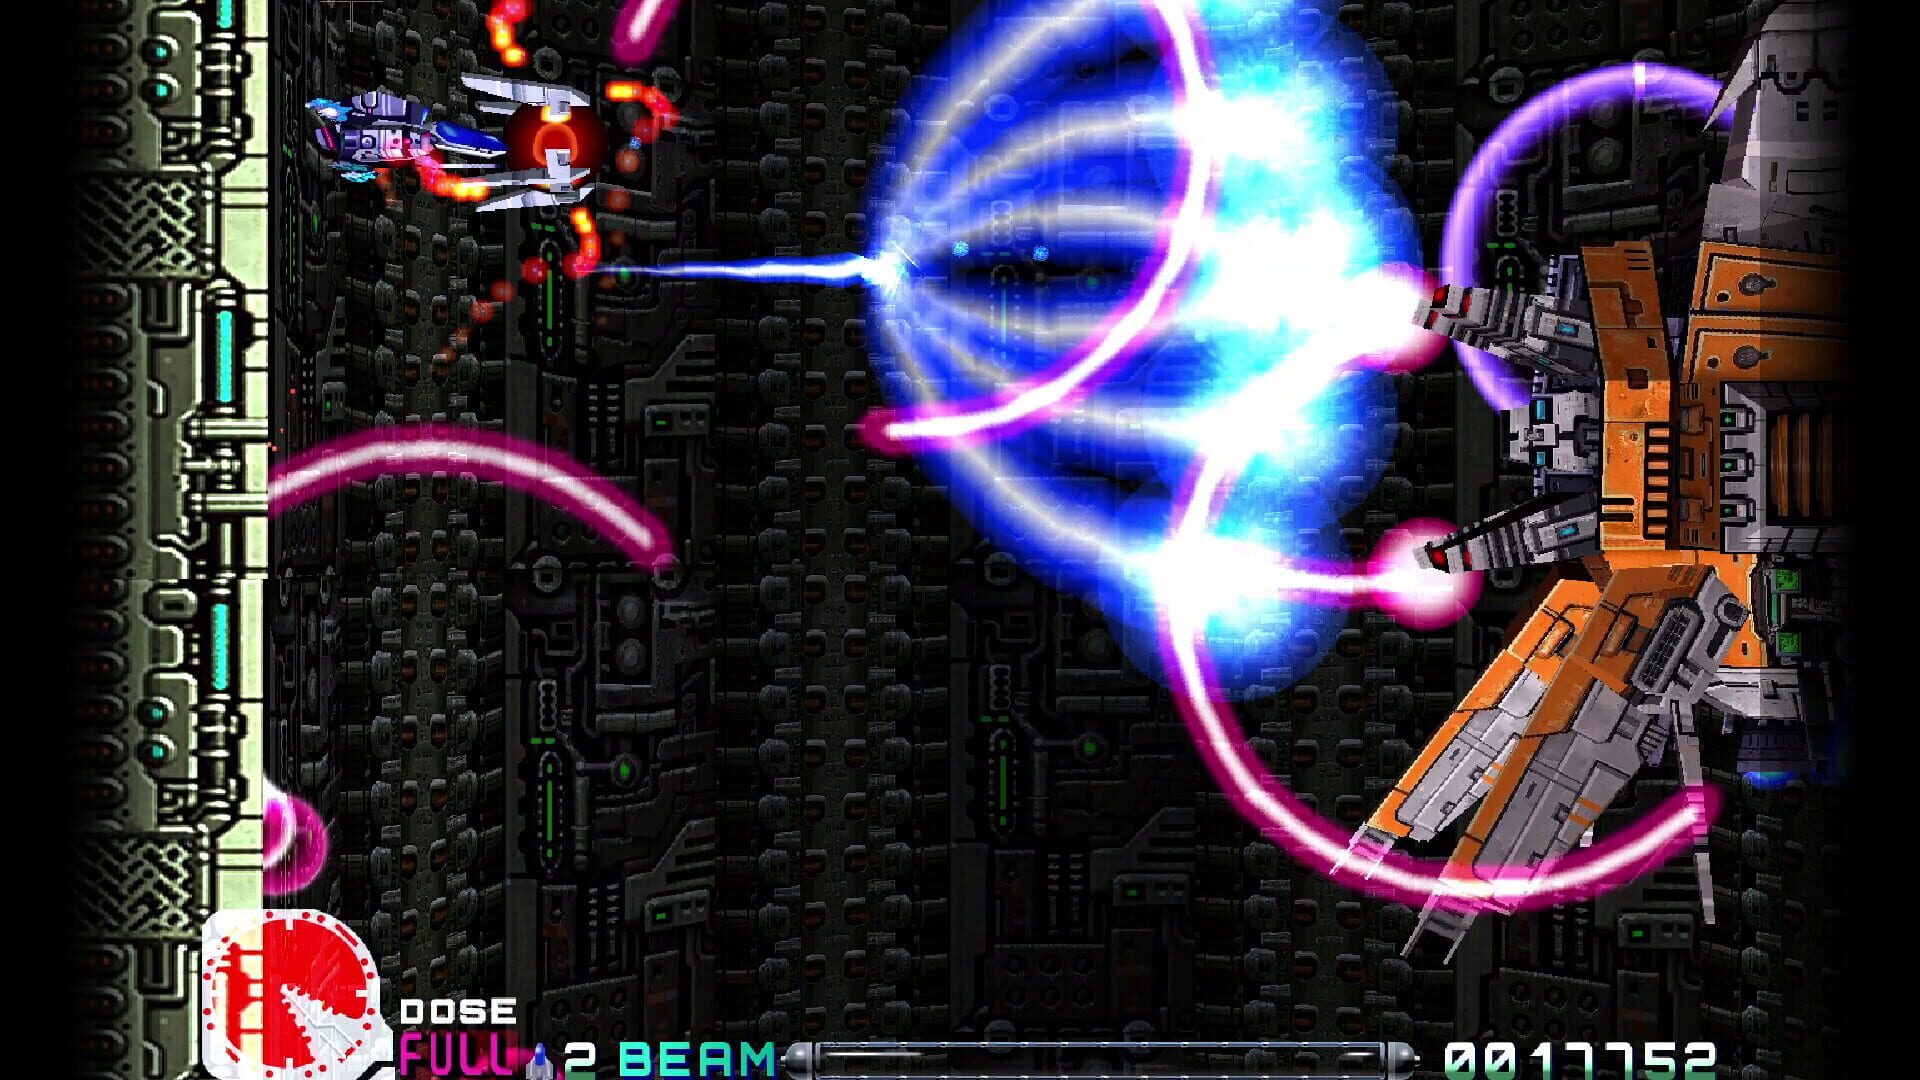
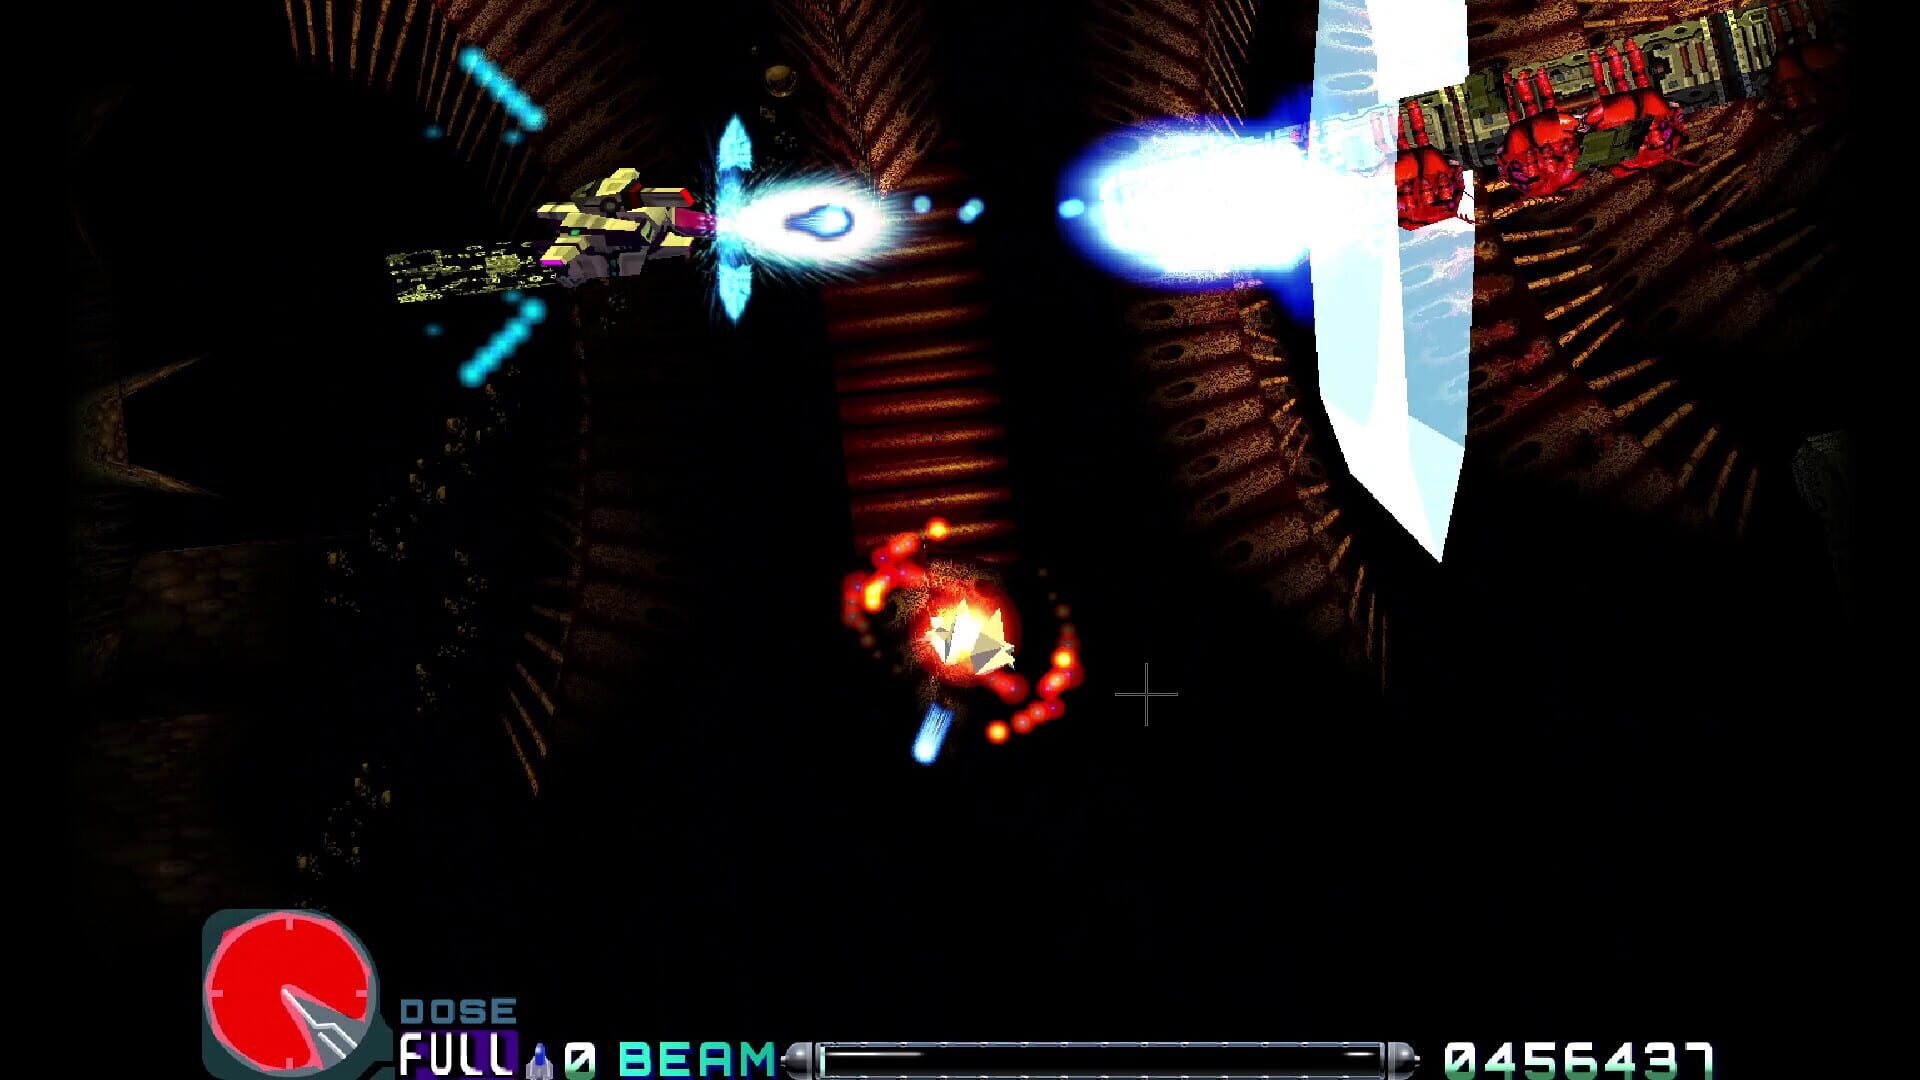
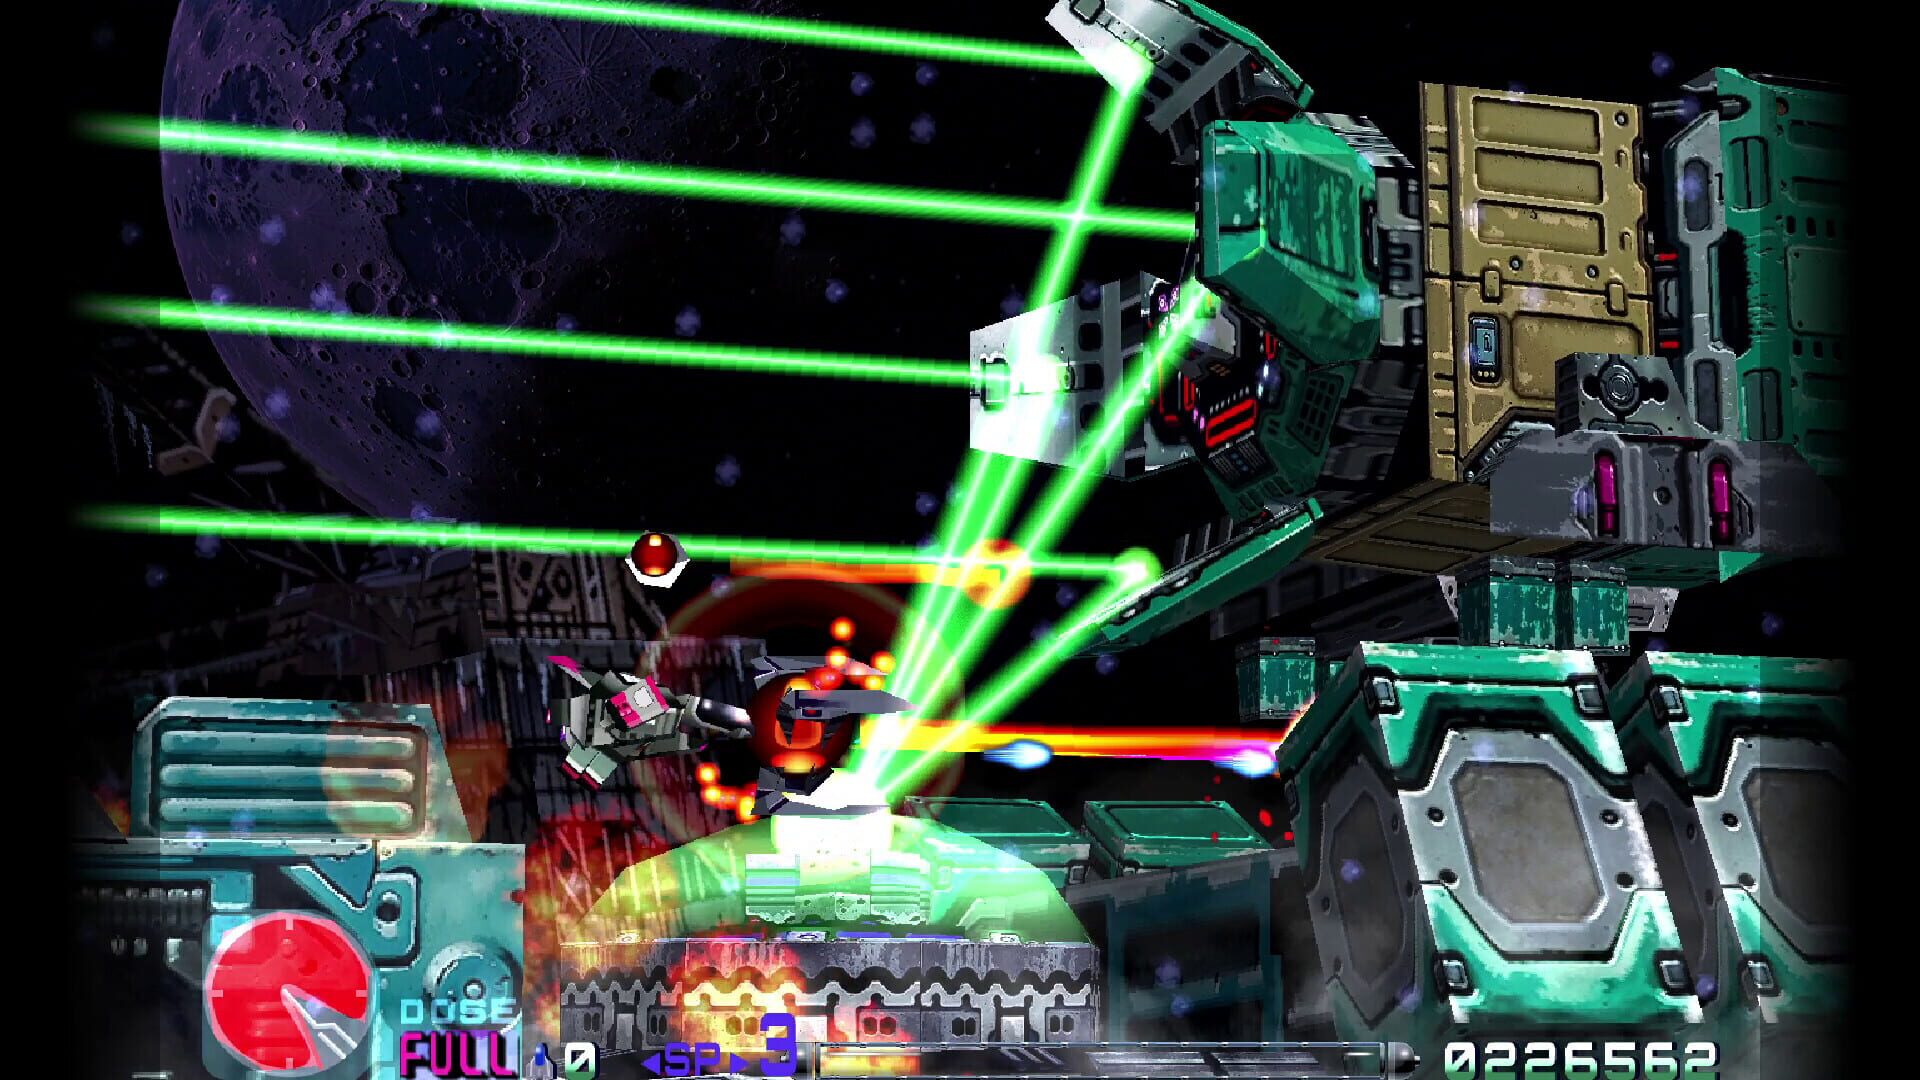
Force Pod and Dose Gauge, Demystified
LeitfädenThe Force is everything here—offense, defense, and routing tool in one.
- Attach vs. Detach: Attached Force blocks bullets and changes your weapon spread; detached Force becomes a roaming turret. Swap constantly to suit the room.
- Dose Gauge: When your Force eats bullets, your Dose fills. At 100%, unleash a Delta Weapon—a massive, screen-chewing super tied to your ship and current weapon color.
- Risk/Reward: Keeping the Force attached farms Dose faster but lowers forward pressure. Sending it out clears threats but slows your Delta charge. Alternate to prep a Delta before nasty sections and bosses.
- Enemy Waves as Fuel: Those popcorn swarms between set pieces? They’re there to top up Dose. Don’t waste them.
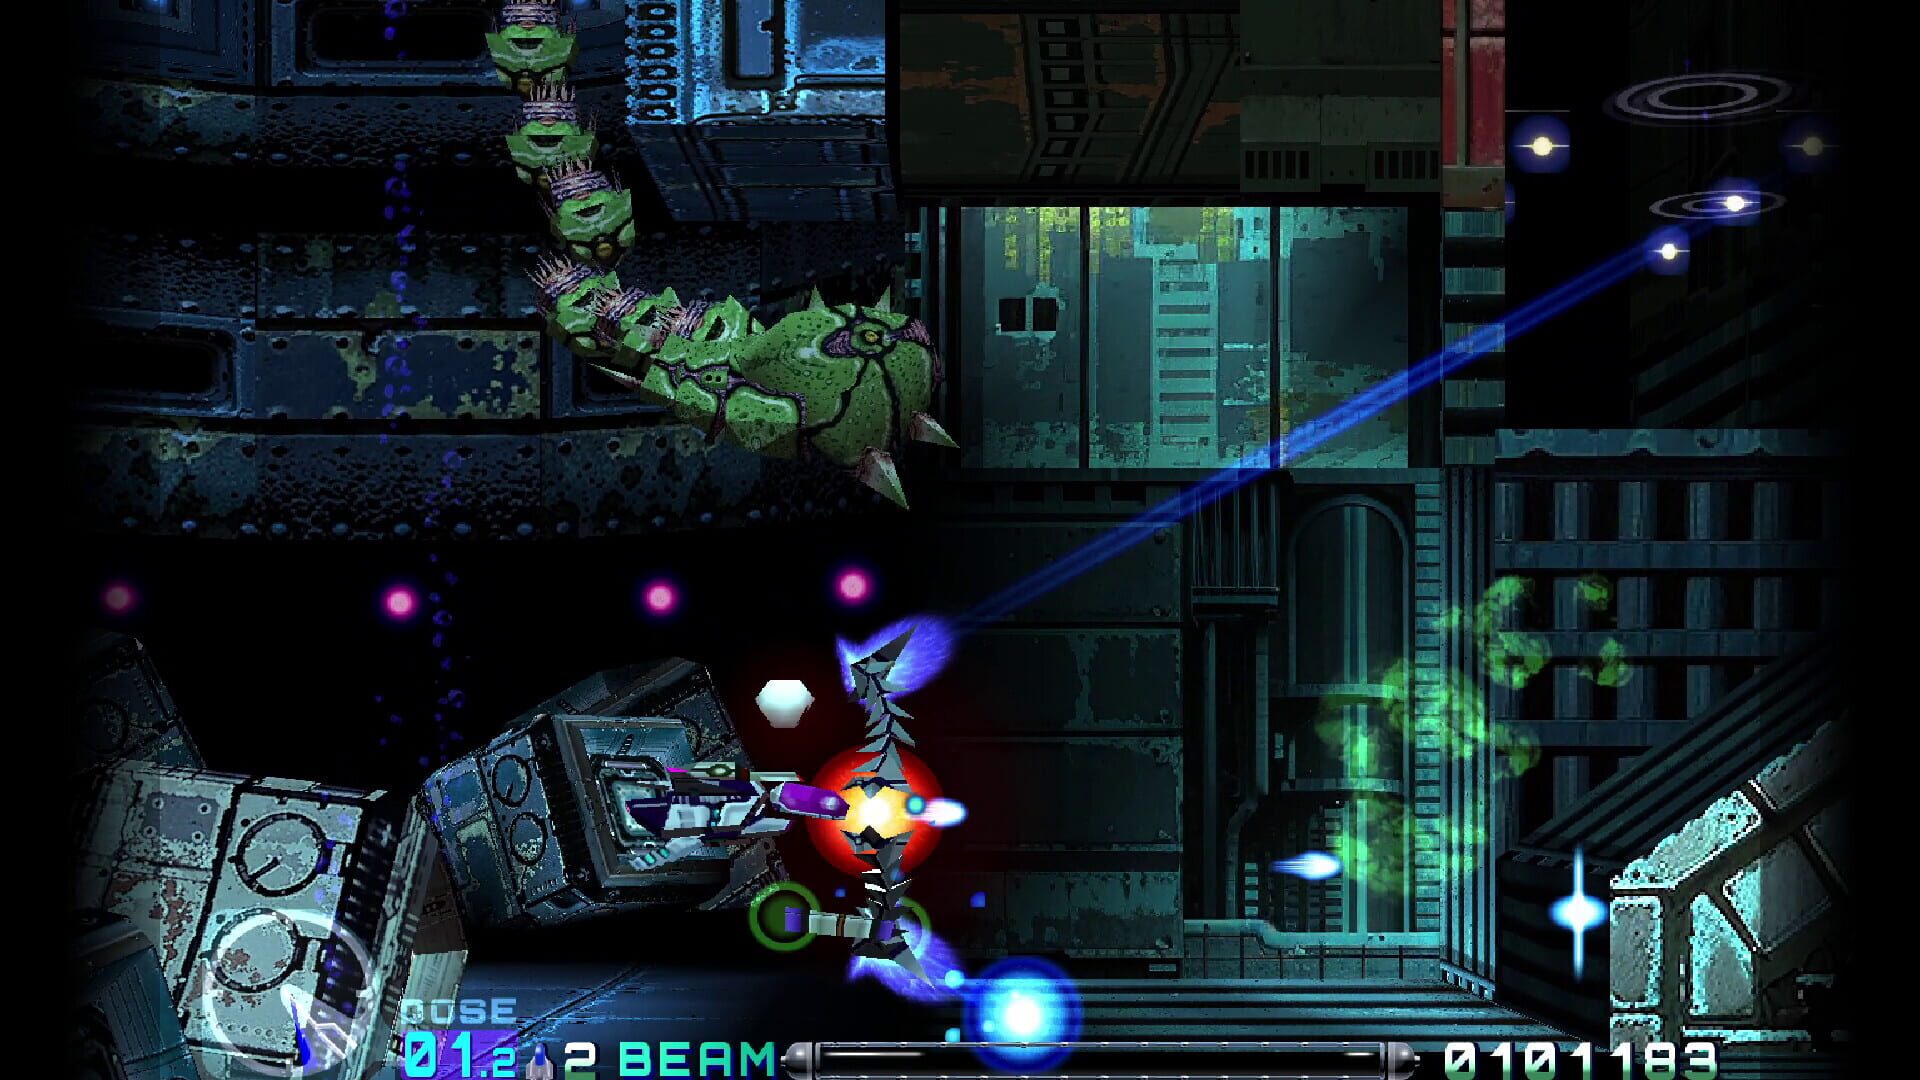
Power-Up Colors and When to Swap
LeitfädenThree colors, three styles, nine total loadouts when you factor ships. Learn them all.
- Red – Counter-Air Laser: Strong vertical coverage. At full power it braids into beefy beams. Great for midair mobs and open arenas.
- Blue – Rebound Laser: Ricochet beams that bank off walls. Perfect for cramped maps, tunnels, and hitting what you can’t face directly.
- Yellow – Counter-Ground Laser: Horizontal rails tuned for ground crawlers and destructible terrain. Ideal for stages with heavy floor/ceiling threats.
How to pick:
- If a zone is full of walls and angles, go Blue.
- If the screen is mostly airborne nasties, go Red.
- If the environment itself is the threat, go Yellow.
Pro move: Swap colors ahead of known chokepoints; the right color makes some “impossible” bits almost comfy.
Graphics and Sound Settings Worth Toggling
LeitfädenMake the presentation work for you.
- HD vs. Original Look: The HD mode is razor-sharp without smoothing away that late-’90s polygon charm. Prefer the retro haze? Switch to the lower-res preset.
- Widescreen Handling: Border fades keep the 4:3 vibe tidy on modern displays. It’s accurate and readable—no goofy stretching.
- Soundtrack Swap: Pick between the authentic original OST or the new arranged score (with modern production and familiar themes). Try both; they change the mood a lot.
- PC Extras: If you’re on PC, enable VRR and Nvidia Reflex for snappier input and cleaner motion.
Screenshots
Videos